How to Braid Hair with Beads: A Step-by-Step Guide for Beautiful Styles
Braiding hair with beads starts by sectioning clean, detangled hair and creating basic braids or twists before threading beads onto the ends using a small crochet hook or beading tool. Secure the beads by tying a knot or clamping bead caps for a finished style.
Adding beads to braids brings a fun and fashionable element to hairstyles, allowing personal expression and cultural styles to shine. Beaded braids suit various hair types and ages, and mastering the technique lets you create professional-looking hairdos at home.
This guide covers tools and materials needed, methods for threading beads onto braids, tips for working with different hair textures, and maintenance advice. You'll also find styling ideas from simple to intricate beaded braid designs.
Essential Tools and Materials for Braiding Hair with Beads

Choosing the Right Beads for Your Hairstyle
Selecting beads depends on your desired look and hair type. Plastic beads are lightweight and suitable for everyday styles, while glass or wooden beads add elegance but require gentle handling. Size matters—larger beads make a bold statement but may be heavier.
Consider the bead hole size: large enough to slide easily onto braids but snug enough to stay secure. Mixing different bead shapes or colors can create a dynamic style, but sticking to one type simplifies threading and maintenance.
- Plastic beads for lightweight styles
- Glass beads for shine
- Wooden beads for natural texture
- Check hole size compatibility
Tools Needed to Add Beads to Braids
A beading needle or small crochet hook is essential for threading beads onto hair strands, especially for tight braids. Hair ties or rubber bands help secure braid ends before and after beading, while bead caps or crimp tubes lock beads in place.
Optional tools include hair clips to separate sections and a rat-tail comb for precise parting. Having all necessary items ready keeps the process smooth and prevents bead loss during hairstyling.
- Beading needle or small crochet hook
- Hair ties or rubber bands
- Bead caps or crimp tubes
- Hair clips and rat-tail comb
Basic Braiding Techniques for Beaded Hair
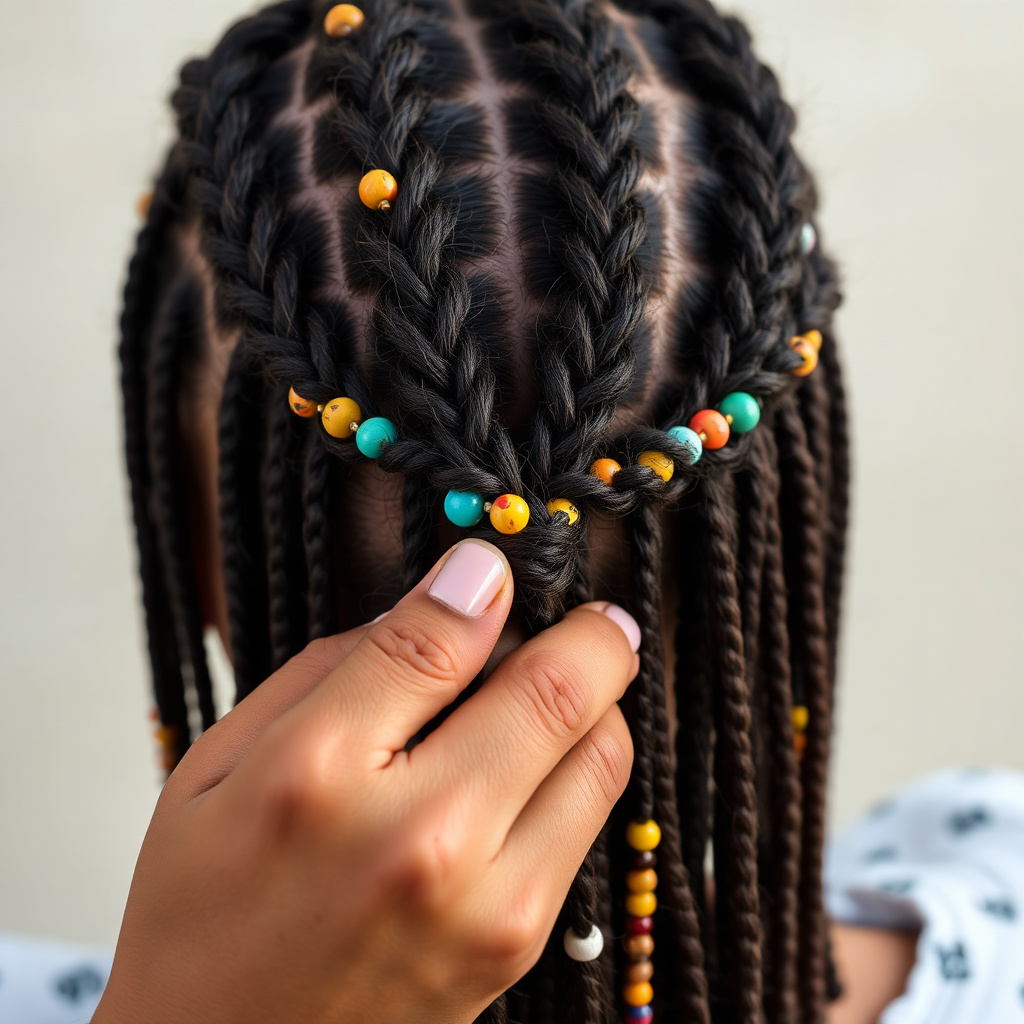
Creating Simple Three-Strand Braids
Start with clean, smooth hair parted into desired sections. Divide a section into three equal strands and cross them alternately to form a tight three-strand braid. Secure the end with a small elastic.
This classic braid works well as a base for adding beads since it provides a firm structure. Be sure to keep tension even to prevent the braid from loosening when sliding beads on.
Incorporating Twists for Beads
For a twist braid, divide hair into two sections and wrap them around each other tightly. Twists offer a slightly different texture and look that complements various bead styles.
Many find twists easier to bead because the strands stay thicker and beads slide on without slipping. Twists are especially good for textured hair, holding beads securely along the length.
How to Thread Beads onto Braids Safely

Using a Beading Needle or Crochet Hook
Attach a thread or thin wire to the beading needle or crochet hook and pull the braid's end strand through the bead hole. Gently slide the bead up to the desired position on the braid.
This method reduces hair breakage by allowing smooth bead placement without pulling. Work patiently, especially when beads have smaller holes or when hair is fine.
For more on this, see our related guide: What Type of Protective Style Is Best for Natural Hair? Expert Guide.
Securing Beads at Braid Ends
Once beads are on the braid, fix them in place by tying a knot just below the last bead or using small bead caps or crimp tubes. This prevents beads from sliding off during wear or washing.
Avoid overtightening bead caps to minimize hair damage. For children or active people, tying multiple knots or adding a second cap improves bead security.
- Tie knots below beads
- Use bead caps or crimp tubes
- Avoid excessive pressure to prevent hair stress
Styling Ideas and Variations for Beaded Braids

Classic Single-Strand Beaded Braids
A single beaded braid offers an elegant, simple touch to everyday styles. Add beads sporadically or cluster them near the ends for visual interest without overwhelming the look.
This style works well on all hair lengths and textures and serves as a striking accessory when paired with casual or formal wear.
Multi-Strand and Patterned Beaded Braids
For a bold look, braid multiple small sections and add beads to create patterns, alternating bead colors or sizes to enhance texture. Combining braided sections with twists adds depth and complexity.
These styles are popular in cultural and festival looks, allowing creativity with bead placement and braid thickness to suit any wearer’s tastes.
Maintaining Beaded Braids and Hair Health
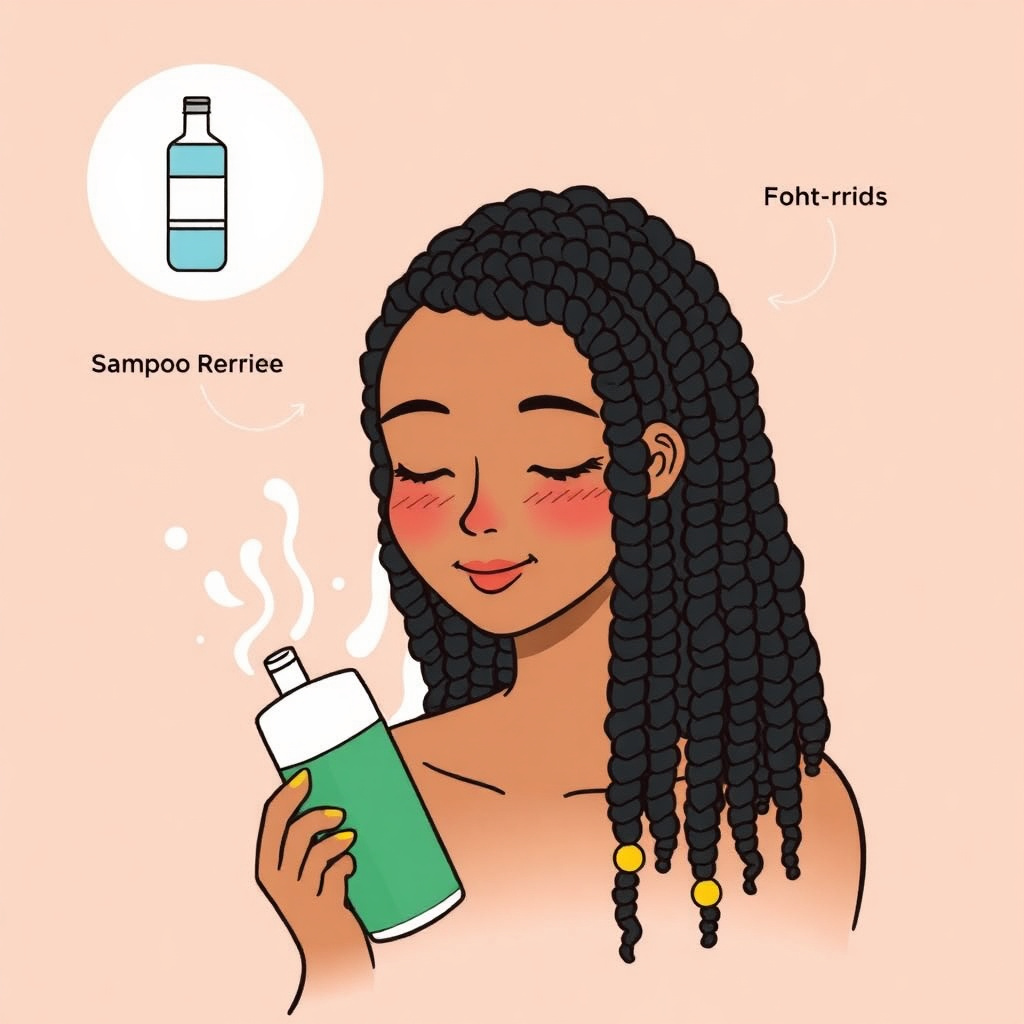
Washing and Conditioning Beaded Braids
Keep beaded braids clean by washing gently with sulfate-free shampoo to avoid loosening beads. Dilute shampoo in water and massage scalp without rubbing beads directly to minimize friction.
Condition hair frequently to maintain moisture but avoid heavy oils near beads which can cause slipping. Rinse thoroughly and pat dry with a soft towel.
For more on this, see our related guide: How to Braid Short Hair: Easy Techniques for Stylish Looks.
Protecting Beads During Sleep and Activity
Cover your beaded braids with a satin or silk scarf or bonnet at night to reduce friction and protect beads from damage. Avoid tight hairstyles that pull on beads and hair roots.
During exercise or swimming, use a protective cap or bandanna to keep beads intact and prevent exposure to chlorine or saltwater, which can tarnish certain bead materials.
- Use satin or silk hair covers at night
- Avoid tight styles pulling on beads
- Protect hair from pool chemicals during swimming
Common Challenges when Braiding Hair with Beads and How to Solve Them

Preventing Beads from Slipping Off
Beads slipping off can stem from loose braids or inappropriate bead sizes. Tightening braids near bead entry points helps hold beads in place. Using beads with smaller holes relative to braid thickness offers more grip.
Securing beads with knots or caps also reduces slippage. If beads still fall off, consider applying a small amount of styling gel to provide extra hold while braiding.
For a broader understanding of braid styles and their cultural significance, exploring general braid hairstyles can provide useful context. braid hairstyles.
Handling Breakage and Hair Damage
Too much weight from large beads or excessive tension during braiding may cause hair breakage, especially on fine or brittle hair. Use lightweight beads and avoid overly tight braids near the scalp.
Regular moisturizing and gentle detangling reduce damage. If breakage occurs, trimming damaged ends and switching bead styles can improve hair health.
Comparison of Beaded Braid Types and Techniques
This table summarizes key features of different beaded braid types and techniques to help you choose what suits your style and hair type best.
| Braid Type | Best Hair Type | Complexity Level | Bead Compatibility | Styling Duration |
|---|---|---|---|---|
| Three-Strand Braid with Beads | All hair types | Easy | Plastic, glass, wooden beads | 15-20 minutes per braid |
| Twist Braids with Beads | Curly and textured hair | Easy | Plastic, wooden beads | 10-15 minutes per twist |
| Multi-Strand Patterned Braids | Medium to thick hair | Advanced | All bead types | 30-45 minutes |
| Single Beaded Accent Braid | Short to medium hair | Easy | Small beads | 5-10 minutes |
| Cornrow Beads Style | Thick or textured hair | Intermediate | Lightweight beads | 20-30 minutes |
Frequently Asked Questions
Can I add beads to wet hair braids?
It's best to add beads to dry hair braids because wet hair is more fragile and prone to breakage. Beads are easier to thread when the hair is dry, reducing the chance of hair damage.
How long do beaded braids usually last?
Beaded braids can last anywhere from one to three weeks depending on hair care, braid tightness, and bead quality. Proper maintenance extends their lifespan and keeps hair healthy.
Are certain bead materials better for sensitive scalp?
Plastic or wooden beads are generally gentle on sensitive scalps. Avoid heavy metal beads that can cause irritation or pull on hair, especially if you have scalp sensitivity.
How can I remove beads without damaging my hair?
Gently loosen beads by sliding them off with a beading needle or hook. Avoid pulling hard, and untie any knots securing the beads first. Take your time to prevent hair breakage.
Is threading beads easier on certain braid styles?
Yes, twists and thicker braids make threading beads easier since the hair strands hold together firmly. Thin or loose braids require more care to avoid bead slippage.
Key Takeaways
- Start with neat, secure braids to support bead placement and prevent slippage.
- Use appropriate bead sizes and materials suited for your hair type and style.
- Thread beads carefully with proper tools to avoid hair damage.
- Maintain beaded braids gently and protect them during sleep and activities.
Conclusion
Mastering how to braid hair with beads involves balancing technical skill and creative expression. You begin by selecting suitable beads and tools that fit your hair texture, followed by braiding techniques such as three-strand or twists that provide the structural base. Threading beads properly and securing them ensures durability while maintaining hair health through gentle care is vital to enjoying your style longer. Throughout this journey, attention to detail and patience make your beaded hairstyles stand out with beauty and function.
For straightforward styling, beginner-friendly options like single three-strand beaded braids or accent braids are quick to achieve and versatile across hair types. Those looking for more intricate looks might explore multi-strand patterned beaded braids or cornrow styles, particularly on thicker or textured hair. Each option offers a distinct aesthetic and challenges, so select based on your comfort and desired effect. Lightweight plastic or wooden beads are excellent choices to prevent strain on your strands regardless of style.
If you’re ready to add new flair to your hair routine, start by trying simple beaded three-strand braids using a beading needle and plastic beads. Practice threading and securing beads without causing tension to your roots. As confidence builds, experiment with varied bead sizes and braid patterns for unique expressions. Keep a gentle maintenance routine, including protective nighttime coverings, to preserve your work. With these steps, your journey into beaded braids will be rewarding and enjoyable.



One Comment