How to Do a Root Touch Up: A Step-by-Step Guide for Salon-Quality Results at Home
Doing a root touch up yourself involves carefully matching your hair color, applying dye precisely to the regrowth area, and timing the process to keep your hair healthy. You start by choosing the right product, prepping your workspace, and applying the dye only where the roots show, avoiding overlap with previously colored hair.
Keeping up with your roots is essential for a polished look, especially if you have a noticeable contrast between your natural hair color and dyed strands. A poorly done root touch up can lead to harsh lines, uneven color, or damage, diminishing your overall style. Knowing the right techniques helps maintain consistent color and healthy hair between full color treatments.
This guide covers selecting and preparing your root touch up products, step-by-step application instructions, aftercare tips, and solutions for common issues. Whether you prefer permanent dye, semi-permanent options, or root touch up sprays, you’ll find detailed advice to achieve a professional finish at home.
Choosing the Right Product for Your Root Touch Up

Permanent vs. Semi-Permanent Dyes
Permanent dyes provide long-lasting coverage for grey or naturally grown-out hair and generally result in a more uniform color. They chemically alter the hair cuticle to deposit color and can withstand multiple washes.
Semi-permanent dyes coat the hair shaft without penetrating deeply, fading gradually after several shampoos. These dyes cause less damage and are ideal for blending small root areas or refreshing color between permanent dye sessions.
- Permanent dye: longer-lasting, stronger coverage
- Semi-permanent dye: gentle, fades in 4-8 shampoos
Root Touch Up Sprays and Powders
Root touch up sprays and powders provide a quick fix for covering regrowth and grey roots. They simply mask the lighter root areas and wash out with shampoo, making them great for last-minute touch ups or temporary solutions.
These products come in many shades but lack the permanence of dyes. They’re less about color correction and more for blending until you can dye properly.
- Sprays: easy to apply, ideal for fine coverage
- Powders: good for short hair and precise spots
Preparing for Your Root Touch Up
Tools and Workspace Setup
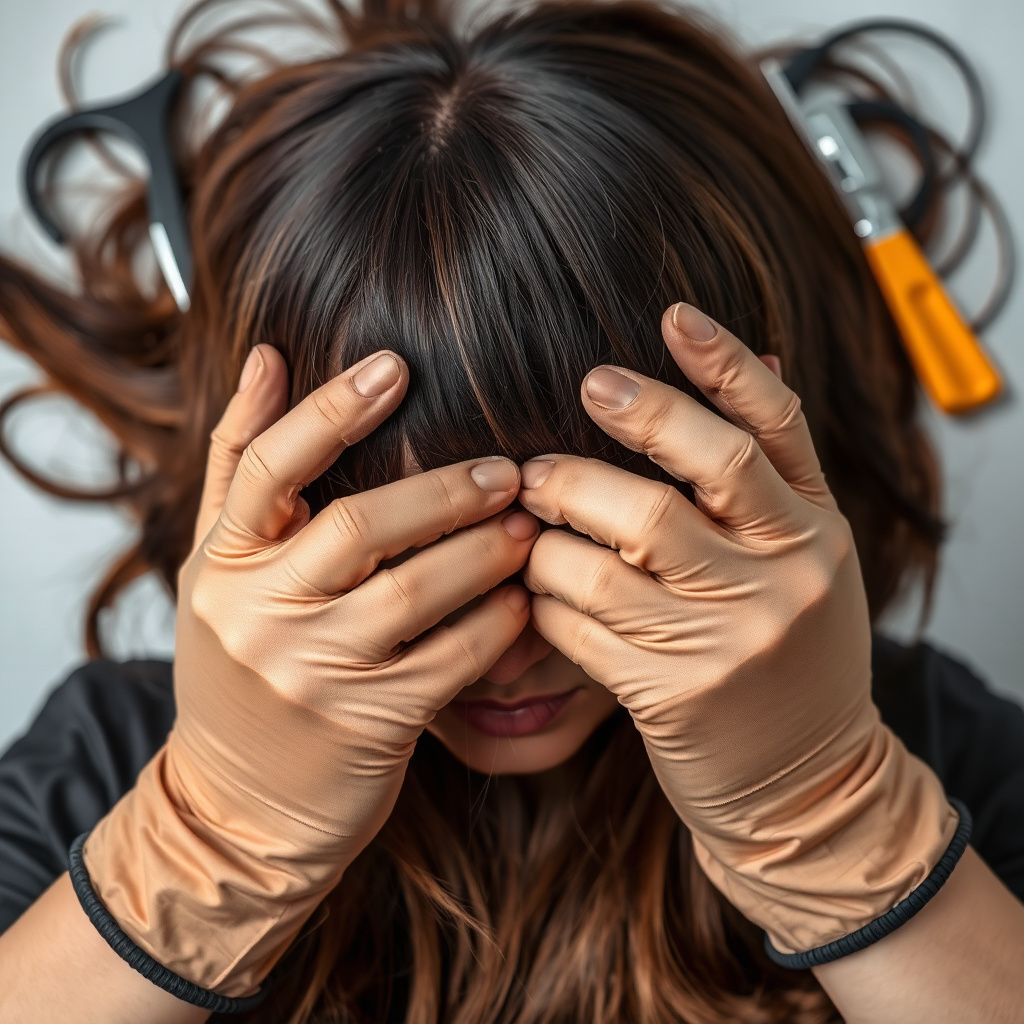
Gather a tint brush, mixing bowl, gloves, clips, and old towels to protect your clothing. Have a timer nearby and work in a well-lit bathroom or vanity area.
Section your hair into four quadrants with clips for even application. Protect skin along your hairline and ears using petroleum jelly or a barrier cream to prevent staining.
- Tint brush and bowl
- Hair clips for sectioning
- Gloves and protective towel
Strand Test and Allergy Check
Perform a strand test 48 hours before applying dye to ensure color accuracy and avoid allergic reactions. Apply a small amount of dye on a hidden strand, following package instructions, then observe the result and irritation.
An allergy patch test involves applying dye on the skin behind the ear to check for redness or swelling. This check helps prevent allergic responses during your full application.
- Strand test for color match
- Allergy patch test 48 hours ahead
Step-by-Step Application for a Root Touch Up
Applying Dye to Roots Only
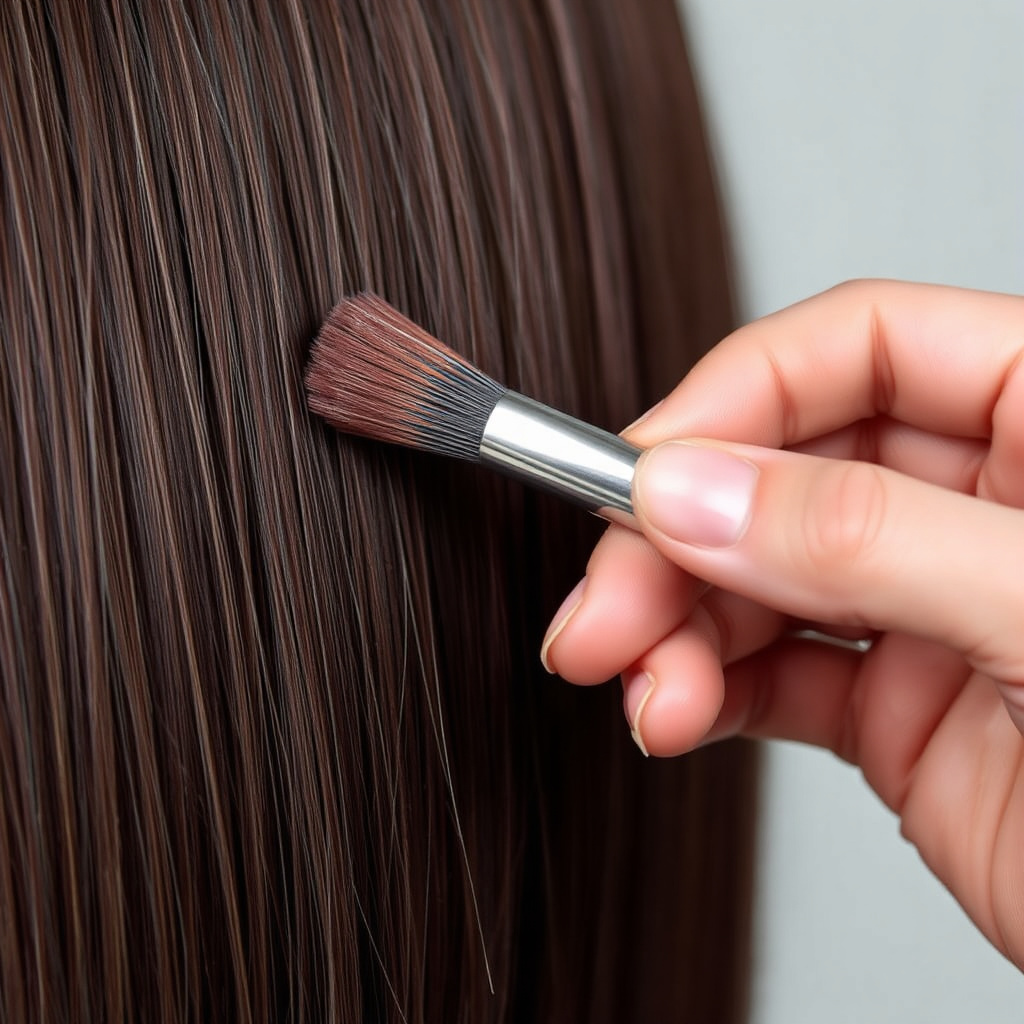
Start with dry, unwashed hair to let natural oils protect your scalp. Using the tint brush, apply dye carefully only on the regrowth area, focusing on the new growth from the scalp ¼” to ½” wide.
Work in small sections, separating hair with clips and ensuring even saturation. Avoid overlapping dyed mid-lengths to prevent over-processing and damage.
- Apply on dry hair
- Use small hair sections
- Avoid overlapping previous color
For more on this, see our related guide: How to Do a Bun on Thin Hair: Easy Techniques for Fuller Styles.
Timing and Processing
Follow the dye manufacturer's recommended processing time, usually 20-30 minutes for roots, as they require slightly less time than a full head application. Set a timer to avoid over-processing.
Check the color development periodically by wiping a small area with a damp cloth. Rinse immediately if you notice unevenness or irritation.
- 20-30 minutes typical for roots
- Check color midway through
Post-Application Care for Lasting Color

Rinsing and Conditioning
Rinse hair thoroughly with lukewarm water until water runs clear to remove all residual dye. Avoid hot water as it can strip color prematurely.
Apply a color-safe conditioner or a deep conditioning treatment to restore moisture and seal the cuticle, helping the new color last longer and keeping hair healthy.
- Use lukewarm water to rinse
- Finish with color-safe conditioner
Extending Root Touch Up Longevity
Limit washing hair to 2-3 times a week with sulfate-free, color-protecting shampoo to maintain vibrancy. Minimize heat styling to avoid fading and damage.
Use UV protection sprays when outdoors frequently to shield color from sun damage, and schedule your next root touch up every 4-6 weeks depending on your hair growth and preference.
- Sulfate-free shampoo
- Limit heat styling
- Apply UV protection
Troubleshooting and Common Mistakes in Root Touch Ups

Fixing Uneven Color or Harsh Lines
If you notice a stark line between your natural hair and dyed roots, blend the transition by applying a small amount of diluted hair dye or color-depositing conditioner blended slightly beyond the root area.
Uneven patches can be corrected by spot-applying dye on missed areas and giving it extra processing time, but avoid over-saturating previously dyed hair.
- Blend harsh root lines
- Spot-treat missed areas cautiously
For more on this, see our related guide: How to Do Mini Twists: A Step-by-Step Guide for All Hair Types.
Avoiding Overprocessing and Dryness
Leaving dye on too long or overlapping color can cause brittle, dry strands especially in the regrowth area. Stick to recommended timings and use moisturizing treatments regularly.
If overprocessing occurs, use protein-rich masks and avoid heat tools during recovery to restore hair strength.
- Follow processing time exactly
- Use moisturizing and protein treatments
Selecting the Best Root Touch Up Products

Top Rated Root Touch Up Kits
Brands like L’Oréal, Clairol, and Garnier offer root touch up kits with customizable colors designed for easy application and good coverage. These kits often come with detailed instructions and tools.
Choosing a kit that closely matches your hair color and hair type is vital for natural-looking results and minimizing damage during application.
- L’Oréal Magic Root Rescue
- Clairol Nice'n Easy Root Touch-Up
- Garnier Nutrisse Root Touch-Up
For more detailed background on hair coloring methods, you can visit this comprehensive page on hair coloring techniques. hair coloring techniques.
Professional Salon Products for At-Home Use
Professional-grade products designed for salons but available to consumers, like Wella Color Touch or Redken Root Touch Up, provide superior pigment and conditioning agents.
They often require more careful mixing and timing but deliver longer-lasting and more vibrant color, ideal for those comfortable with technical hair coloring.
- Wella Color Touch
- Redken Root Touch Up
Root Touch Up Product Types Comparison
This table compares popular root touch up methods based on longevity, ease of use, and damage potential to help you find the best product for your needs.
| Product Type | Longevity | Ease of Use | Hair Damage Risk | Ideal For |
|---|---|---|---|---|
| Permanent Dye | 6-8 weeks | Moderate | Higher | Full grey coverage, long-lasting |
| Semi-Permanent Dye | 2-4 weeks | Easy | Lower | Subtle root blending, gentle |
| Root Touch Up Sprays | Until next wash | Very easy | Minimal | Temporary cover-ups and quick fixes |
| Root Touch Up Powders | Until next wash | Easy | Minimal | Short hair or small spot coverage |
Frequently Asked Questions
Can I do a root touch up on damp hair?
It’s best to apply root touch up dye on dry hair, as natural oils on the scalp protect your skin and the dye adheres better, resulting in more even coverage.
How often should I do a root touch up?
Typically, root touch ups are needed every 4 to 6 weeks depending on how fast your hair grows and how noticeable your natural roots are.
What if my root color doesn’t match my dyed hair?
If your root color is off, blend with color-depositing conditioners or partial highlights, or consult a professional to correct color imbalance safely.
Are root touch up sprays safe for frequent use?
Yes, sprays are safe but should be washed out regularly. They are meant as temporary solutions and don’t treat hair like dye, so they pose minimal risk.
How can I prevent my roots from looking patchy after dyeing?
Apply dye section by section with care, avoid overlapping previous color, and use recommended processing times to achieve uniform root coverage.
Key Takeaways
- Choose root touch up products based on desired longevity and hair condition
- Apply dye only to dry, sectioned roots to avoid damage and achieve even color
- Follow processing times closely and protect hair with conditioning treatments
- Use root sprays or powders for quick, temporary fixes when needed
Conclusion
When considering how to do a root touch up, the best approach combines selecting the appropriate product with careful application and proper aftercare. Deciding between permanent dyes, semi-permanent options, or temporary sprays depends on your hair type, the level of coverage needed, and how frequently you want to maintain the color. Paying close attention to application techniques, such as avoiding overlapping previously dyed hair and protecting the scalp, will result in more natural and healthier-looking roots. This detailed attention prevents patchiness and damage, which are common pitfalls in at-home root coloring.
For those needing long-lasting gray coverage or a dramatic change, professional-grade permanent dyes or reputable root touch up kits from brands like L’Oréal or Garnier are suitable. If you prefer to reduce chemical exposure or blend subtle root lines, semi-permanent dyes offer a gentler option that fades gracefully. Quick fixes like root sprays or powders are perfect for short-term maintenance between full touch ups or for last-minute root concealment before events. Matching your choice to your lifestyle and hair needs helps maintain a consistent and vibrant hair color that looks salon-fresh.
Before jumping into your root touch up, it’s wise to prepare your hair and workspace, conduct strand and patch tests, and follow detailed application instructions. If uncertainty persists, consulting a professional stylist can save time and prevent costly mistakes. Once comfortable, regular root maintenance at home with trusted products can save you salon visits while letting you keep your hair looking polished. Always follow with nourishing conditioning to keep your hair strong for each new touch up session.