How to Do a Sew In at Home: A Step-by-Step Guide for Beginners
Doing a sew in at home involves braiding your natural hair into cornrows and then sewing hair extensions onto the braids with a needle and thread. With the right tools and guidance, you can install a secure sew in that looks natural while protecting your hair.
Many choose sew ins because they provide a long-lasting style without the damage caused by glue or heat. A well-done sew in adds volume and length, letting you experiment with new looks while keeping your natural hair safe underneath.
This article covers the essential steps for a home sew in installation, from preparing your hair to creating neat braids and stitching in the extensions. You'll also find tips on choosing the right tools, maintaining your sew in, and avoiding common mistakes.
Gathering Tools and Materials for Your Sew In

Essential Tools You’ll Need
A successful sew in starts with having the right tools. Key items include a curved needle designed for hair weaving, weaving thread that matches your hair color, a rat-tail comb for precise parts, and clips to hold your hair.
Choosing high-quality hair extensions that blend with your natural hair will make a huge difference in the final look. Also, having a pair of scissors handy allows you to trim and shape your extensions after installation.
- Curved weaving needle
- Weaving thread in matching color
- Rat-tail comb
- Hair clips
- Scissors
- Hair extensions (human hair recommended)
Preparing Your Hair and Workspace
Before starting your sew in, wash and thoroughly dry your natural hair to prevent mold and scalp issues. Clear your workspace with good lighting to make stitching easier and to avoid losing small items.
Arrange your tools within easy reach. Section your hair carefully, using clips to keep it separated. Having a mirror positioned to see the back of your head will help maintain neatness while sewing.
Braiding Your Hair for a Sew In

Creating the Base Braids
Start by parting your hair into even sections to create flat cornrows that will serve as the foundation for sewing in extensions. The braids should be tight enough to secure the hair but not so tight as to cause scalp discomfort.
Horizontal cornrows running from ear to ear are the most common base for sew ins. Make sure the braids are neat and lie flat to ensure the extensions sit smoothly and the final style looks natural.
- Part hair with a rat-tail comb
- Braid straight across the scalp
- Keep braids evenly spaced and flat
Customizing Braid Patterns
While straight cornrows are typical, you can customize your braid pattern depending on the style you want and your hair’s texture. For instance, curved braids can help with layered sew ins or specific parting styles.
Remember, more intricate braid patterns can take longer to install but offer additional flexibility in how you can wear your extensions later on.
Sewing in Hair Extensions

Threading the Needle and Starting the Sew In
Thread the curved needle with weaving thread, knotting the end securely. Begin sewing close to the scalp at one end of a braid, looping the thread under the braid and through the weft of the hair extension repeatedly to attach it firmly.
Work slowly and carefully to avoid tangling the thread or pulling too tight, which could cause discomfort or uneven tension in the extensions.
- Thread needle with matching thread
- Tie a secure knot at the end
- Start sewing close to the scalp
For more on this, see our related guide: Why Do My Gel Nails Chip? Causes and Prevention Tips.
Continuing the Sew In and Securing the Weft
Continue stitching along the braid, wrapping the thread tightly and looping through the extension wefts. After finishing a weft, knot the thread securely and trim the excess.
Move on to the next braid and repeat the process until all your extensions are attached. Double-check each section is tight and flat against your scalp for a seamless finish.
- Sew wefts firmly along braids
- Tie secure knots after each weft
- Trim excess thread neatly
Finishing and Styling Your Sew In

Trimming and Shaping Extensions
After sewing in all your hair extensions, trim them to your desired length and shape to blend naturally with your own hair. Layers or bangs can be added for a more customized look.
Use sharp scissors and trim conservatively at first, taking care not to cut too much until you see how the extensions fall and flow with your style.
Maintaining Your Sew In Style
To maintain your sew in, avoid excessive moisture to prolong the life of the weave. Sleeping with a satin scarf or bonnet protects the hair and thread from friction.
Regularly moisturize your scalp and edges to prevent drying and breakage. With proper care, a sew in can stay looking fresh for 6-8 weeks or longer.
- Use satin scarf or bonnet at night
- Keep scalp moisturized
- Avoid heavy water exposure
Common Issues and How to Avoid Them During a Sew In
Preventing Scalp Discomfort and Damage
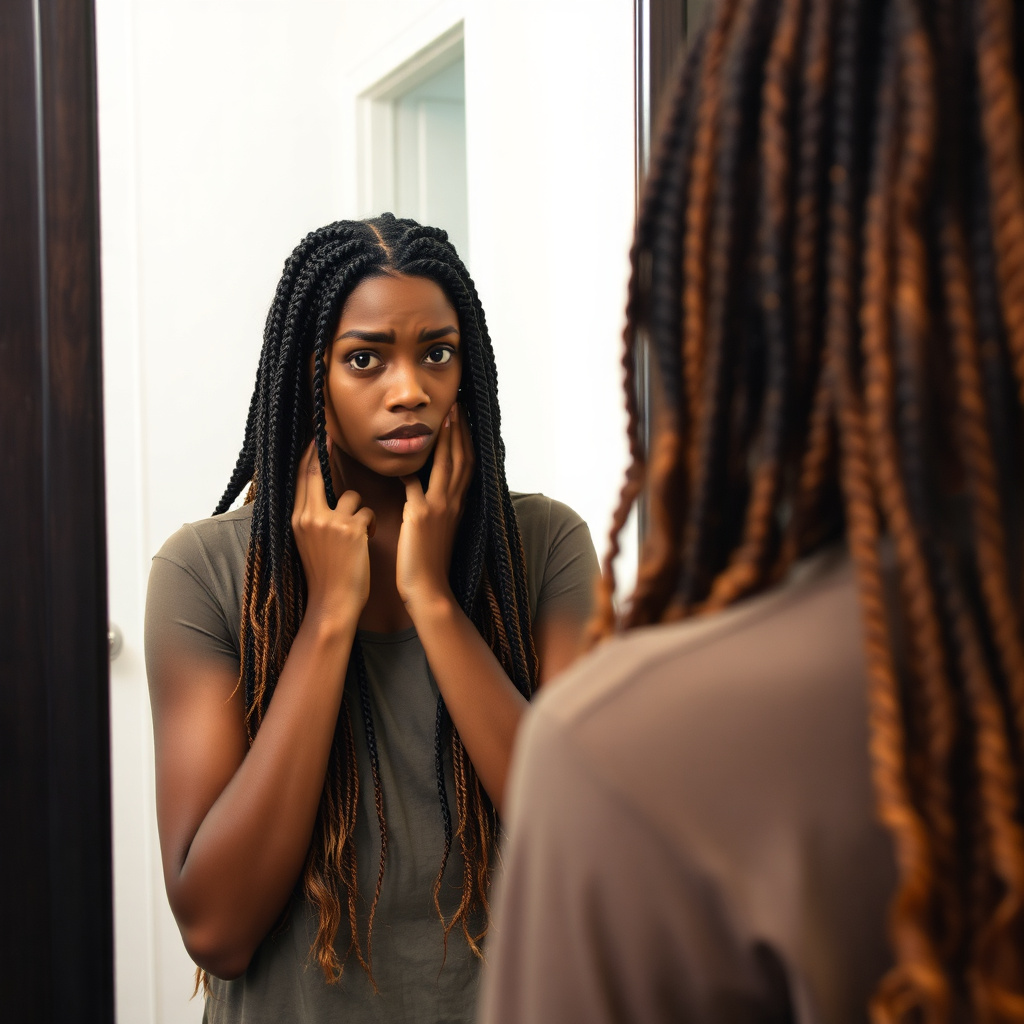
Sometimes sew ins can cause itching, tightness, or breakage if the braids are too tight or if the thread is pulled too firmly. Always listen to your scalp and adjust tension accordingly during installation.
Breakages can also occur if the hair extensions or natural hair are not properly cared for, so keep your scalp clean and moisturized throughout the wear period.
- Avoid overly tight braids
- Adjust stitching tension to comfort
- Keep scalp clean and moisturized
For more on this, see our related guide: How to Do a Manicure at Home: Step-by-Step Guide for Perfect Nails.
Fixing Loose Extensions and Uneven Wefts
If you notice parts where the extensions are loose or uneven, you can carefully restitch those sections with a sewing needle and thread. Tightening or reinforcing the thread improves longevity.
Uneven wefts can be trimmed or repositioned if caught early, preventing further unraveling or discomfort caused by lifted hair.
Removing a Sew In at Home

Tools and Techniques for Safe Removal
To remove a sew in at home, use small scissors to carefully snip the weaving thread without cutting your natural hair. Take your time and work in sections to avoid tangling or pulling.
Having a friend assist with visibility or using mirrors to see the back can be helpful. Once the thread is cut, gently lift the extensions off the braids.
- Use sharp scissors
- Cut only thread, not hair
- Work slowly and section by section
For additional background about the history and techniques of sew in hairstyles, you can explore weave hairstyle techniques on Wikipedia. weave hairstyle techniques on Wikipedia.
Aftercare Post Sew In Removal
After removing a sew in, cleanse your scalp thoroughly to remove buildup. Deep conditioning and moisturizing help restore moisture lost during wear.
Give your natural hair a break before installing another sew in to prevent damage and promote healthy hair growth.
- Wash scalp and hair
- Deep condition
- Take a break before next install
Sew In Hair Extensions Category Comparison
Here’s a quick comparison of different sew in hair extensions based on material, durability, and cost to help you pick the best fit for your needs.
| Hair Type | Durability | Cost | Maintenance |
|---|---|---|---|
| Human Hair | 6–8 weeks | High | Medium, requires washing and conditioning |
| Synthetic Hair | 2–3 weeks | Low | Low, but limited styling options |
| Remy Hair | 8+ weeks | Very High | Medium, maintains cuticle alignment |
| Virgin Hair | 8+ weeks | Very High | High, best for repeated styling |
Frequently Asked Questions
Can I do a sew in by myself at home?
Yes, with patience and the right tools, you can perform a sew in at home by braiding your hair properly and sewing in the extensions carefully.
How tight should the braids be for a sew in?
Braids should be firm to hold the extensions securely but not so tight they cause pain or scalp damage.
How long does a sew in last?
Typically, a well-maintained sew in lasts between 6 to 8 weeks before needing removal or reinstallation.
What type of hair is best for sew ins?
Human Remy or virgin hair is best because it blends naturally, responds well to styling, and lasts longer.
How do I prevent damage with a sew in?
Avoid tight braids, regularly moisturize your scalp, and remove the sew in timely to reduce hair stress.
Key Takeaways
- A sew in requires tight but comfortable cornrows as a base for sewing extensions.
- Using a curved needle and matching thread helps secure extensions without damage.
- Human Remy hair extensions offer the best durability and natural appearance.
- Proper aftercare and maintenance extend the life of a sew in and protect your scalp.
Conclusion
Choosing to do a sew in at home involves balancing good preparation, proper technique, and patience. Starting with clean, healthy hair and the right tools sets the stage for a secure, natural-looking installation. Mastering your braid pattern and threading technique ensures the extensions stay in place comfortably for weeks.
Depending on your hair goals, human Remy or virgin hair extensions offer durability and styling flexibility. For beginner-friendly installs, simple straight cornrows with common weaving thread work well. Those seeking more shape can customize braid patterns for layered or voluminous looks. Remember that maintenance with moisturizing and protective styling habits helps your sew in last longer without scalp issues.
If you're ready to try a sew in yourself, start by gathering quality materials and practicing your braiding technique. Follow step-by-step instructions carefully, and don't rush the sewing to avoid tangling or discomfort. When you're comfortable, you'll enjoy beautiful fuller hair that you installed yourself, all while keeping your natural scalp healthy.


One Comment