How to Do a Wig Install: Step-by-Step Guide for a Natural Look
To do a wig install properly, start by preparing your natural hair with a clean, flat base, then secure your wig cap tightly. Align the wig’s lace or edge with your natural hairline, apply adhesive or glue carefully, and press down to secure the wig in place. Finish by blending the wig with your skin tone and style as desired.
A good wig install makes your wig appear natural while keeping it comfortable and secure throughout the day. Whether you’re new to wearing wigs or have experience, knowing the right technique can help avoid damage to your natural hair and ensure your wig looks seamless.
This article will guide you through each stage of the wig install process—from prepping your hair and choosing adhesives to securing the wig and styling it for a polished appearance. We'll also cover tips on maintenance and selecting the best wigs for beginners.
Preparing Your Hair and Scalp for Wig Installation
Cleaning and Moisturizing Your Scalp
Start by washing your hair and scalp with a gentle shampoo to remove oils and dirt. This keeps your scalp healthy and helps adhesives bond better. After washing, apply a lightweight moisturizer or scalp oil sparingly to prevent dryness without causing buildup. Let your scalp dry completely before moving on.
- Use a sulfate-free shampoo
- Avoid heavy conditioners on scalp
- Pat scalp dry gently with a towel
Braiding or Wrapping Hair Flat
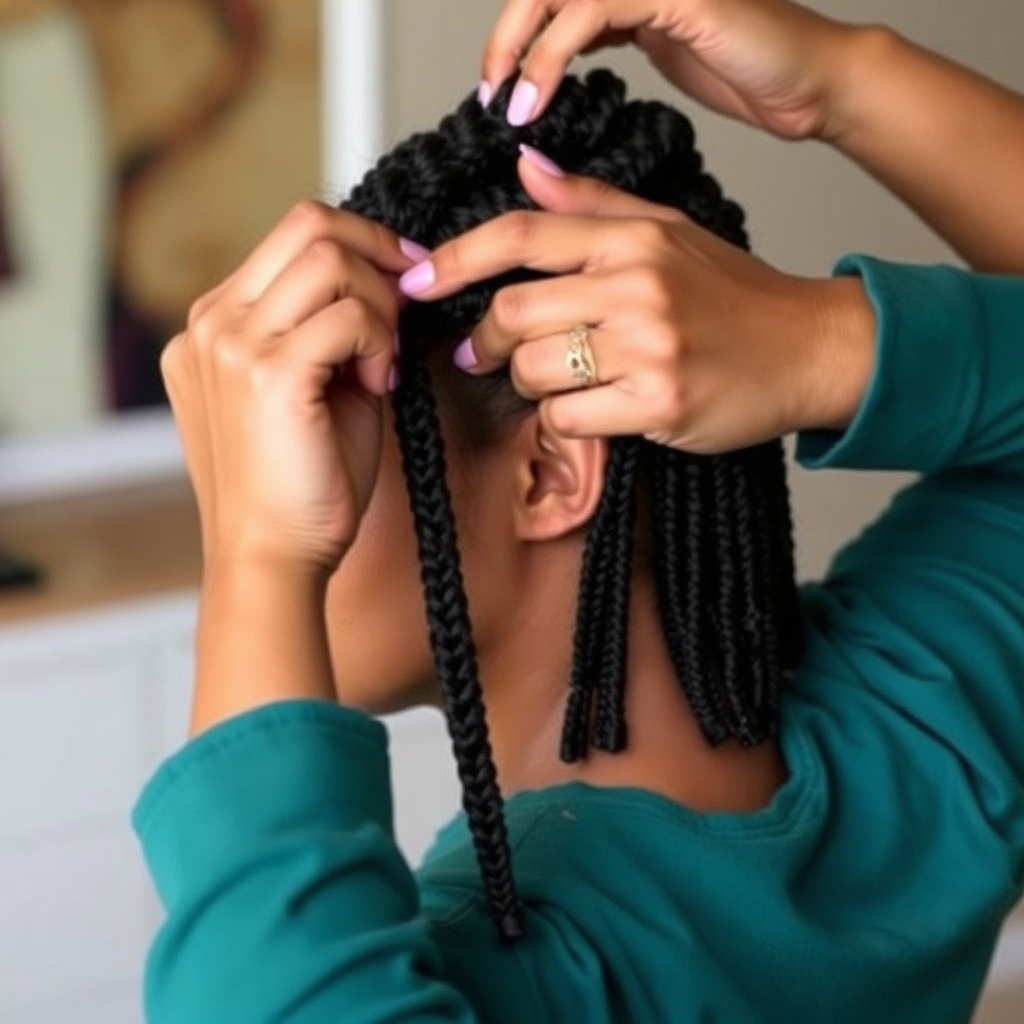
Once your hair is clean and dry, braid it into cornrows or twist it flat against your scalp to create a smooth surface. Alternatively, silk or satin wrap your hair tightly. This minimizes bulk under the wig and helps it lay flat against your head.
For those with shorter hair, applying a wig cap after braiding can help protect hair strands and provide extra grip for the wig.
- Use small, tight braids
- Secure ends with rubber bands
- Consider a wig cap suited to your needs
Choosing the Right Wig and Adhesive for Installation

Selecting a Suitable Wig for Your Style
Begin by picking a wig that fits your lifestyle, desired look, and skill level. Lace front wigs offer a realistic hairline, perfect for natural appearance, but require more careful installation. Full lace wigs provide versatility in styling but tend to be pricier.
For beginners, synthetic wigs can be affordable and low maintenance, whereas human hair wigs allow styling freedom but need more care.
- Consider cap construction (lace front, full lace, or 360 lace)
- Decide between synthetic or human hair
- Check for adjustable straps and combs inside
For more on this, see our related guide: What Type of Protective Style Is Best for Winter: Top Choices for Hair Health.
Understanding Adhesive Options
Common adhesives include glue, tape, and elastic band methods. Glue provides strong hold but requires caution to avoid scalp irritation. Tape is easier to apply but may not last as long. Elastic band methods secure the wig without adhesives, ideal for sensitive scalps or temporary wear.
Test a small amount of adhesive first to check for allergies. Always follow product instructions and remove adhesives gently to protect your hair and scalp.
- Use latex-free glue for sensitive skin
- Choose double-sided tape for quick installs
- Avoid using excessive adhesive
Step-by-Step Process of a Wig Install

Applying Adhesive and Placing the Wig
Apply a thin, even layer of adhesive along your hairline where the wig will sit. Wait a few minutes for the glue to become tacky before placing the wig’s lace edge carefully. Use a fine-tooth comb or your fingers to press the lace into the adhesive gently.
Avoid stretching the lace to prevent distortion, and adjust the wig so the hairline aligns closely with your natural hairline for realism.
- Apply adhesive in small sections
- Allow adhesive to become tacky before applying lace
- Press lace gently but firmly into place
Trimming and Styling the Wig
After securing the wig, use scissors to carefully trim excess lace along the hairline. Follow the shape of your forehead, avoiding jagged cuts. Once trimmed, style the wig with heat tools or products suitable for the wig’s material.
You can also customize baby hairs by lightly cutting and flattening strands along the front to mimic natural hair growth, adding to the wig’s authenticity.
- Trim lace slowly and in small sections
- Style with low heat settings for synthetic wigs
- Use gel to smooth baby hairs
Maintaining Your Wig After Installation

Daily Care and Protection
To keep your wig install looking fresh, gently brush the wig daily with a wide-tooth comb or wig brush. Avoid excessive touching of the hairline to prevent loosening the adhesive. Sleep with a satin or silk scarf to reduce friction on the wig and prolong its lifespan.
Regular scalp cleansing helps prevent buildup from adhesives and oils, which can affect wig security.
- Brush hair starting from ends upwards
- Wear a satin bonnet or scarf while sleeping
- Clean scalp with gentle wipes in between washes
For more on this, see our related guide: How to Fix a Hair Trimmer That Won’t Charge: Practical Solutions and Tips.
Removing and Reinstalling Safely
When it’s time to take off your wig, use adhesive remover or oil-based products to dissolve glue gently. Pull the lace slowly to avoid hair breakage or irritation. After removal, cleanse both your scalp and wig thoroughly before reinstalling.
Allow your scalp to breathe for at least a day before reinstalling a wig to maintain scalp health.
- Apply adhesive remover along lace edges
- Wait a few minutes before removing wig
- Wash wig with recommended shampoo after removal
Advanced Tips for a Professional Wig Install

Using Makeup to Blend the Wig
Applying foundation or concealer that matches your skin tone along the wig’s lace edges can disguise any visible lace. Use a small brush for precision and blend softly into your skin. Setting powder helps prevent shine and keeps makeup in place.
This technique enhances realism, especially in natural light or when filming videos.
- Match makeup shade to your skin
- Set makeup with translucent powder
- Reapply makeup after sweating or washing
For more detailed background on wigs and installation techniques, you can explore resources such as this comprehensive article. Wig installation techniques.
Securing the Wig for Long-Term Wear
For extended wear, consider combining adhesives with adjustable elastic bands sewn inside the wig. This dual method increases security and reduces stress on your lace front. Use wig clips at the sides or back for added hold if compatible with your cap.
Always inspect your wig regularly for damage to adhesives and replace products as needed to maintain stability.
- Sew elastic bands along the inside cap
- Attach wig clips for extra anchoring
- Check adhesive condition weekly
Wig Install Methods Comparison
Here’s a quick comparison of popular wig install methods highlighting their pros and cons to help you choose the best approach.
| Method | Ease of Application | Hold Duration | Scalp Safety | Cost |
|---|---|---|---|---|
| Glue Adhesive | Moderate | 7-14 days | Can cause irritation if misused | Medium |
| Double-Sided Tape | Easy | 5-10 days | Gentle if properly applied | Low to Medium |
| Elastic Band Method | Easy | 1-3 days | Very scalp-friendly | Low |
| No Adhesive (Clips Only) | Very Easy | Few hours | Safe | Low |
| Sew-in with Elastic Band | Advanced | 2-4 weeks | Good scalp protection | High |
Frequently Asked Questions
How often should I remove my wig for cleaning?
It's best to remove your wig every 1 to 2 weeks for thorough cleaning of both your natural hair and the wig to maintain scalp health and wig longevity.
Can I install a wig without using glue?
Yes, wigs can be secured using elastic bands, wig clips, or tape which are less damaging alternatives to glue, especially for those with sensitive scalps.
How do I prevent my wig from looking unnatural at the hairline?
Properly trimming the lace, blending baby hairs, and lightly applying skin-tone makeup along the lace edges helps create a natural-looking hairline.
Is it safe to sleep with my wig on?
Sleeping with your wig on is not recommended as it can cause tangling, damage to the wig, and scalp irritation. Use a satin bonnet or remove the wig before bed.
What type of wig is best for beginners?
Lace front synthetic wigs are often recommended for beginners due to ease of maintenance, affordability, and realistic appearance without complex installation.
Key Takeaways
- Prepping and braiding hair flat is essential for a smooth wig install.
- Choosing the right adhesive and wig type affects comfort and realism.
- Careful application of glue and lace trimming improve natural look.
- Regular maintenance prolongs wig lifespan and protects scalp health.
Conclusion
When deciding how to do a wig install, prioritize preparing your natural hair and scalp properly to create a stable base. Selecting an appropriate wig and adhesive method depends on your comfort level, scalp sensitivity, and desired wear duration. Taking time to secure the lace front with precision greatly influences the overall natural appearance.
For beginners seeking an easier routine, synthetic lace front wigs combined with double-sided tape offer a good balance of realism and user-friendliness. Experienced users aiming for long-term wear may explore glue adhesives paired with elastic bands for additional security. Consistent maintenance and gentle removal techniques help avoid damage both to the wig and natural hair.
Ultimately, practicing proper wig install steps builds confidence and results in flawless, durable styles. Begin with basic braiding and adhesive application, then experiment with personalization like baby hairs or makeup blending once comfortable. With attention to detail, your wig install not only enhances your look but also protects your natural hair health.





One Comment