How to Do Curtain Bangs at Home: A Step-by-Step Guide
Creating curtain bangs at home is entirely doable with the right tools, technique, and patience. By carefully sectioning your hair and cutting at the proper angle, you can achieve soft, face-framing bangs that blend naturally with the rest of your hair without needing professional help.
Curtain bangs have become a modern classic for their versatility and flattering look on many face shapes. Cutting them yourself saves time and money, letting you refresh your style whenever you want. With some practice and precision, the result can look just as good as a salon cut.
This guide will walk you through the essential supplies, preparation tips, and detailed cutting steps to craft curtain bangs at home. Additionally, we’ll cover styling suggestions and troubleshooting common mistakes to help you feel confident and in control of your new fringe.
Essential Tools and Preparation for Curtain Bangs

Selecting the Right Tools
Using sharp hairdressing scissors is crucial for clean, precise cuts that prevent split ends and uneven edges. A fine-toothed comb helps in sectioning the hair neatly, while hair clips keep the sections separate and manageable throughout the process.
Additionally, a spray bottle filled with water allows you to dampen your hair, which makes cutting easier and reduces hair flyaways. Avoid household scissors, as they are often too blunt and can cause damage.
- Professional hair cutting scissors
- Fine-toothed comb
- Hair clips or sectioning clips
- Spray bottle with water
- Mirror and good lighting
Preparing Your Hair
Start with clean, slightly damp hair for more control and accuracy. Comb your hair thoroughly to detangle and create a smooth surface for cutting. Decide where you want the bangs to start, typically near the highest point of your eyebrows for a classic curtain bang look.
Part your hair down the middle and use clips to separate the front section you want to cut from the rest. Keeping hair damp throughout the process helps maintain consistency in your cutting length.
Step-by-Step Cutting Technique for Curtain Bangs

Sectioning and Cutting the Initial Fringe
Start by sectioning out the middle portion of your hair you want to turn into curtain bangs. The section should be roughly triangular, wider at the top and tapering near the eyebrows. Hold this section forward, so it falls naturally over your forehead.
Using pointed scissors, cut straight across at your desired length, starting longer than you think since you can always trim more. Aim for a slight curve that frames the eyes, leaving longer lengths at the edges to create that signature parted look.
- Create a triangular section from your part to temples
- Cut straight across starting at mid-forehead
- Trim conservatively at first
Texturizing and Shaping the Bangs
To soften blunt edges, use the tip of your scissors vertically to lightly snip into the ends, creating textured layers. This prevents a harsh, uniform edge and makes the bangs blend naturally into your hair.
After texturizing, part the bangs down the center and separate them to ensure they fall on either side of your face evenly. Adjust any uneven areas with small trims, keeping symmetry in mind for a balanced curtain effect.
- Point-cut to soften edges
- Part bangs down the center
- Trim uneven sections carefully
Styling and Maintaining Your Curtain Bangs
Daily Styling Tips
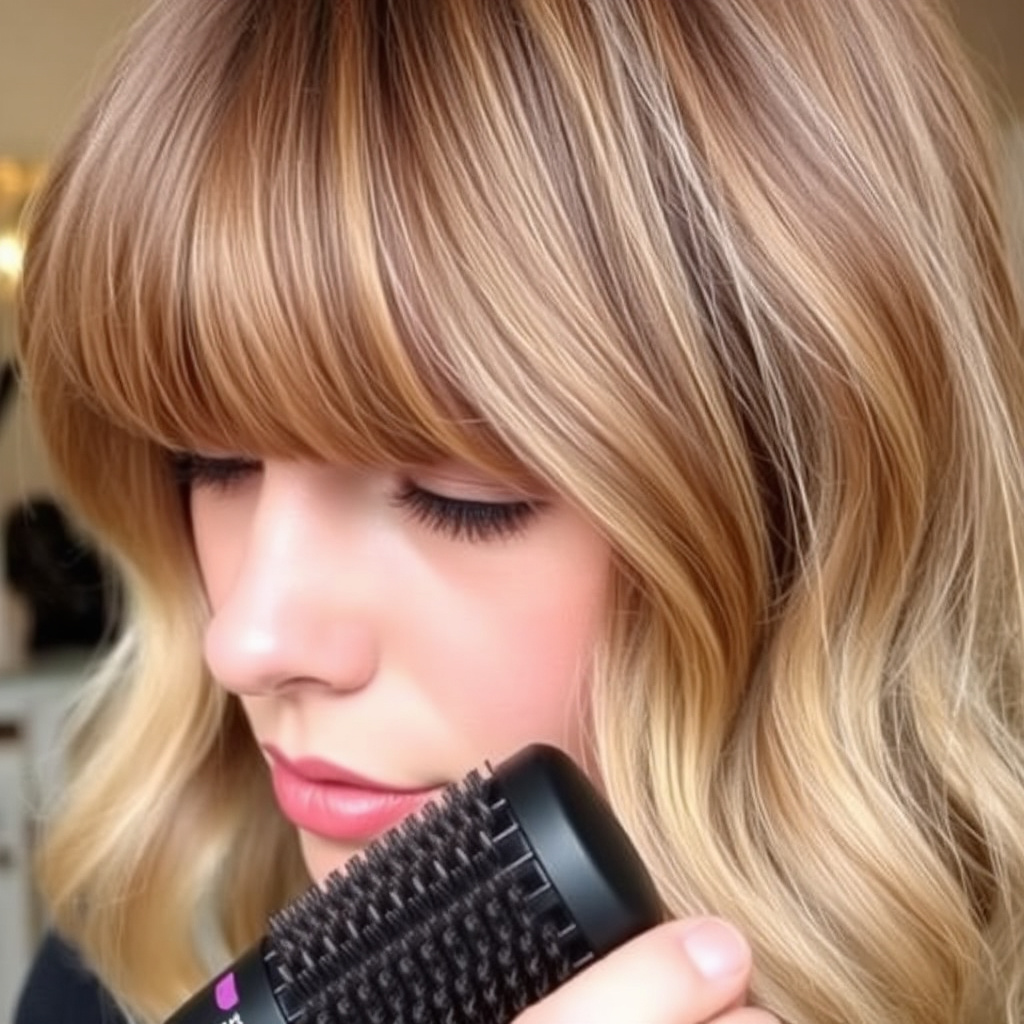
Curtain bangs look best when soft and natural. Use a round brush and a blow dryer to direct the bangs away from your face, creating volume and a slight wave. For added hold, a lightweight styling cream or mousse can help maintain shape without stiffness.
Avoid heavy products that weigh down the bangs. Styling while damp helps set the direction and maintain the signature curtain shape throughout the day.
- Blow dry with round brush
- Use light styling products
- Style while hair is damp
For more on this, see our related guide: How to Do Bangs: A Step-by-Step Guide for Flawless Results.
Long-Term Maintenance
To keep your curtain bangs looking fresh, trim every 4 to 6 weeks. Spot trims at home can be done carefully to maintain length without overcutting. Regular washing and conditioning prevent buildup that may weigh the bangs down or flatten their shape.
If your hair grows quickly, consider scheduling touch-ups more frequently or learning to trim targeted sections to maintain balance.
- Trim every 4-6 weeks
- Spot trim to maintain length
- Regular washing and conditioning
Common Mistakes to Avoid When Cutting Curtain Bangs at Home

Cutting Hair Too Short
One of the most frequent errors is cutting bangs too short right away. Because hair shrinks when it dries, cutting conservatively and patiently allows for better control and prevents needing to awkwardly grow out excessively short bangs.
Starting longer also makes it easier to fix shape or length if you decide to adjust later.
- Avoid immediate drastic length cuts
- Trim gradually in small increments
Ignoring Hair Texture and Growth Patterns
Failing to account for your hair’s natural texture and growth can cause bangs to fall unevenly or curl unexpectedly. For example, curly or wavy hair requires more layering and texturizing to avoid a heavy, boxy look.
Observe how your hair parts and grows before you cut to make more precise adjustments tailored to your individual hair.
- Consider natural hair wave or curl
- Adjust cutting technique accordingly
Advanced Techniques for Customizing DIY Curtain Bangs

Using Thinning Shears for Soft Layers
Thinning shears remove bulk without shortening length, ideal for thick or coarse hair to create softer transitions within the bangs. Employ them after initial cutting by gently snipping through hair strands to add dimension and reduce heaviness.
This technique results in more natural movement that enhances the curtain bang’s framed look.
- Use thinning shears post-cut
- Remove bulk gently without cutting length
For more on this, see our related guide: How to Do Curtain Bangs: A Step-by-Step Guide for Stylish Fringe.
Adjusting Bang Length for Different Face Shapes
Customize curtain bang length depending on your face shape: shorter bangs suit round faces by elongating the look, while longer fringes soften angular features. Try a gradual taper from longer edges to shorter center for balanced framing that flatters your features.
Experimenting in small increments helps you discover the best length for your personal style.
- Shorter center bangs for round faces
- Longer edges soften sharp jawlines
Caring for Curtain Bangs in Different Weather Conditions

Managing Humidity and Frizz
Humidity causes many bangs to frizz or lose shape quickly. Applying an anti-frizz serum or light oil can control flyaways and maintain smoothness. Avoid heavy products that add weight, opting instead for a non-greasy formula.
Also, use a diffuser while blow drying to preserve natural wave without excessive frizz.
- Apply anti-frizz serums
- Use diffuser attachments on blow dryers
For an overview of bangs hairstyles including curtain bangs, you can explore more details on the Wikipedia page. curtain bangs hairstyle overview.
Protecting Bangs in Cold or Dry Weather
Cold, dry air can cause static and brittleness that disrupt curtain bangs’ softness. Hydrating leave-in conditioners help retain moisture. Wearing breathable hats or scarves minimizes damage caused by harsh environmental conditions.
Regular deep conditioning treatments prevent breakage and keep bang strands supple.
- Use leave-in moisturizers
- Wear protective headwear outdoors
Types of Curtain Bangs: DIY Style Comparison
Here’s a comparison of popular curtain bangs styles you can try at home, based on shape, maintenance, and best hair type.
| Style | Length | Maintenance Level | Best Hair Type |
|---|---|---|---|
| Classic Curtain Bangs | Mid-forehead length | Medium | Straight to wavy |
| Layered Curtain Bangs | Gradual tapering edges | High | Thick or coarse |
| Short Curtain Bangs | Above eyebrows | High | Fine or round faces |
| Long Curtain Bangs | Nose length or longer | Low | Oval or angular faces |
| Textured Curtain Bangs | Variable, jagged ends | Medium | Wavy or curly |
Frequently Asked Questions
Can I do curtain bangs on curly hair at home?
Yes, but you’ll need to cut when the hair is dry to see the natural curl pattern. Use texturizing techniques to avoid bulky or heavy bangs and consider trimming small layers gradually.
How often should I trim curtain bangs?
Trimming every 4 to 6 weeks keeps curtain bangs looking fresh and prevents overgrowth. You can do spot trims at home to maintain the ideal length between major cuts.
What’s the best way to style curtain bangs daily?
Blow drying with a round brush to direct bangs outward works well. Use light styling products to hold shape without stiffness and style bangs while damp for longer-lasting results.
Is it okay to cut curtain bangs while my hair is wet?
Cutting bangs slightly damp is preferable for control, but take into account that hair shrinks when dry. Cut conservatively to avoid making bangs too short.
How can I fix uneven curtain bangs at home?
Trim small amounts off the longer side using pointed scissors and blend edges with vertical snips to soften lines. Taking your time helps avoid creating new uneven spots.
What tools do I need to cut curtain bangs myself?
You’ll need sharp hair cutting scissors, a fine-toothed comb, hair clips, and a spray bottle to dampen hair. Having a well-lit mirror setup is also important.
Key Takeaways
- Use professional hair cutting scissors and a comb for precision
- Start cutting curtain bangs conservatively to avoid mistakes
- Texturize bangs for softness and natural blending
- Maintain bangs with regular trims and proper styling
Conclusion
Cutting curtain bangs at home is a practical way to freshen your hairstyle without salon visits, but it demands careful preparation, patience, and the right tools. Assess your hair type, understand your face shape, and gradually trim to control the outcome. Mastering each step minimizes mistakes and maximizes your satisfaction with the result.
For those with straight or wavy hair, classic curtain bangs are easier and require less maintenance, making them a great entry point for DIY styling. If you have thick or curly hair, layering and texturizing techniques are beneficial and worth investing time to learn. Regular upkeep is essential regardless of style, as curtain bangs can quickly grow out and lose shape if neglected.
Begin with small, conservative trims following this guide, and gradually adjust to your desired look. Remember, patience and consistent care help you achieve and maintain curtain bangs that beautifully frame your face. Trying the DIY curtain bangs tutorial activates both creativity and confidence in managing your own hair style.