How to Use Clipper Attachments for Precise Haircuts
Using clipper attachments properly can transform your haircutting experience by delivering consistent hair length and even trimming without sudden mistakes. To use clipper attachments, select the desired guard size, securely snap it onto your clipper blade, and run the clipper through hair with the guard's teeth guiding the cut at an exact length.
This process matters because clipper attachments, or guards, control hair length, ensuring you don't cut too short or unevenly. They make DIY haircuts more manageable and prevent confusion between cutting lengths. Whether trimming beard or hair, understanding how to attach and move clippers properly provides smooth, professional results.
This article covers the various clipper attachment sizes, how to secure and use them correctly, techniques for different hair textures and styles, cleaning and maintenance tips, plus advice on choosing the best clipper guards for home use.
Understanding Clipper Attachment Sizes and Uses
Common Clipper Attachment Sizes Explained
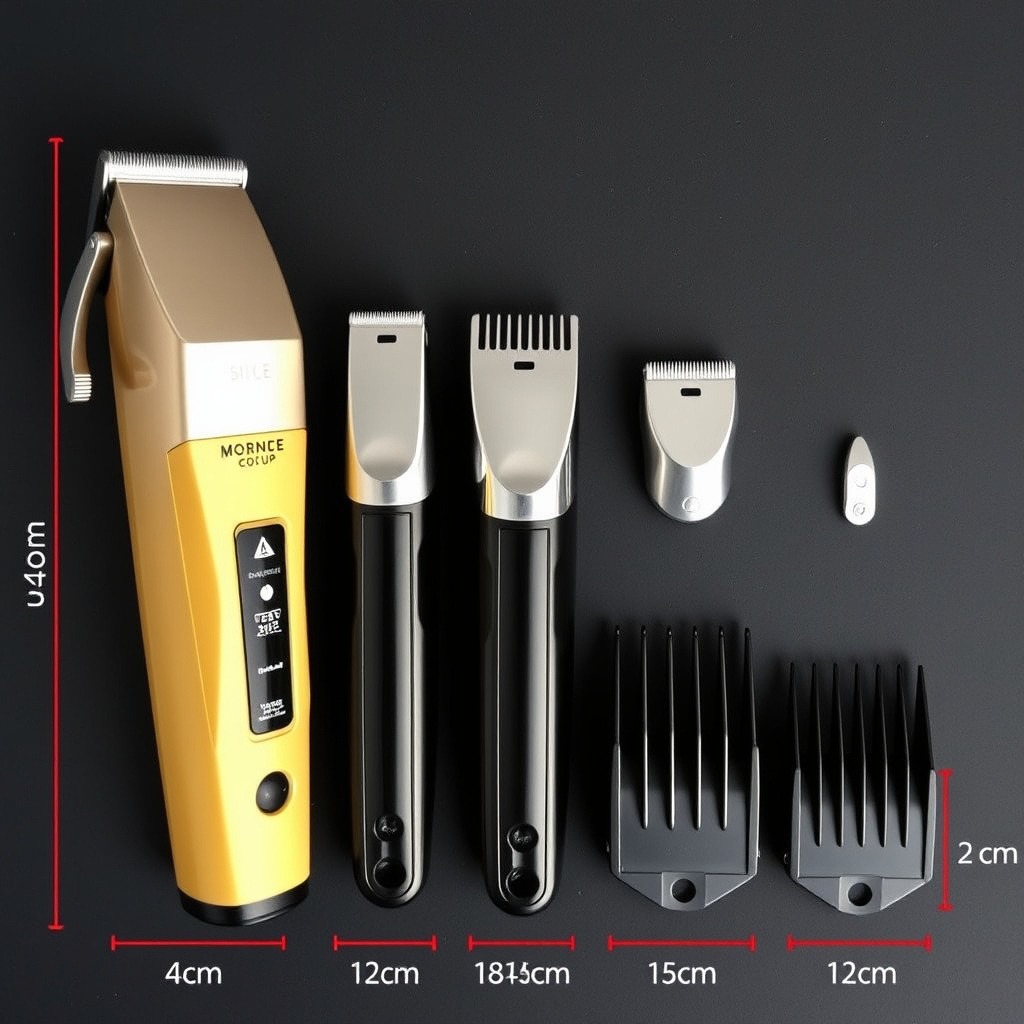
Clipper attachments come in a range of sizes, typically numbered from 0 (no guard) to 8, corresponding to hair length in fractions of an inch. For example, a #1 guard usually leaves hair about 1/8 inch long, while a #4 leaves it about 1/2 inch. Knowing what each size trims to prevents cutting mistakes.
Variations also exist depending on the brand, but the numbering system helps you pick the desired length before your cut. Smaller numbers offer closer cuts and fades, while larger sizes are for longer, blended looks.
- #0 to #2 for very short haircuts
- #3 to #5 for standard trims
- #6 to #8 for longer hair
Matching Attachment Size to Your Desired Style
If you want a clean buzz cut, start with a smaller guard like #1 or #2. For a taper or fade, use a series of guards from shorter to longer to blend the hair gradually. Longer styles or maintaining length require larger attachments.
Choosing the right guard helps you avoid surprises like cutting hair too short. Consider hair texture too: thick or curly hair might need a slightly longer guard than fine hair for a neat look.
Step-by-Step Guide to Using Clipper Attachments
Securing the Attachment to Your Clipper
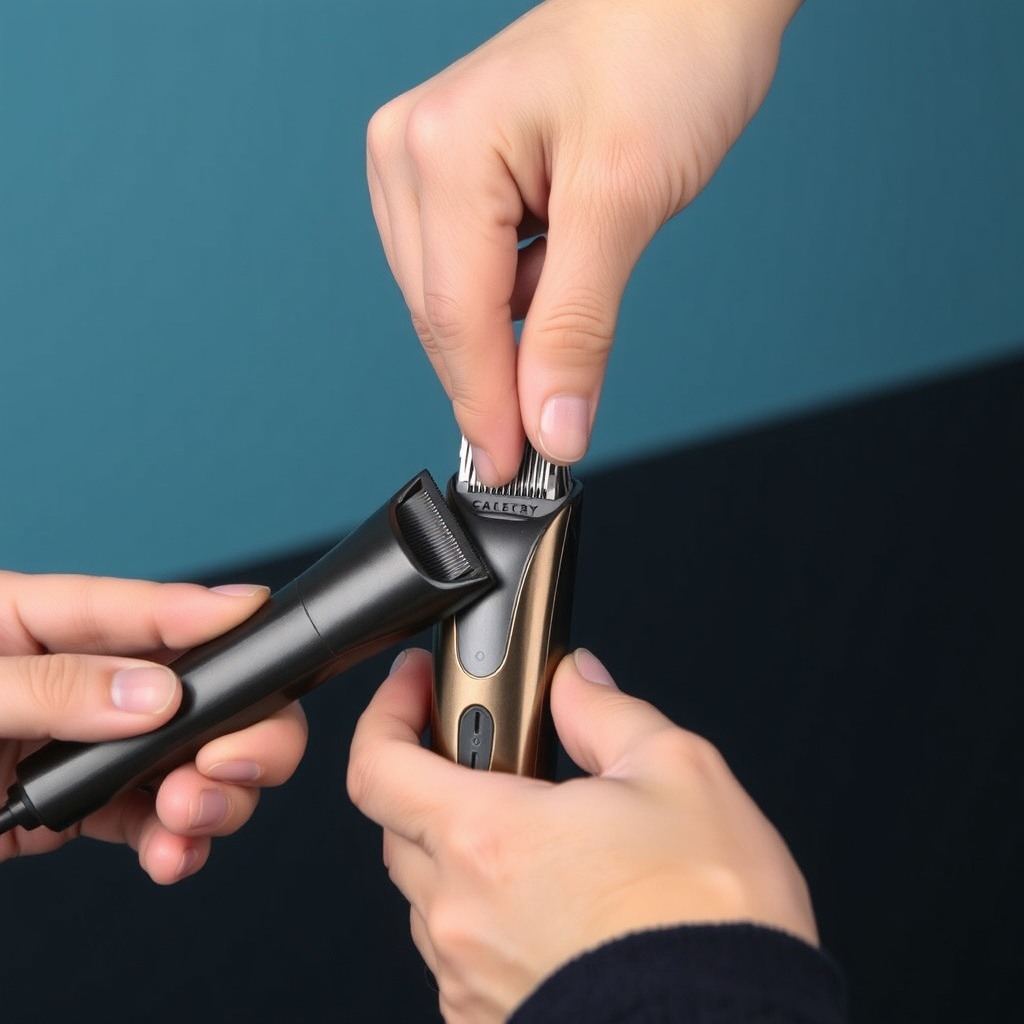
Start with a clean clipper blade to prevent attachments from slipping. Align the clipper guard with the blade’s edge, placing the base of the guard over the blade’s teeth. Press firmly until you hear a click or feel it lock into place, indicating a secure fit.
Make sure the guard is snug and does not wobble. A loose guard can lead to uneven haircuts or injuries. If unsure, gently pull on the guard to check it stays attached during movement.
- Clean clipper blade first
- Align guard with blade teeth
- Press firmly until it locks
For more on this, see our related guide: How Do Clipper Guards Work: A Practical Guide to Haircut Attachments.
Using the Clipper with Attachment Correctly
Hold the clipper with the guard firmly against your scalp or the hair, moving slowly and steadily against the direction of hair growth for an even cut. Avoid pressing too hard; let the guard dictate the hair length.
For fading, overlap slightly with shorter guards before switching to longer ones, creating seamless transitions. Always double-check the length by stopping to feel or inspect hair often.
- Move clipper against hair growth
- Use overlapping strokes for fades
- Avoid pressing too hard
Techniques for Different Hair Types Using Clipper Attachments
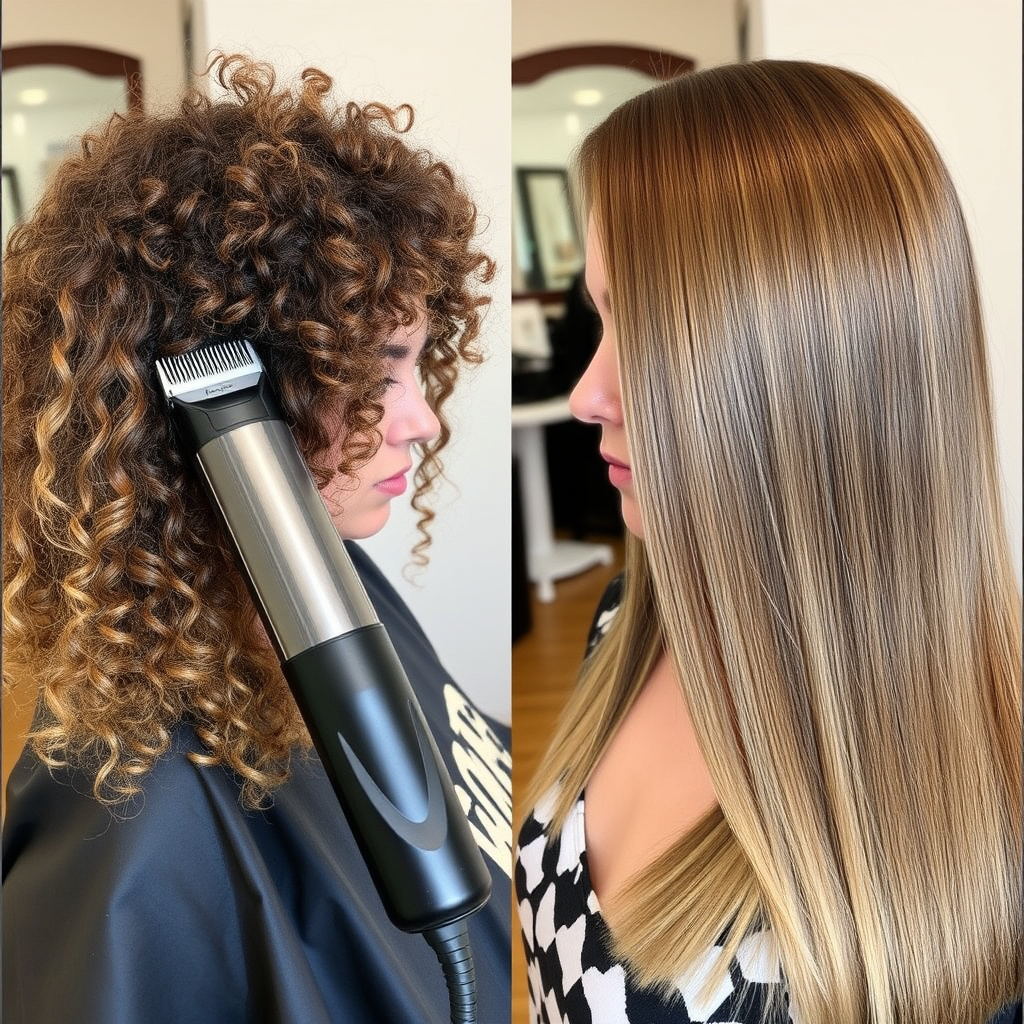
Cutting Straight and Fine Hair
Straight, fine hair is easier to cut evenly with clipper attachments because it lies flat and responds predictably. Using lighter pressure allows the guard to protect the scalp while trimming.
Choose guards that keep enough length to maintain volume but trim unwanted layers. Brushing hair in the direction of cut can improve accuracy.
Managing Curly or Coarse Hair
Curly or coarse hair can snag or resist clipper cuts if you rush. Use slower passes and possibly longer guards to avoid cutting hair too short unintentionally. Detangling before cutting can help the clipper glide through.
Multiple passes with increasing guard sizes help blend curls gently without harsh lines.
Maintaining and Cleaning Clipper Attachments

Cleaning After Each Use
Remove the clipper guard and brush off hair clippings using a small cleaning brush or soft cloth. For stubborn buildup, wash guards in warm soapy water, then dry completely before storage.
Routine cleaning prevents damage to both guards and clipper blades and keeps your equipment hygienic.
- Brush off hair after use
- Wash guards carefully with soap and water
- Dry fully before storing
For more on this, see our related guide: How Do Cordless Clippers Work: A Detailed Guide to Their Operation and Benefits.
Storage Tips to Prevent Damage
Store clipper attachments in a dry container or case to avoid rust and warping. Avoid stacking heavy objects on top of guards to keep their shape intact.
Organizing attachments by size saves time and helps you identify any lost pieces quickly.
Choosing the Best Clipper Guards for Home Use
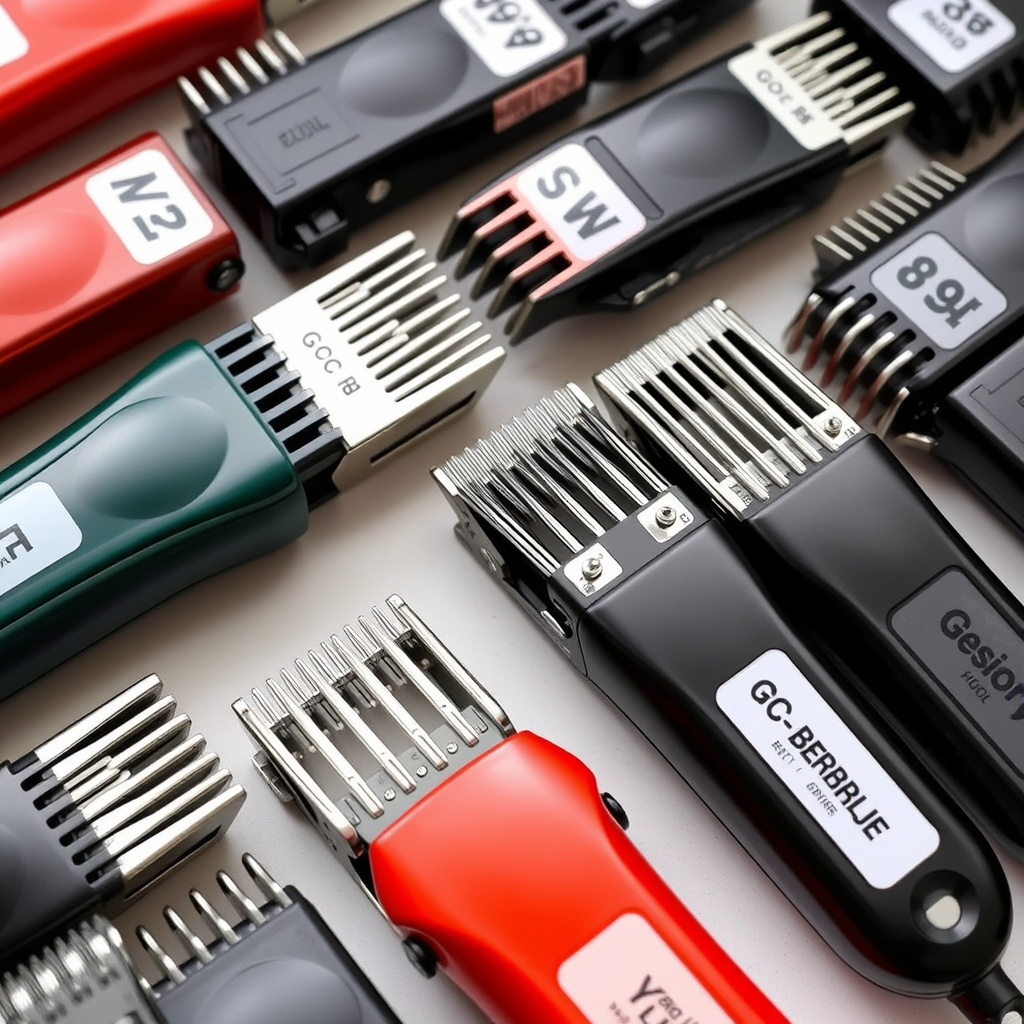
Evaluating Guard Material and Fit
Guards may be made from plastic or metal, with plastic being lighter and generally cheaper but less durable, while metal offers longevity but can be heavier. The fit must match your clipper model for safety and performance.
Universal guards exist but can be less stable. Precision fit guards reduce the risk of uneven cuts and slipping.
For a deeper historical and technical insight, you can explore clipper guard information on Wikipedia. clipper guard information on Wikipedia.
Recommended Guards for Beginners
For first-time users, kits with a range of clipper attachments offer flexibility to experiment with hair lengths safely. Brands like Wahl and Andis provide well-rated starter sets.
Look for guards with clear size markings and secure snap-on designs for ease of use.
- Wahl guard sets
- Andis clipper attachments
- Clear size indicators
Clipper Attachment Guards Category Comparison
Here's a comparison of common clipper guard types to help you pick the best fit for your cutting needs.
| Category | Material | Durability | Ease of Use | Best For |
|---|---|---|---|---|
| Plastic Guards | Plastic | Moderate | High | Home use, beginners |
| Metal Guards | Metal | High | Moderate | Frequent users, professionals |
| Universal Guards | Plastic/Metal Mix | Low to Moderate | Variable | Multiple clipper models |
| Brand-Specific Guards | Plastic or Metal | High | High | Specific clipper models |
Frequently Asked Questions
How do I know which clipper attachment size to use?
Choose a size based on the hair length you want to keep. Smaller numbers cut closer, larger numbers leave longer hair. Start with a longer guard if unsure, then go shorter incrementally.
Can clipper attachments fit any hair clipper?
Not all guards fit every clipper. Many brands design attachments for specific models, so check compatibility before buying or use universal guards designed for multiple types.
How do I clean clipper attachments safely?
Remove hair with a brush after use. Wash plastic guards in warm soapy water and dry completely. Avoid soaking metal guards but wipe them with a slightly damp cloth.
Is it safe to trim my hair with clipper attachments at home?
Yes, using guards properly can provide safe and even haircuts. Take your time, use the right attachment size, and move the clipper steadily for the best results.
What if the clipper guard won't snap on securely?
Check for debris on the clipper blade or guard slots. Make sure you are aligning the guard properly. If it still won’t attach, the guard or clipper model might be incompatible.
Key Takeaways
- Clipper attachments control hair length by guiding the cut.
- Select the correct guard size based on desired hair length and style.
- Securely snap guards on the clipper blade for safe, even cuts.
- Clean and store attachments properly to maintain performance.
Conclusion
Using clipper attachments effectively requires understanding guard sizes, how they influence hair length, and the right technique for attaching and moving the clipper. This knowledge helps you deliver even, professional-looking trims and reduces the chance of patchy or uneven haircuts. Familiarity with your hair type will also guide how you adjust your approach using different guards to accommodate texture and volume.
For straightforward buzz cuts or fades, using smaller clipper guards like #1 to #3 offers clean, close results. Longer guards from #4 to #8 are best for maintaining length or blending styles. Beginners should consider starter kits from reliable brands such as Wahl or Andis, which include a range of clipper attachments with clear numbering and secure snap-on designs, making it easier to experiment safely.
Taking the next step involves practical trial with your own clipper and guards, complemented by regular maintenance and cleaning to extend their life. Always test guard attachments for fit before cutting, and start slowly, using longer guards first if unsure. Proper use of clipper attachments will build confidence and skills for do-it-yourself haircuts that look tidy and well-shaped.