How to Apply Nail Wraps for a Flawless Manicure at Home
Applying nail wraps correctly involves preparing your nails, selecting the right size, and carefully smoothing the wrap onto the nail surface. Start by cleaning and drying your nails thoroughly, then choose a wrap that fits your nail width. Position the wrap on the nail, smooth out any air bubbles, and trim any excess for a neat finish.
Nail wraps have grown in popularity because they offer intricate designs without the hassle of polish drying times or smudging. A well-applied nail wrap can last up to two weeks, providing both aesthetic appeal and durability. Understanding how to apply them effectively means you can enjoy salon-quality results at home with minimal mess and effort.
This article will cover essential preparation steps, specific techniques for applying nail wraps, addressing common application mistakes, how to care for your nail wraps for longer wear, removal tips, and the best products to use that complement nail wrap application.
Preparing Your Nails for Nail Wraps
Cleaning and Shaping Your Nails
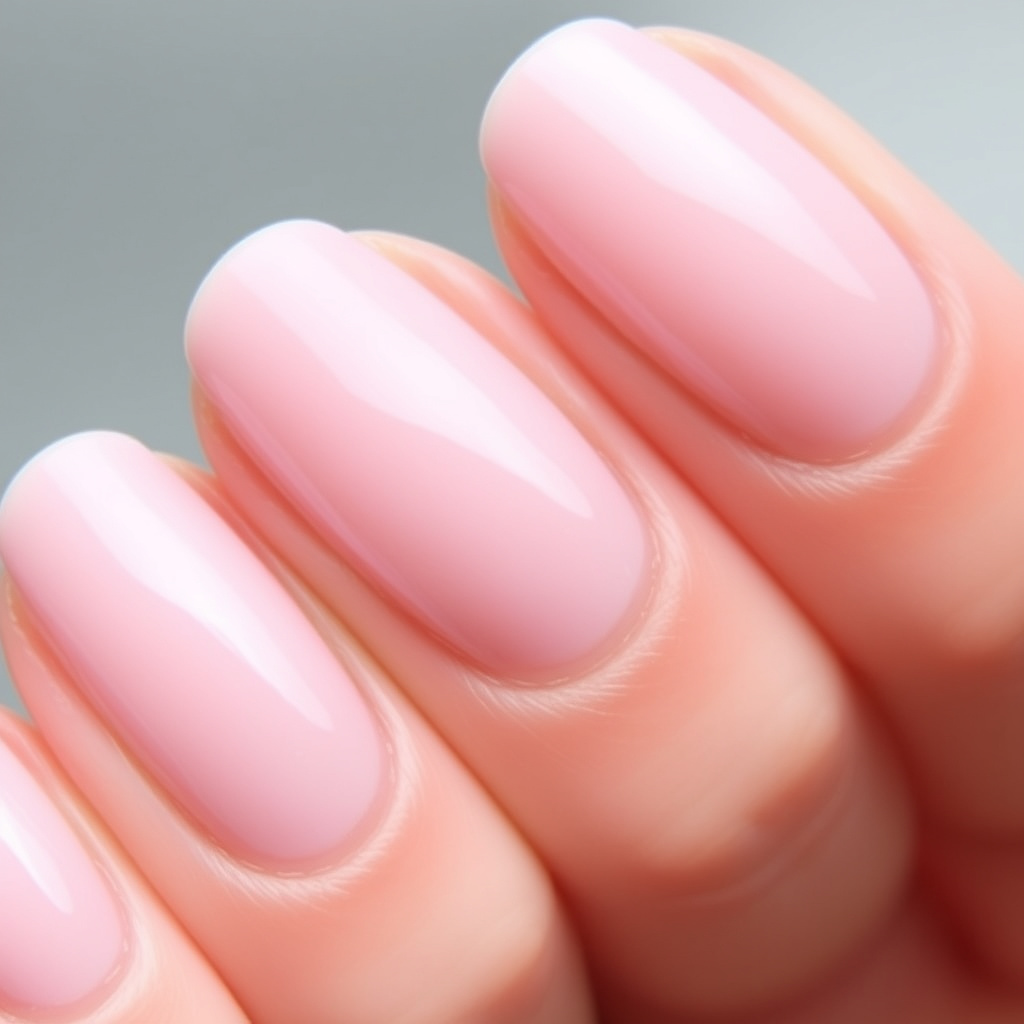
Begin your nail wrap application by removing any old polish using a gentle nail polish remover. After cleaning, shape your nails using a nail file to smooth edges and create an even surface, which helps the wraps adhere properly.
Push back your cuticles carefully with a cuticle pusher to ensure the nail wraps sit flush against the skin without any gaps where lifting can occur.
- Remove oils and residue from nails
- File nails to desired shape
- Gently push back cuticles
Drying and Preparing the Nail Surface
After cleaning, use an alcohol wipe or acetone-free nail cleanser to remove any remaining oils or moisture, creating a dry surface that nail wraps can stick to more effectively.
Avoid moisturizing your hands directly before application, as oils can interfere with adhesion and cause the wraps to peel prematurely.
Selecting and Applying Nail Wraps
Choosing the Right Size for Each Nail
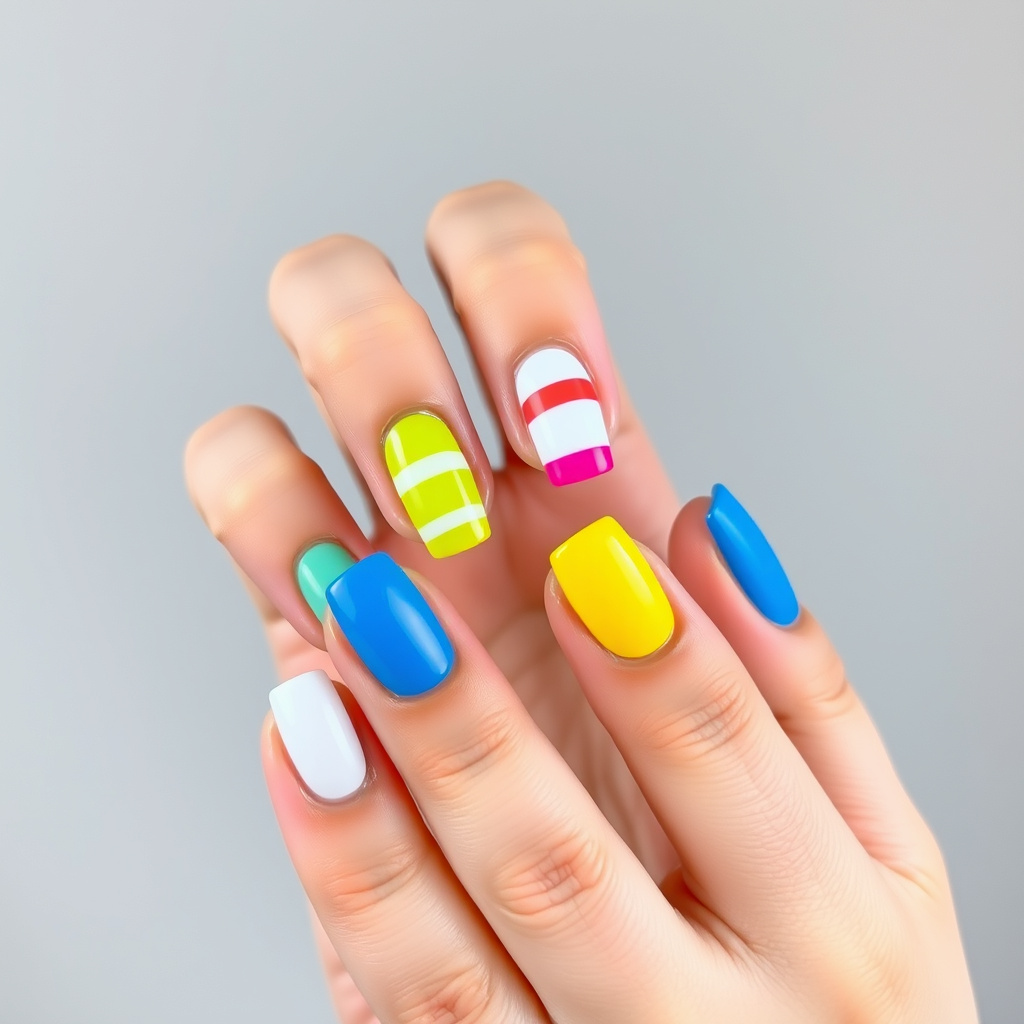
Nail wraps come in sheets with varying sizes; select the wrap that best matches your nail’s width for each finger. Using too small or too large wraps can cause uneven edges and premature lifting.
Test fit the wrap by holding it over your nail before peeling it off the backing. Adjust your choice to find the best snug fit that covers your nail bed without overlapping onto your skin.
- Match wrap width to nail bed
- Avoid wraps that extend onto cuticle or skin
Applying and Securing the Wrap
Peel the selected wrap gently from the backing sheet and place it at the base of your nail near the cuticle. Use a cuticle stick or your fingertip to smooth the wrap from base to tip, pressing firmly to eliminate air bubbles.
Once in place, file the excess wrap off the nail tip in gentle downward strokes to avoid lifting. For extra durability, some prefer to seal edges with a clear topcoat, but many wraps are self-sealing.
- Smooth wrap to avoid bubbles
- File excess wrap carefully
- Optional: apply topcoat to seal
Common Application Mistakes and How to Avoid Them
Dealing with Air Bubbles and Wrinkles
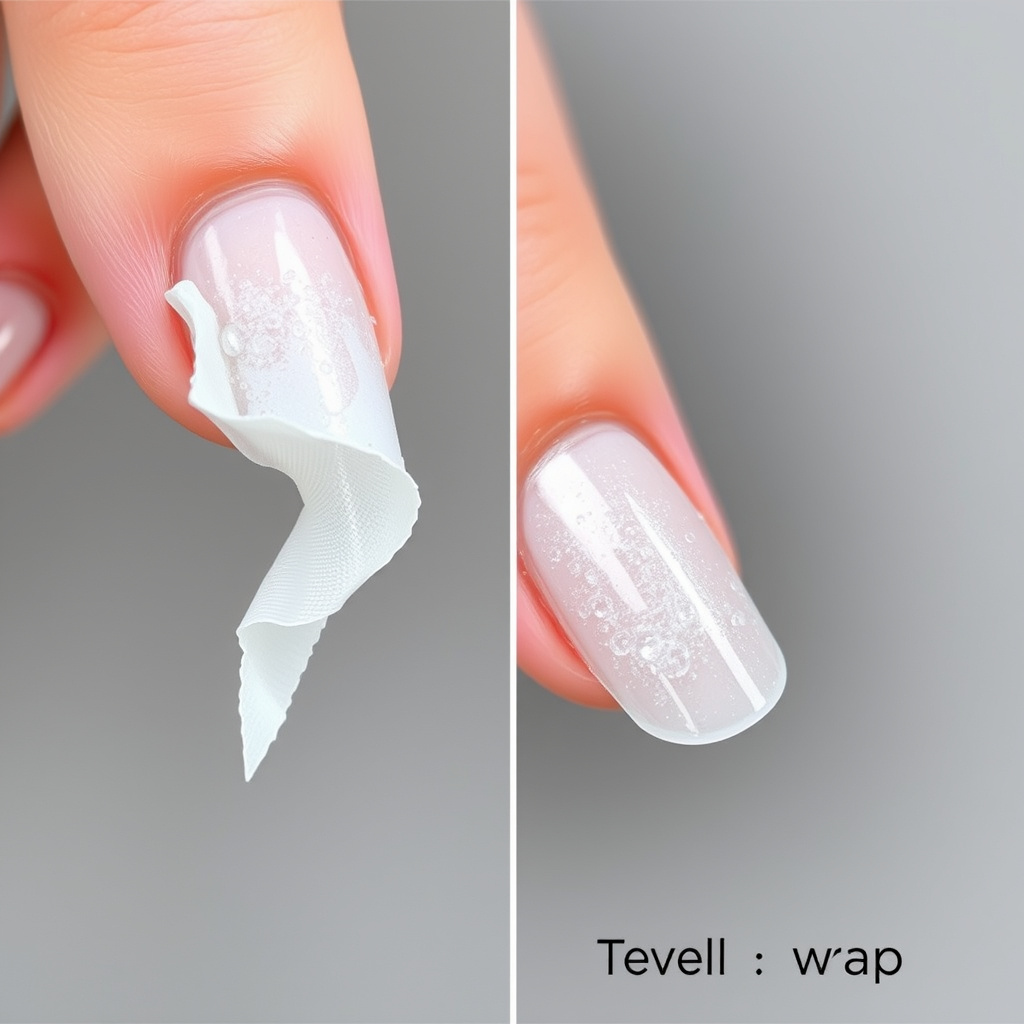
Air bubbles under the nail wrap often form due to insufficient smoothing during application or moisture trapped beneath the wrap. Taking time to press the wrap firmly from base to tip helps minimize this issue.
If you notice bubbles, use a fine pin to gently release trapped air, then smooth the area again. Wrinkles typically happen when the wrap is stretched too far; avoid pulling wraps excessively.
- Press firmly and evenly when applying
- Avoid overstretching wraps
- Use pin to release trapped air
For more on this, see our related guide: Types of Nail Salon Services: A Complete Guide to Pampering Options.
Preventing Early Peeling and Lifting
Peeling often comes from improper nail prep, such as oils or moisture on nails, or wraps overlapping skin. Make sure nails are thoroughly dry and wrap edges do not touch cuticles or surrounding skin to prevent lifting.
Applying a topcoat can add an additional protective layer over the wrap to help guard against early peeling and chips.
Maintaining Nail Wraps for Longevity
Tips for Daily Wear and Care
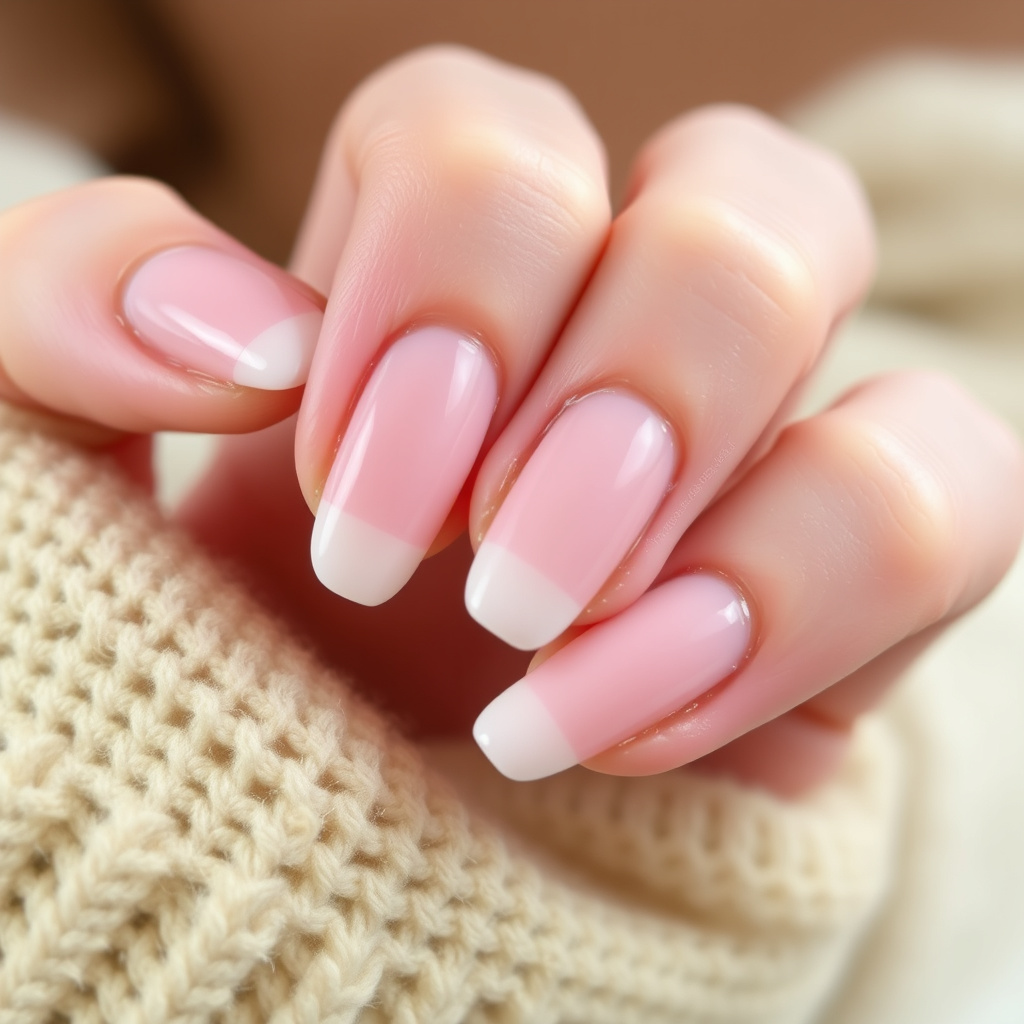
To extend the life of your nail wraps, wear gloves when washing dishes or using harsh chemicals. Avoid prolonged exposure to water, which can weaken the adhesive bond.
Moisturize your hands regularly but keep oil-based creams away from the nail surface to maintain the wrap’s adhesion.
- Wear gloves for wet tasks
- Avoid prolonged water exposure
- Use hand cream away from nails
Refreshing and Reapplying Touch-Ups
If edges start to lift slightly, gently press them back down using a cuticle stick. For bigger lifts, it may be necessary to remove and reapply a new wrap for a clean look.
Use nail wrap application kits or kits that include adhesives or finishing topcoats to refresh and prolong wear between full reapplications.
Removing Nail Wraps Safely
Soaking and Gently Peeling Wraps
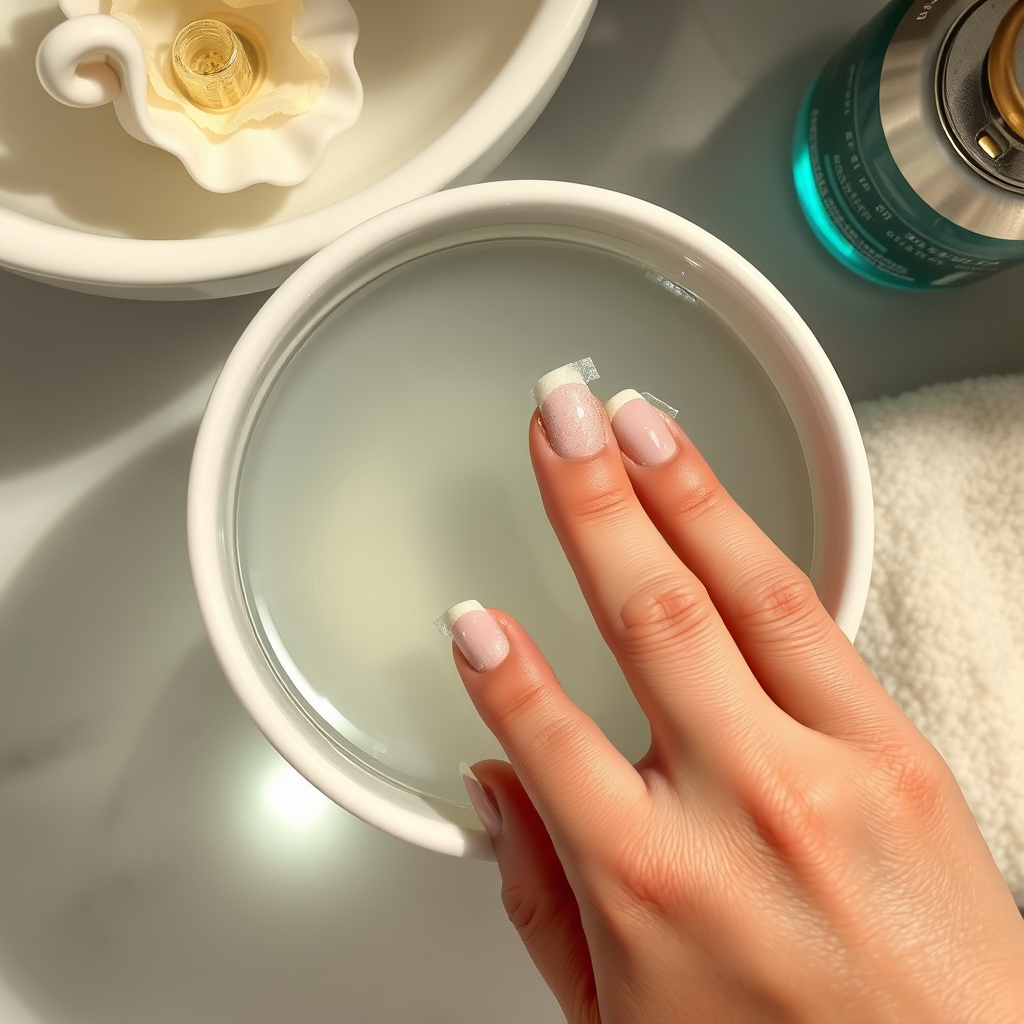
Soak your nails in warm water for 5-10 minutes to loosen the adhesive before gently lifting the edge of the nail wrap. Avoid forceful peeling to prevent damaging your natural nails.
If wraps are stubborn, use an orange stick or cuticle pusher to carefully assist in lift without pulling on the nail plate.
- Soak in warm water to loosen
- Peel wrap gently
- Use tools to assist cautiously
For more on this, see our related guide: Summerset Salon Day Spa Services: What to Expect and How to Choose.
Aftercare Post Removal
Once wraps are removed, cleanse nails with a gentle polish remover to eliminate residual adhesive. Follow this with a moisturizing treatment such as cuticle oil or hand cream to restore nail health.
Giving your nails a short break between applications can also help maintain their strength and prevent brittleness.
Best Products to Use with Nail Wraps
Recommended Nail Wrap Brands
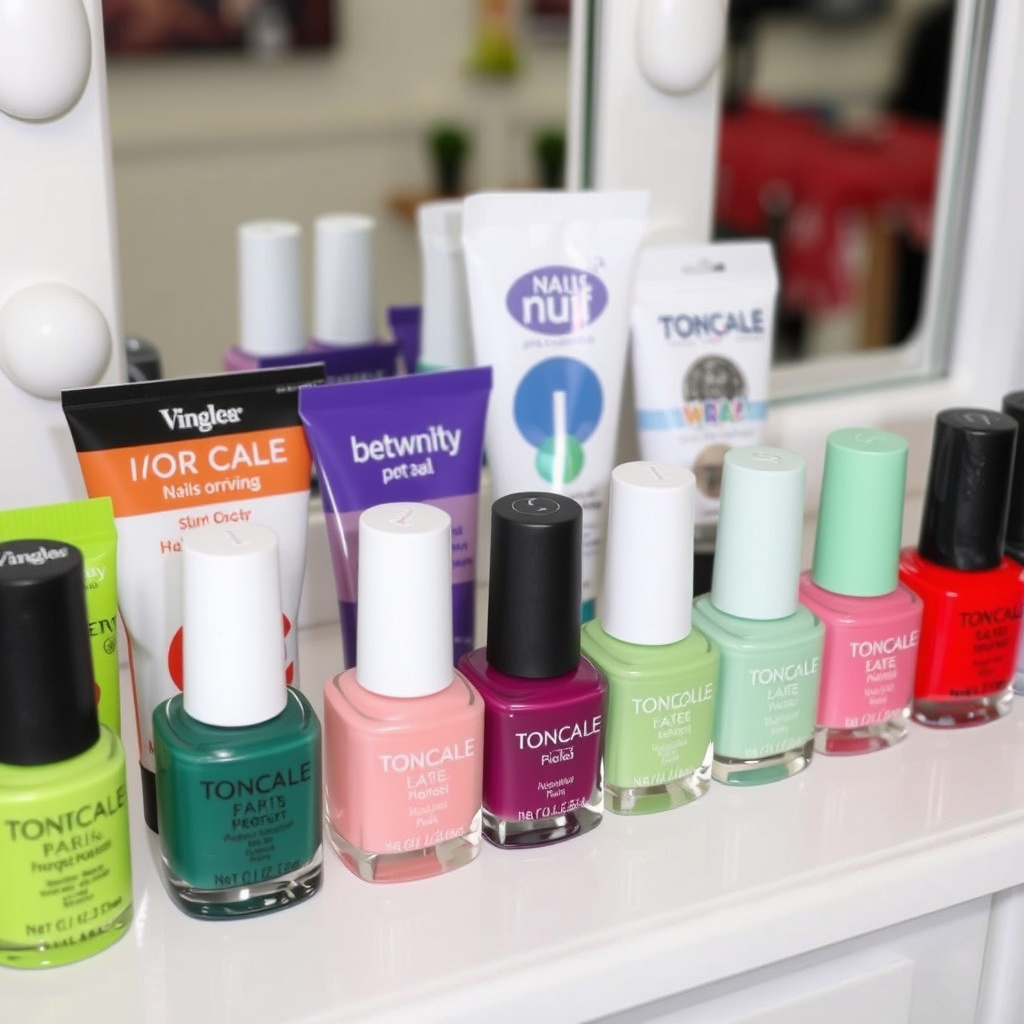
Some popular nail wrap brands include Jamberry, Dashing Diva, and Incoco. These brands offer high-quality wraps with good adhesive properties and a wide range of designs.
Choosing brands with self-adhesive wraps simplifies application and often reduces the need for extra polish or topcoat layers, though these can still be used for added protection.
- Jamberry – durable, vibrant designs
- Dashing Diva – easy-to-use, glossy finish
- Incoco – real nail polish strips
For more detailed background on nail wraps and their history, the Nail art wraps overview on Wikipedia provides excellent context. Nail art wraps overview on Wikipedia.
Complementary Products like Topcoats and Tools
Applying a clear fast-drying topcoat over your wraps can increase their lifespan and add shine. Tools like cuticle pushers, nail files, and orange sticks assist in precise application and removal.
Some application kits also include adhesive enhancers or sealers that improve wrap durability, which are ideal for first-timers or those seeking extended wear.
- Clear topcoat for sealing
- Cuticle pusher and nail file
- Adhesive enhancer kits
Nail Wraps Category Comparison
This table compares different types of nail wraps based on durability, ease of application, design variety, and price.
| Category | Durability | Ease of Application | Design Variety | Price Range |
|---|---|---|---|---|
| Self-Adhesive Nail Wraps | 7-14 days | Very Easy | Wide | $8 – $20 per sheet |
| Polymer Gel Nail Wraps | 10-14 days | Moderate | Moderate | $15 – $25 per sheet |
| Polish Strips | 5-10 days | Easy | Varied | $6 – $15 per sheet |
| Foil Nail Wraps | 3-7 days | Challenging | Limited | $7 – $12 per sheet |
Frequently Asked Questions
Can I apply nail wraps on natural nails without a base coat?
Yes, many nail wraps are designed to be applied directly on clean, dry natural nails without a base coat, as applying polish first can interfere with adhesion.
How long do nail wraps typically last once applied?
Nail wraps generally last between 7 to 14 days depending on the type, preparation, and care practices after application.
Is it safe to remove nail wraps without damaging nails?
Removing nail wraps by soaking them in warm water and gently lifting edges is safe and should not damage nails if done carefully.
Should I apply a topcoat over nail wraps?
Applying a clear topcoat after applying nail wraps can help extend their wear and provide extra shine, but many wraps do not necessarily require it.
Can nail wraps be reused if not fully applied?
Once peeled from backing and exposed to air, most nail wraps lose adhesion and usually cannot be reused effectively.
Key Takeaways
- Proper nail preparation is essential for long-lasting nail wraps.
- Matching wrap size to nail width prevents lifting and peeling.
- Smooth application and edge filing create a neat finish.
- Topcoats and gentle care extend the life of nail wraps.
Conclusion
The process of how to apply nail wraps boils down to three main factors: preparation, precise application, and care. Thoroughly cleaning and shaping nails removes oils and creates the right surface for adhesion, while careful smoothing and fitting prevent bubbles and lifting. Maintaining your wraps through gentle handling and occasional topcoat applications ensures your manicure lasts as long as possible without damage or premature wear.
For those eager to try nail wraps, self-adhesive varieties offer a straightforward approach ideal for beginners and quick application. Polymer gel wraps provide longer durability for wearers seeking extended weeks of flawless nails, while polish strips blend traditional polish aesthetics with easy peel-and-stick benefits. Complementing any wrap choice with quality tools like cuticle pushers and gentle topcoats translates into salon-quality results at home.
If you want a simple way to refresh your look quickly or avoid lengthy drying times, nail wraps are a smart option. Start with a clean surface, pick wraps matching your nail width, and take your time smoothing them carefully. Practice and gentle care will make your manicures not only eye-catching but also long-lasting and damage-free.