How to Blend Clipper Lines Smoothly for a Professional Haircut
Blending clipper lines is about erasing harsh demarcations between different hair lengths, creating a smooth transition that looks natural and polished. This technique is essential when using clippers for fades or layered haircuts where distinct length changes occur.
A well-blended haircut can transform an ordinary fade or taper into a stylish and clean look, enhancing facial features and overall grooming. Poor blending results in visible lines and abrupt stops, which can make even a good haircut appear amateurish.
This article will explore the key tools and techniques for blending clipper lines, including the use of clipper guards, lever adjustments, and blending scissors. You’ll also find guidance on common blending mistakes and how to avoid them.
Understanding Clipper Lines and Their Importance

What Are Clipper Lines?
Clipper lines appear as visible bands on the scalp where the clipper guard length changes abruptly during a haircut. They are the unwanted edges that break the smooth flow of hair, making the haircut look uneven or unpolished.
These lines occur naturally because the clipper guards create fixed cutting lengths, and shifting between different guard sizes without proper technique produces harsh lines.
Why Blending Clipper Lines Matters
Blending clipper lines removes contrasts caused by sudden length changes, resulting in a soft fade or natural progression between hair lengths. This is particularly significant in styles like fades, tapers, and layered cuts where length gradation is key.
Failing to blend these lines can make even a precise haircut appear sloppy, drawing unwanted attention to the transition areas instead of the overall style.
Tools Needed for Blending Clipper Lines
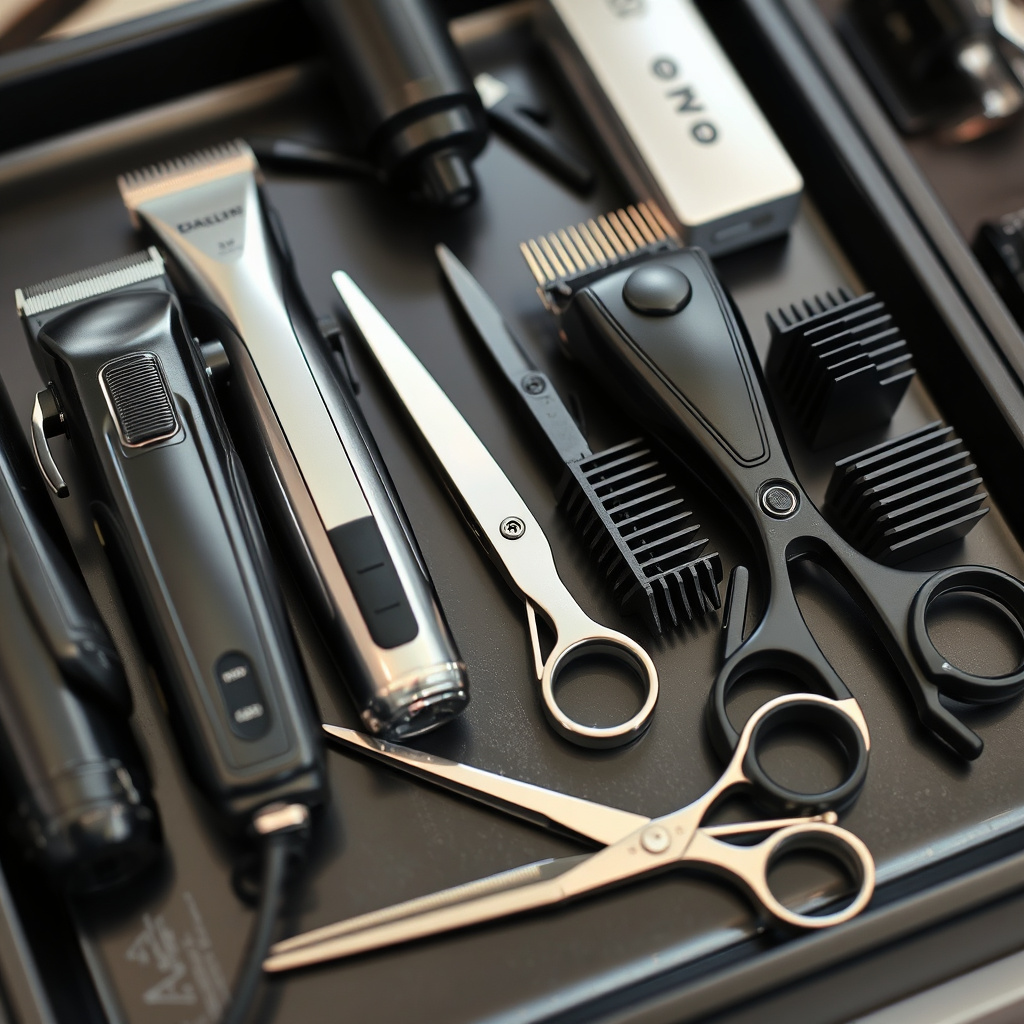
Types of Clippers and Guards
Standard clippers equipped with a range of guard sizes allow for different cutting lengths. Lever-adjustable clippers can fine-tune the blade length continuously, helping to create softer blends between clipper lines.
Selecting the right guards for gradual reduction in hair length is key to avoid harsh drops. Blending requires moving between these guards smoothly.
- Fixed guard clipper sets
- Lever-adjustable clippers
- Variable blade clippers
Additional Tools for Smoother Blends
Blending scissors or thinning shears help remove bulk and soften edges where clipper lines remain visible after initial clipper work. A comb helps lift and guide hair during blending.
Using a trimmer for hard-to-reach edges and fine detailing also improves line removal.
- Blending scissors or thinning shears
- Fine-toothed comb
- Detail trimmers
Step-by-Step Techniques to Blend Clipper Lines
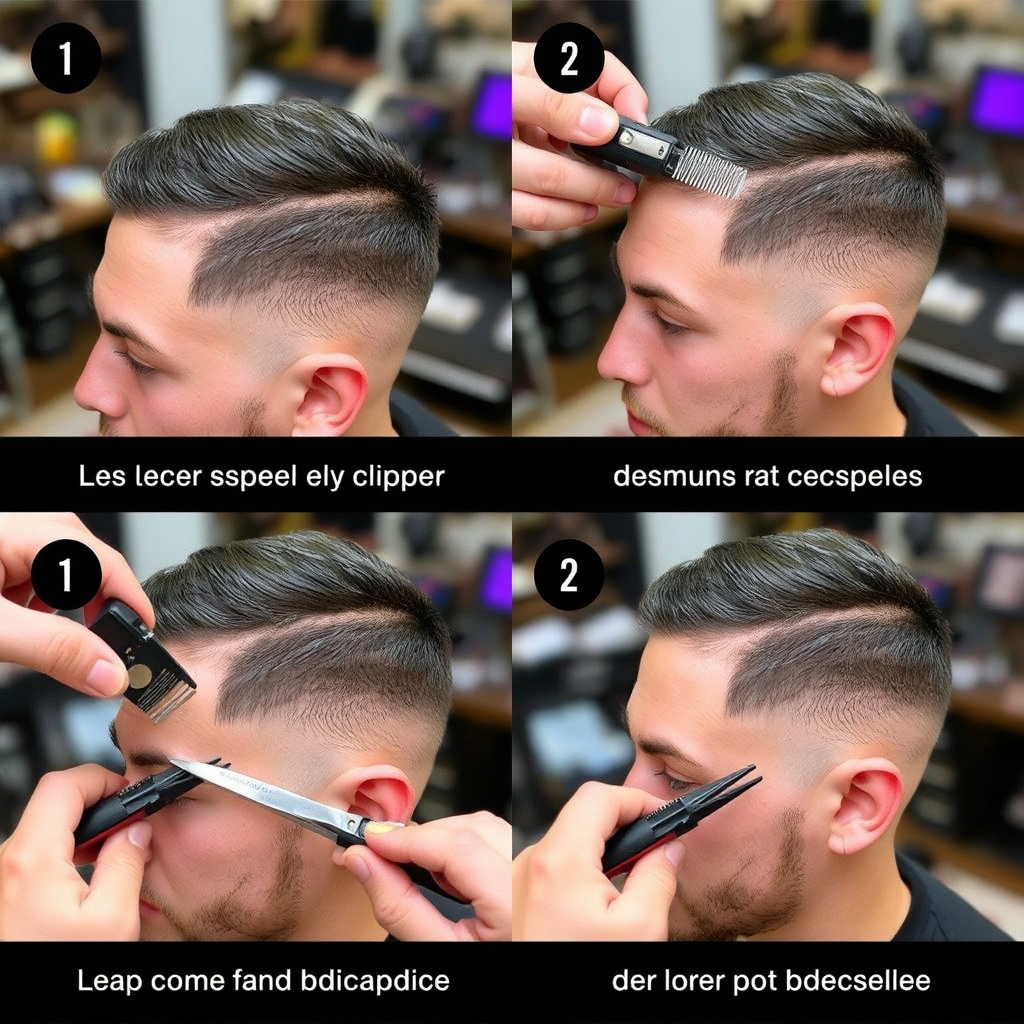
Using Clipper Lever Adjustments for Soft Blends
Start with the heavier guard size, and gradually move to shorter sizes while intermittently adjusting the clipper lever to a halfway position. This reduces cutting length in smaller increments, softening the line between guard lengths.
The key is to oscillate the lever while moving the clipper slowly up and down the head to feather out the transition, avoiding solid, abrupt cuts.
- Begin with longest guard
- Use lever halfway for mid-length cut
- Gradually remove lever for shortest length
- Move clipper in gentle, rocking motions
For more on this, see our related guide: How to Blend a Fade: Master the Seamless Haircut Technique.
Blending Lines with Scissors and Comb
After clipper work, use blending scissors to trim any remaining harsh lines by cutting small sections over the comb, selectively thinning out bulk. The comb lifts hair, allowing the scissors to selectively cut without creating new lines.
This technique works well on areas where clippers can’t reach or where the hair texture demands a softer finish.
- Comb hair upwards along the clipper line
- Use blending shears to thin hair gradually
- Work in small sections to avoid overcutting
Common Mistakes When Blending Clipper Lines

Using Too Large Guard Jumps
Jumping from a long guard directly to a very short guard creates a harsh line difficult to blend, often requiring extra work with scissors or redoing the fade. Smaller guard increments allow smoother transitions.
Avoid skipping multiple guard sizes in one pass to prevent pronounced lines.
- Always transition through intermediate guard sizes
- Avoid abrupt length changes
Not Feathering the Edges
A solid clipper edge left untouched will create a stark line. Feathering by rocking the clipper lever or angling the blades softens the cut and blends naturally into surrounding hair lengths.
Rushing through blending or cutting too quickly can leave lines unblended.
- Use clipper lever rocking technique
- Work slowly and methodically
Advanced Tips for Professional Results

Blending Curly or Textured Hair
Curly and textured hair requires extra care, as clippers tend to leave more visible lines due to hair shape. Using blending scissors and clipper lever adjustments combined helps avoid harsh lines.
Combing hair while cutting is essential to lift curls and cut them evenly, avoiding patchy blends.
- Lift and comb hair during clipper blending
- Incorporate thinning shears for softening
For more on this, see our related guide: How to Cut a Mid Fade: Step-by-Step Guide for a Perfect Blend.
Maintaining Clipper Blades for Clean Cuts
Sharp, well-oiled clipper blades cut cleaner and reduce pulling or uneven cuts that can leave clumps causing visible lines. Regular blade maintenance contributes significantly to easier blending.
Dull blades cause uneven clipping, making blending nearly impossible.
- Clean and oil blades frequently
- Replace or sharpen blades as needed
How the Best Clipper Blending Techniques Improve Your Haircuts

Creating Seamless Fades
Using the best clipper blending techniques removes zone boundaries and creates a fade that looks smooth and natural, a key feature for modern hairstyles. This elevates a simple clipper cut to a polished, wearable style.
Proper blending helps haircuts last longer without visible regrowth lines.
For additional technical details on clipper types and their historical development, refer to this clipper guide and fading techniques on Wikipedia. Clipper guide and fading techniques on Wikipedia.
Boosting Client Confidence with Sharp Looks
A well-blended haircut improves how clients feel about their appearance, since smooth transitions look cleaner and more flattering. This boosts satisfaction and ensures return business for barbers and stylists.
Mastering these techniques also increases professionals' reputation for finesse and quality.
Clipper Guard Size Transition Comparison
This table compares common guard size progressions for blending clipper lines, showing length differences and blending difficulty.
| Transition | Length Gap (mm) | Blending Difficulty | Recommended Use |
|---|---|---|---|
| #4 to #3 | 3 mm | Low | Simple fades |
| #3 to #1 | 9 mm | High | Avoid unless skilled |
| #2 to #1.5 | 1.5 mm | Low | Refined blends |
| #1 to #0 | 3 mm | Moderate | Tapered hairlines |
| #5 to #3 | 6 mm | Moderate | Layered blends |
Frequently Asked Questions
Can I blend clipper lines without scissors?
Yes, by using clipper lever adjustments and progressing through guard sizes gradually, you can blend many clipper lines smoothly without scissors, though scissors help refine the blend for a softer finish.
Is it necessary to use all guard sizes for blending?
Not always, but using intermediary guards ensures smoother transitions. If you jump guard sizes, it becomes harder to blend and could require more corrective work.
How do I fix a visible clipper line after the cut?
You can soften visible lines by feathering with clipper lever adjustment or using blending scissors on the edge of the line to thin hair and create gradual length change.
What causes clipper lines to appear during fades?
Clipper lines form when the blade abruptly changes length across the head, especially if guard changes or lever positions are used abruptly without feathering motion or gradual length reduction.
Can clipper blade sharpness affect blending?
Sharp blades cut cleanly, allowing for more precise blending. Dull blades pull hair in clumps, creating uneven lines that make blending difficult.
Key Takeaways
- Blending clipper lines removes harsh transitions for a natural haircut finish.
- Use gradual guard size changes and lever adjustments to feather edges.
- Blending scissors and combs help soften stubborn lines.
- Sharp tools and careful techniques result in professional-looking fades.
Conclusion
Mastering how to blend clipper lines is essential for creating haircuts that look sharp and professionally done. The process involves using gradual guard sizes, feathering the edges with clipper lever adjustments, and refining lines with scissors when needed. Each step reduces visible transitions, giving hairstyles that seamless flow. Developing a steady hand and observing hair growth patterns also improve blending outcomes.
For barbers or enthusiasts, investing time in practicing blending techniques across different hair types brings visible improvements. For instance, beginners should start with simple guard transitions like #4 to #3, using slow clipper movements and lever half-opening to feather lines softly. More advanced stylists can integrate blending scissors for curly or textured hair, where clippers alone leave visible bands. Regular blade maintenance ensures cuts are smooth and easier to blend at every stage.
Starting with your clipper set and blade care, practice blending small areas before moving to full fades or tapers. Watch for visible lines and apply lever adjustments or scissors gradually. With experience, blending clipper lines will become second nature, letting you create polished haircuts that clients can trust and love.


