How to Use Clipper Guards for a Fade: A Step-by-Step Guide
Using clipper guards for a fade haircut is all about blending different hair lengths smoothly from short to long, creating that tapered, graduated look. Clipper guards control how much hair is left on your scalp by attaching different-length combs to your clippers, allowing you to precisely transition between lengths. The key is to switch guards gradually and blend carefully so there are no harsh lines between sections.
Fades are popular because they provide a clean, sharp style suitable for many hair types and face shapes. Doing a fade with clipper guards yourself can save time and money while giving you control over the final look. Achieving a quality fade requires understanding clipper guard sizes, blending techniques, and having the right tools ready before you start.
This article will guide you step-by-step through the process of using clipper guards for a fade. You’ll learn about guard sizes, fading techniques, blending tips, and how to troubleshoot common problems. By the end, you’ll be ready to create a smooth, professional fade at home with confidence.
Understanding Clipper Guards and Their Sizes
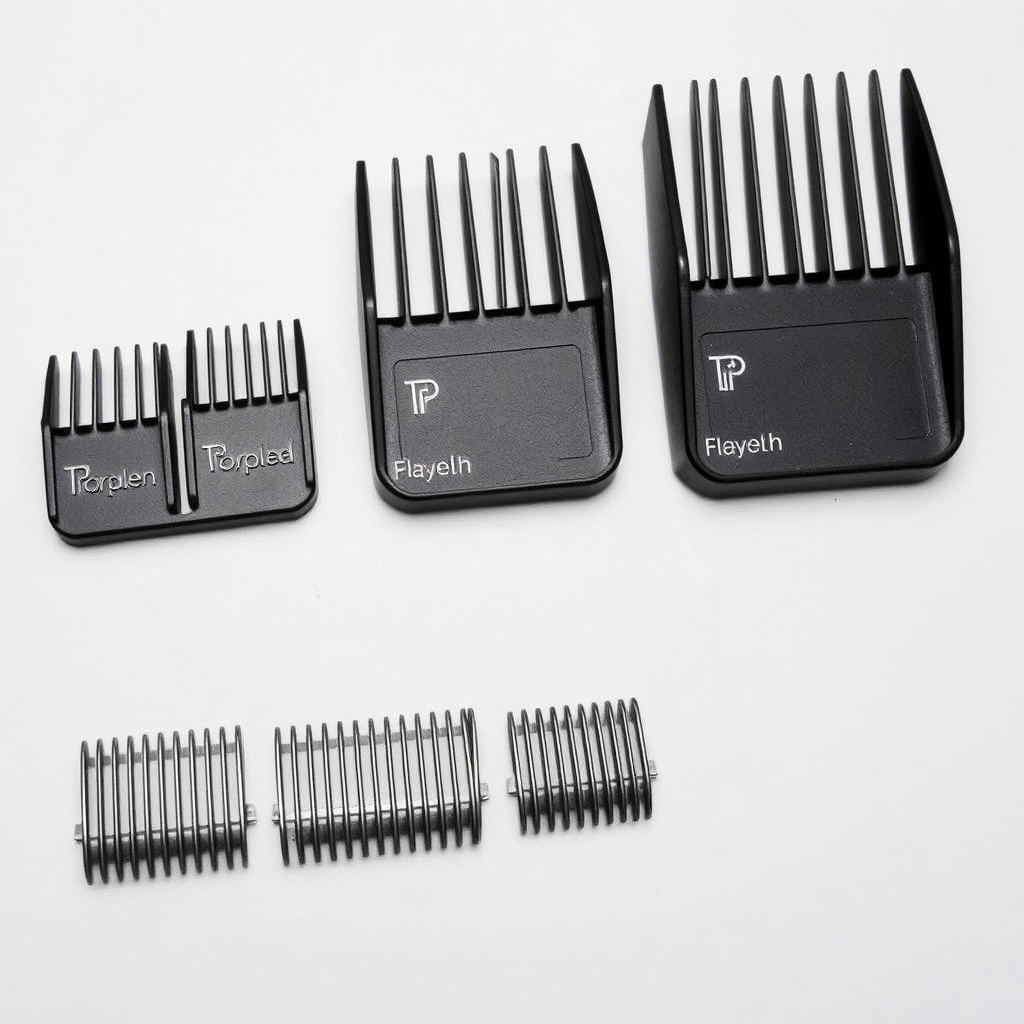
What Are Clipper Guards?
Clipper guards are plastic or metal attachments that snap onto hair clippers to control the cutting length. Each guard corresponds to a specific hair length, commonly measured in millimeters or as numbered sizes. They protect against cutting hair too short and help maintain consistent length during trimming.
Using guards correctly is essential when fading because the gradual change in hair length relies on switching between slightly different guard sizes to blend hair smoothly. Understanding your clipper guard sizes helps you plan the fade effectively.
Common Clipper Guard Sizes for a Fade
Typical clipper guard sizes range from #0 (closest cut) to #8 (longer length). For fades, guards #0 through #4 are frequently used to create natural gradations. The smallest guards cut hair nearly to the skin, while larger guards leave longer hair on top or at the fade's upper edge.
Knowing which guards to use together is crucial. For example, a low fade might start with a #0 at the base, blend into a #1 or #2, and then use larger guards to lengthen the hair as you move up the head.
- #0 guard: 1/16 inch (1.5 mm)
- #1 guard: 1/8 inch (3 mm)
- #2 guard: 1/4 inch (6 mm)
- #3 guard: 3/8 inch (10 mm)
- #4 guard: 1/2 inch (13 mm)
Preparing Your Tools and Hair

Selecting the Right Clippers and Guards
Use a professional or high-quality hair clipper designed for fades, as they provide consistent motor speed and better blade control. Have a variety of clipper guards on hand, ideally from #0 to #4, to cover all needed fade lengths. Make sure the clippers are clean, well-oiled, and functioning smoothly before starting.
Additionally, having scissors and a comb helps with detailing and trimming uneven spots once the main fade is shaped. A handheld mirror lets you check the fade’s progress from multiple angles.
Preparing the Hair for a Fade
Wash and dry the hair thoroughly to remove oils and styling products that can affect cutting precision. The hair should be dry and combed straight, as wet or damp hair lies differently and might result in an uneven fade.
Section the hair by brushing it away from the area you’ll fade. Decide the fade height beforehand – low, mid, or high – so you know where to start with the clipper guards. It’s easier to begin fading from clean, dry, and properly parted hair.
Basic Step-by-Step Fade Using Clipper Guards

Starting the Fade at the Lowest Point
Begin the fade by attaching the shortest guard (often #0 or #1) and trimming the hair at the bottom near the neck and ears. Use upward sweeping motions to blend the hair, stopping just below the fade line you want to maintain.
Work slowly and avoid pressing clippers too hard against the scalp. Light, gentle passes help avoid harsh lines and uneven cuts. This shortest layer provides the base for your fade.
For more on this, see our related guide: How to Use Hair Clippers at Home: A Step-by-Step Guide for Beginners.
Blending Upward with Increasing Guard Sizes
Switch to the next largest guard (for example, #1 to #2) and trim the area above the shortest cut, slightly overlapping the previous section to blend the lengths smoothly. Use a flicking motion at the top edge of each section to soften the transition.
Continue moving upward, progressively using larger guards (#3, #4), blending each section into the one above. Frequently check the fade’s smoothness by lifting hair with a comb or using a handheld mirror.
Advanced Blending Techniques for a Seamless Fade

Using the 'Clipper-Over-Comb' Method
This method helps refine blending by running clippers over a comb that lifts the hair to a desired length. It’s particularly useful for smoothing out lines from guard transitions where the length difference feels too abrupt.
Hold the comb at an angle against the scalp and slide the clippers lightly over the comb’s teeth, gradually adjusting the comb’s position to blend different lengths fluidly.
Employing Freehand Clipper Techniques
Without a guard, the clipper blades can be used freehand to create precise fade lines or to close gaps left by guards. Skilled barbers use this to sharpen edges or blend difficult areas like the temple fades and around ears.
Practice with short, light strokes, lifting the clippers slightly to avoid cutting too close. This technique can define a fade’s sharpness without damaging the overall gradient.
Common Mistakes and How to Fix Them
Fixing Harsh Lines and Uneven Blends
Harsh lines usually happen when the guard sizes change abruptly or blending motions are too rigid. To fix this, go back with a smaller guard or use the clipper-over-comb technique to soften the edges.
Light flicking motions and overlapping guard strokes help erase visible lines. Patience and careful adjustment reduce the appearance of patchy fade spots.
For more on this, see our related guide: How to Use a Hair Clipper: A Step-by-Step Guide for Perfect Grooming.
Dealing with Overcut or Too Short Areas
If some spots appear too short or uneven, don’t panic. You can trim the surrounding hair shorter or use scissors to blend longer strands into the shorter sections. Another way is to create a textured finish that disguises imperfections.
Avoid rushing the process and trim in small increments to minimize mistakes. Blending tools like texturizing scissors can help create a unified look.
Maintaining and Styling Your Fade
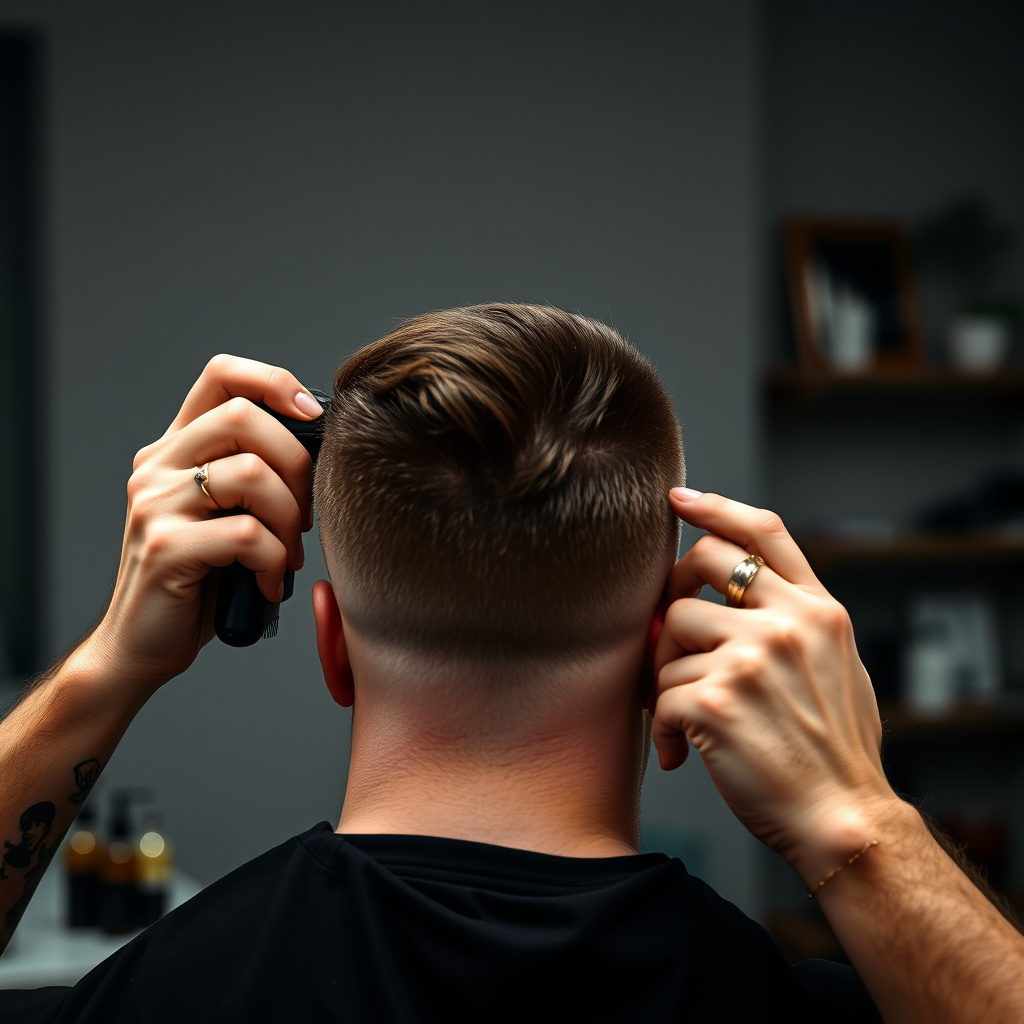
Proper Aftercare for a Fade
Keep your fade looking fresh by washing your hair with a gentle shampoo and using a conditioner suited to your hair type. Regularly moisturizing the scalp prevents dryness, which can make fades appear uneven as hair grows out.
Frequent trims every 2 to 3 weeks help maintain the fade’s sharp gradient. You may need touch-ups around the neckline and sides in between full fades.
For more technical details about hair clipper guards and their measurements, you can review hair clipper guard sizes on Wikipedia. hair clipper guard sizes on Wikipedia.
Styling Tips to Enhance a Fade Haircut
Use light hair products like pomades, gels, or creams to add texture and hold without weighing hair down. Styling your hair upwards or with a side part enhances the contrast of the fade and highlights the blend.
Avoid heavy waxes that can cling to the scalp or flatten hair, which diminishes the fade’s clean appearance.
Comparison of Clipper Guard Sizes for Different Fade Styles
This table compares how common clipper guard sizes correspond to various popular fade styles and the resulting hair lengths.
| Fade Style | Starting Guard Size | Highest Guard Size | Typical Hair Length Range (inches) |
|---|---|---|---|
| Low Fade | #0 | #2 | 1/16 to 1/4 |
| Mid Fade | #1 | #3 | 1/8 to 3/8 |
| High Fade | #1 | #4 | 1/8 to 1/2 |
| Skin Fade | No Guard (#0) | #1 | 0 to 1/8 |
| Taper Fade | #1 | #3 | 1/8 to 3/8 |
Frequently Asked Questions
What clipper guard should I use for the shortest fade?
For the shortest fade, use a #0 guard or no guard at all to cut hair very close to the skin, typically around 1/16 inch or less for a clean skin fade.
How do I avoid patchy lines when fading with clipper guards?
Use gradual guard size changes and flicking blending motions. Overlap where guards meet and use the clipper-over-comb technique to smooth harsh lines for a seamless fade.
Can I use the same clipper guards for thick and fine hair?
While guard sizes remain the same, thick hair may require more blending passes or different clipper speeds to ensure an even fade compared to fine hair.
How often should I trim a fade to keep it looking fresh?
Most fades look best with trims every 2 to 3 weeks, maintaining the crisp contrast between hair lengths before regrowth softens the fade.
Is it better to fade with dry or wet hair?
Fading with dry hair gives a more accurate cut and blend because wet hair can appear longer and may cause uneven lengths once dry.
Key Takeaways
- Clipper guards control hair length and are essential for creating smooth fades.
- Fading requires gradually changing guard sizes to blend hair lengths seamlessly.
- Preparing hair dry and clean improves fade precision and results.
- Regular trims maintain a fade’s sharp look and style longevity.
Conclusion
Choosing and using clipper guards effectively is the foundation of a well-executed fade haircut. By understanding guard sizes and how to blend them with controlled clipping techniques, you can achieve a smooth gradient that looks professionally done. Paying attention to hair texture, fade height, and gradual length transitions will guide your approach and help avoid common pitfalls like harsh lines or patchiness.
For those seeking a low-maintenance style, a low fade using guards from #0 to #2 can offer a subtle taper that grows out nicely. More dramatic looks like a high or skin fade involve shorter starting points but more blending work with intermediate guard sizes. The clipper-over-comb and freehand methods add refinement beyond the basic guard fade, letting you customize the blend around ears and neckline. Selecting the right technique and guard sizes depends on the fade style you want and your hair type.
Starting your fade haircut with good tools, including a range of clipper guards, fresh blades, and a comb, sets you up for success. Take your time blending sections and frequently check your work from different angles. With some practice, using clipper guards for a fade becomes second nature. If you want to develop your skills further, consider watching tutorial videos or seeking feedback from experienced barbers to enhance your technique.


One Comment