What Is a Builder Gel Manicure? Everything You Need to Know
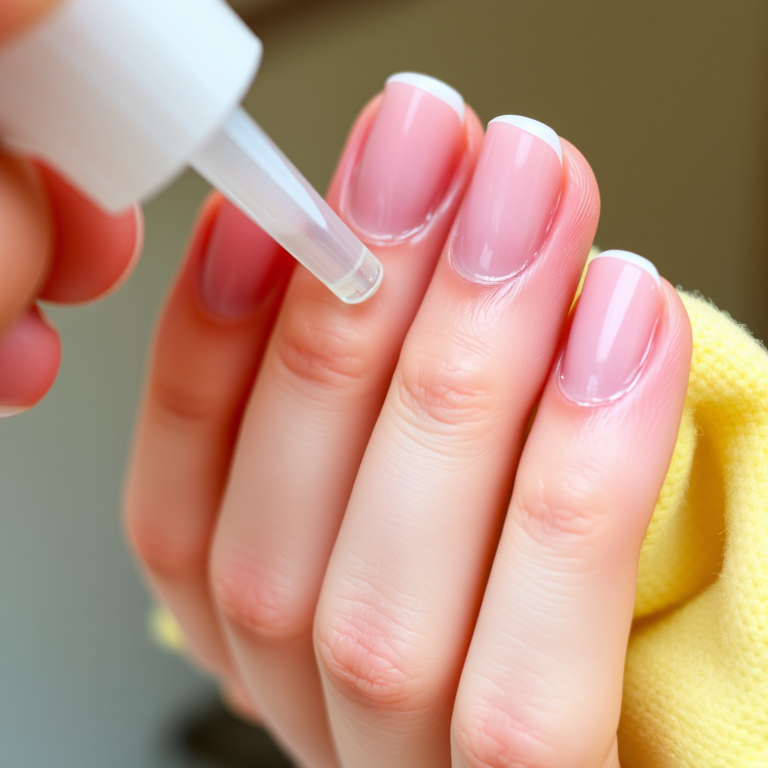
A builder gel manicure is a nail enhancement technique that uses a thick, strong gel to sculpt and extend nails, providing both durability and a natural appearance. This gel is applied in layers and cured under a UV or LED lamp to harden it, creating a resilient, glossy finish that lasts longer than regular polish.
This type of manicure is favored for its strength, flexibility, and ability to repair or grow out damaged nails. Unlike traditional gel polish, builder gel adds volume and shape, making it ideal for those seeking longer nails or a reinforced nail bed without the brittleness found in acrylics.
In this article, you will learn about the builder gel manicure process, the benefits, how it compares to other nail enhancements, and tips for selecting the best products and maintenance practices to keep your nails healthy and beautiful.
Understanding Builder Gel and How It Works

What Is Builder Gel?
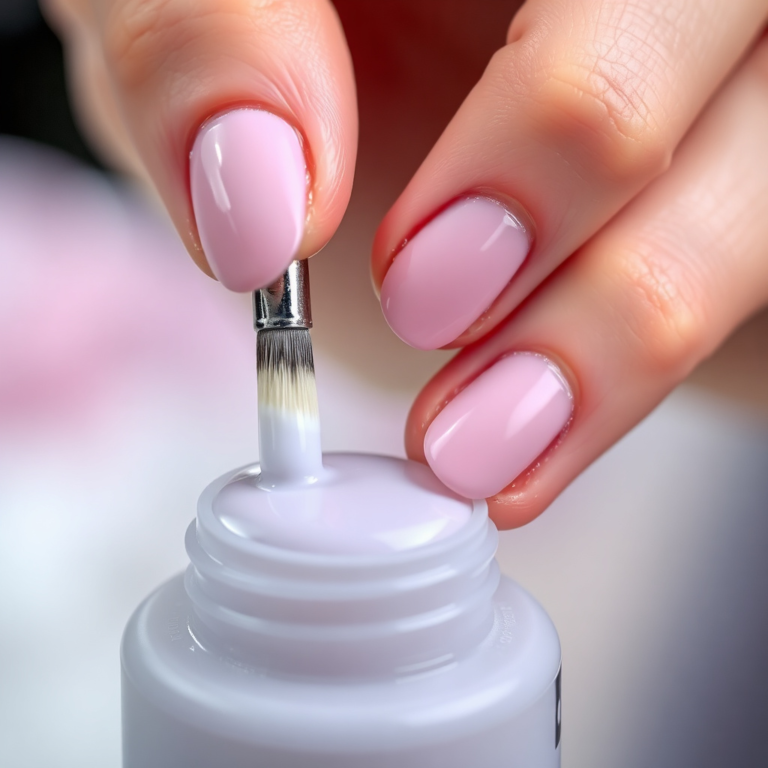
Builder gel is a thick, viscous gel specifically designed to create structure and strength on natural nails or nail extensions. It cures under UV or LED light, forming a hard but flexible surface that resists chipping and cracking.
This gel differs from typical gel polish by its thickness, allowing it to be sculpted with brushes to build nail overlays, extensions, or fill in gaps, making it popular for reinforcing weak or brittle nails.
The Curing Process
After applying the builder gel, nails are placed under a UV or LED lamp for a specific period to cure the gel. This curing hardens the material, ensuring durability and proper adhesion to the nail plate.
The curing time varies depending on the lamp type and brand of gel but usually ranges from 30 seconds to 2 minutes per layer, with multiple layers applied to achieve the desired thickness and strength.
- Use LED lamps for faster curing times
- Ensure each layer cures fully before applying the next
- Avoid touching the gel before curing to prevent smudges
Benefits of a Builder Gel Manicure
Strength and Durability
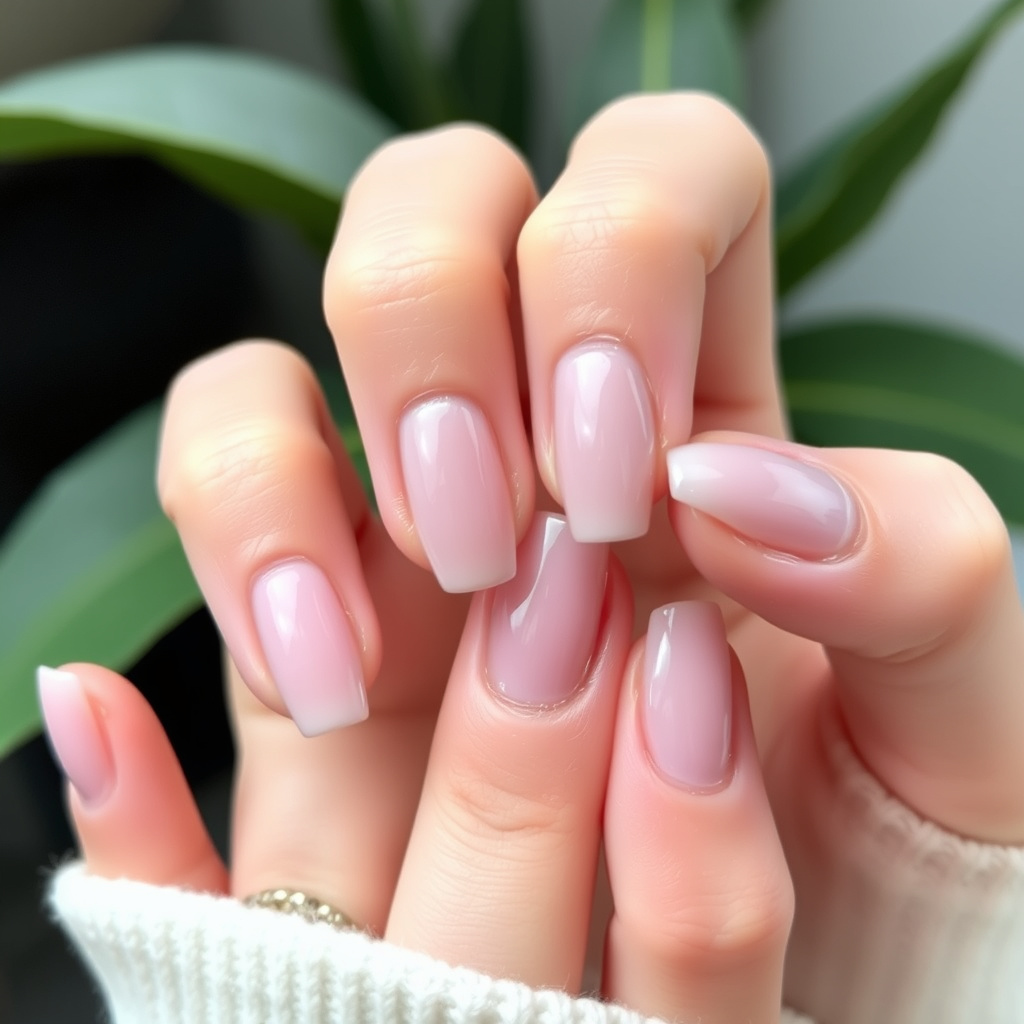
Builder gel manicures provide superior strength compared to regular gel polish, supporting longer nails that resist breakage and everyday wear. The flexibility of the gel reduces stress on the natural nails, minimizing damage.
This makes builder gel ideal for individuals with weak or damaged nails who want to maintain or grow their nails without risking splitting or peeling.
Natural Appearance and Versatility
Builder gel offers a clear or tinted finish that can complement natural nails with a smooth, shiny look. It can be shaped and filed to match any nail style, from short and natural to long and sculpted.
The gel also supports nail art applications, such as encapsulating glitter or designs, allowing versatile creative options for manicures.
Builder Gel Manicure vs. Other Nail Enhancements
Builder Gel vs. Acrylic Nails
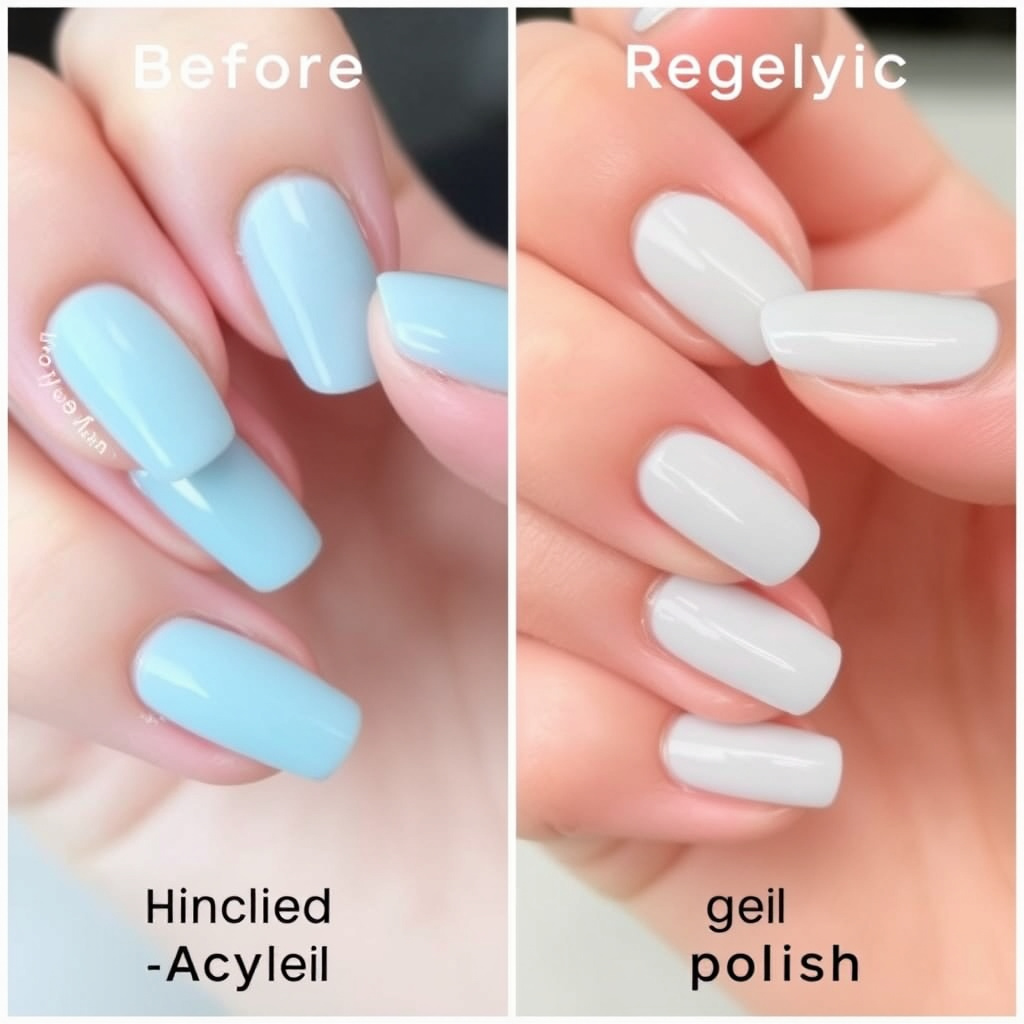
Builder gel is softer and more flexible than acrylics, making it less prone to cracking and more comfortable to wear. Acrylics tend to be harder and can sometimes cause damage to natural nails if removed incorrectly.
While acrylics dry quickly through air exposure, builder gel requires curing under a lamp but offers a glossier finish and fewer fumes during application.
Builder Gel vs. Regular Gel Polish
Regular gel polish adds color and shine but lacks the thickness and strength to extend or build nails. Builder gel focuses on shaping and reinforcing nails rather than purely cosmetic coloring.
Many technicians use builder gel as a base with gel polish on top for both durability and aesthetics.
Applying and Removing Builder Gel Manicures
Application Steps
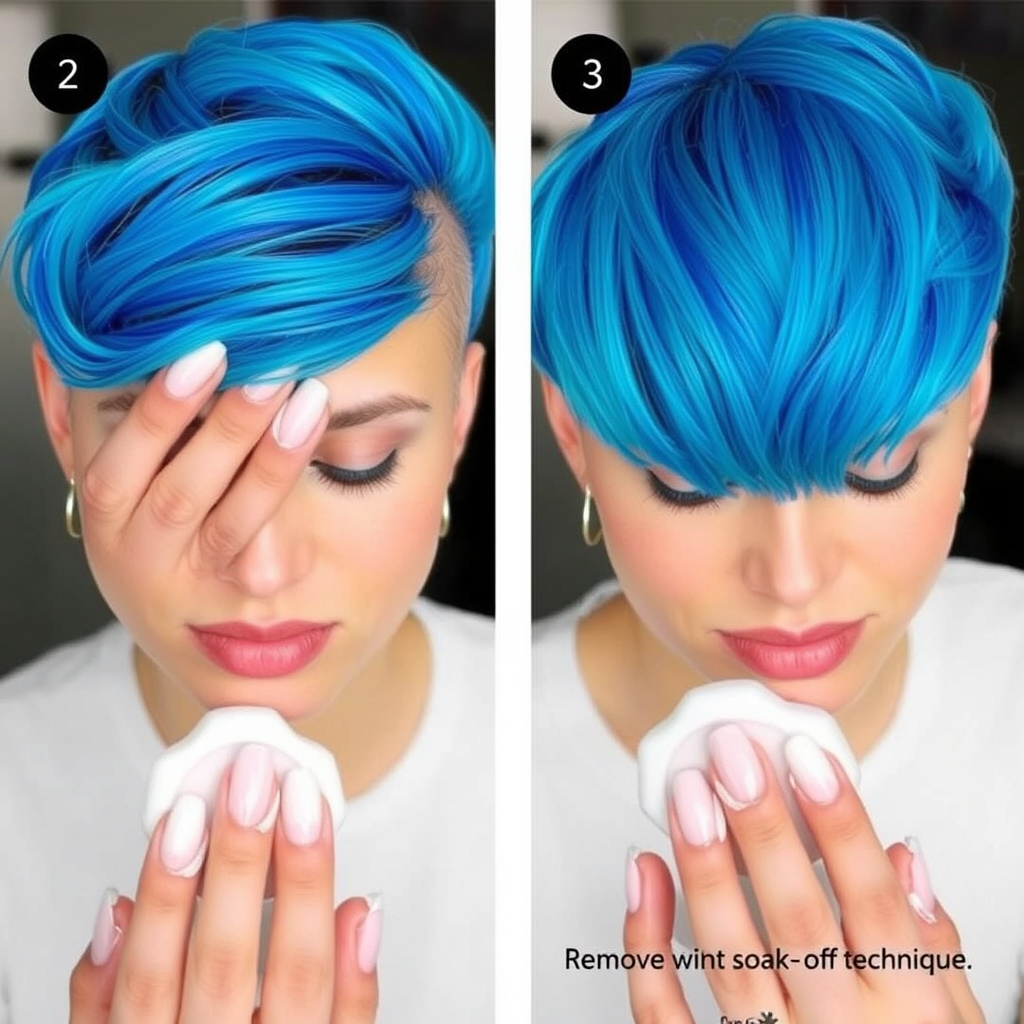
The nail surface is first prepared by cleaning and lightly buffing. Next, a base coat is applied and cured. Builder gel is then applied in thin layers, each cured under a lamp, and shaped before applying the next coat. After the final layer, nails are filed and buffed to smoothness.
This methodical layering and curing process ensures strength and longevity.
- Clean and prep nails
- Apply base coat and cure
- Build with thin gel layers, curing each
- Shape and finish with topcoat
Safe Removal Techniques
Removing builder gel involves soaking nails in acetone to soften the gel, then gently pushing or filing it off to avoid nail damage. Avoid peeling or prying the gel, which can strip natural nails.
Professional removal is recommended to preserve nail integrity and prevent weakening or tearing.
- Soak nails in acetone for 10-15 minutes
- Use a wooden stick or pusher to remove softened gel
- Do not force or peel gel off
- Moisturize nails after removal
Choosing the Right Builder Gel Products
Gel Thickness and Viscosity
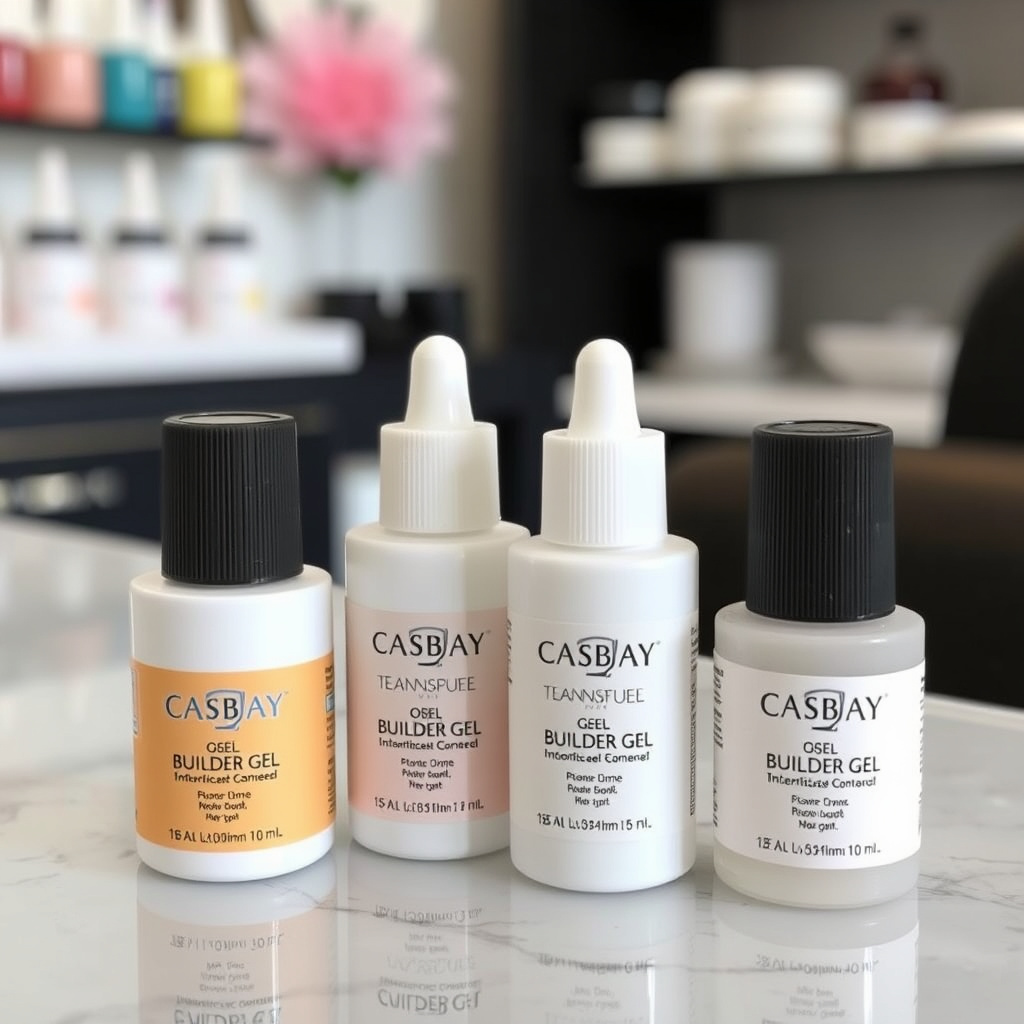
Builder gels come in different viscosities, from runny to thick. Thicker gels are better for creating extensions and complex designs, while thinner gels are easier to spread smoothly for overlays.
Selecting the right viscosity depends on your technique and the desired nail shape.
Color and Finish Options
Builder gels are available in clear, pink, and lightly tinted shades to suit natural looks or act as a base for other nail art. Some gels also offer glitter or shimmer finishes, adding varied aesthetic choices.
Choose a gel compatible with your curing lamp and one that matches your style preferences.
- Clear for natural overlays
- Pink shades to mimic healthy nail beds
- Colored gels for subtle enhancements
Maintaining Your Builder Gel Manicure
Daily Nail Care
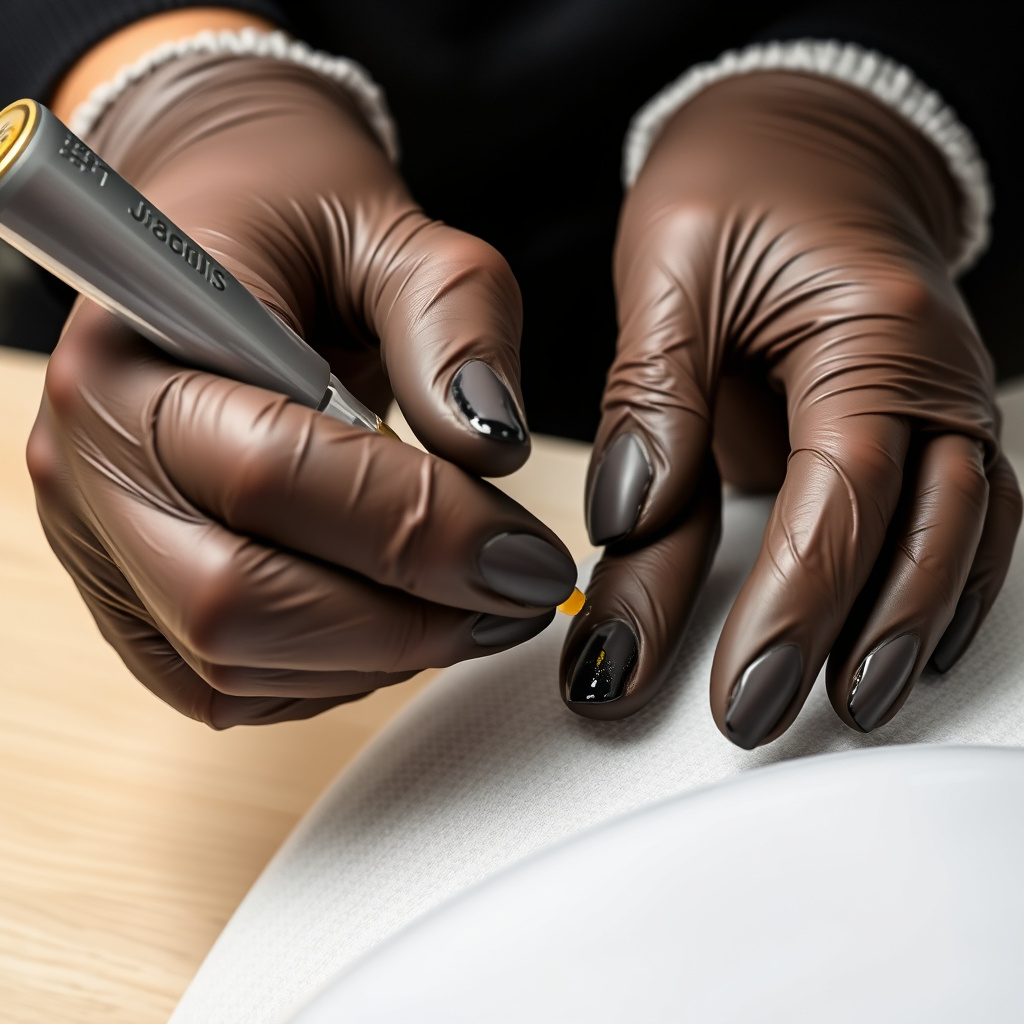
Keeping nails moisturized with cuticle oil and hand lotion preserves the gel’s look and prevents lifting. Protect nails from harsh chemicals and wear gloves when cleaning or gardening to extend manicure longevity.
Avoid using nails as tools to reduce risk of chipping or breaking.
- Apply cuticle oil twice daily
- Wear gloves during chores
- Avoid picking or peeling nails
For more detailed insights into gel nail technologies, you can visit the builder gel manicure details on Wikipedia. builder gel manicure details on Wikipedia.
When to Get a Fill or Remove
Builder gel manicures usually last 2-3 weeks before requiring a fill, which involves applying new gel over nail growth to maintain strength and appearance. Full removal is necessary when switching styles or if damage occurs.
Filling and proper upkeep help keep natural nails healthy beneath builder gel.
- Schedule fills every 2-3 weeks
- Visit a professional for removal
- Monitor nail health regularly
Builder Gel Manicure Category Comparison
This table compares common builder gel categories to help you understand their characteristics and choose the best option.
| Category | Viscosity | Best For | Durability | Application Complexity |
|---|---|---|---|---|
| Runny Builder Gel | Low | Easy overlays and beginners | Medium | Easy |
| Thick Builder Gel | High | Sculpting and extensions | High | Moderate |
| Colored Builder Gel | Medium | Natural tint or light color | High | Moderate |
| Glitter Builder Gel | Medium | Decorative finishes | High | Moderate |
| Clear Builder Gel | Medium | Natural look overlays | High | Easy |
Frequently Asked Questions
How long does a builder gel manicure last?
A builder gel manicure typically lasts between 2 to 3 weeks before needing a fill or removal, depending on nail growth and daily activities.
Is builder gel safe for natural nails?
When applied and removed properly, builder gel is safe and can actually protect weak nails by providing added strength.
Can builder gel nails be shaped and filed?
Yes, one of the benefits of builder gel is that it can be sculpted, shaped, and filed to your preferred nail style after curing.
What is the difference between builder gel and regular gel polish?
Builder gel is thicker and used to build thickness and structure, while regular gel polish is thinner and primarily for color and shine.
How do I remove a builder gel manicure safely?
Soak your nails in acetone to soften the gel, then gently push or file it off. Avoid peeling or forcing the gel to protect your natural nails.
Key Takeaways
- Builder gel adds strength and length by building up the nail surface.
- It offers a natural, glossy finish suitable for nail extensions or overlays.
- Proper application and curing are essential for durability.
- Safe removal prevents damage and keeps nails healthy.
Conclusion
Choosing a builder gel manicure means prioritizing both the strength and appearance of your nails. The process involves applying and curing thick, sculptable gel to build up your nails, providing durability and flexibility unmatched by regular gel polish. This approach suits those with fragile nails or anyone wanting longer, reinforced nails while maintaining a natural look.
If you want strong, long-lasting nails with a glossy finish, builder gels in thicker viscosities are excellent for extensions and complex shaping. Clear or lightly tinted gels work well for natural overlays, while colored or glitter builder gels offer creative options. Remember, regular fills are necessary for upkeep, and professional removal is recommended to avoid harming your natural nails.
Start by selecting the best builder gel nail kit based on viscosity and curing compatibility. Follow proper application and maintenance guidelines to extend your manicure’s lifespan. Whether you’re repairing damaged nails or looking for vibrant nail art, a builder gel manicure can provide a sturdy, beautiful foundation worth trying.