How to Align Trimmer Blades for Precise and Safe Cutting
Aligning trimmer blades correctly is essential to ensure efficient cutting performance and prevent damage to your trimmer. Proper alignment minimizes blade friction and promotes clean, precise cuts for your gardening or landscaping tasks.
Misaligned blades can cause uneven trimming, potential motor strain, and even accidents. Aligning the blades not only extends their life but also reduces wear on other trimmer components, saving you time and money on repairs and replacements.
This article will guide you through understanding why blade alignment matters, when to adjust your trimmer blades, and step-by-step instructions for different trimmer types. You'll also find maintenance tips and advice on choosing the right replacement blades.
Understanding Trimmer Blades and Their Alignment
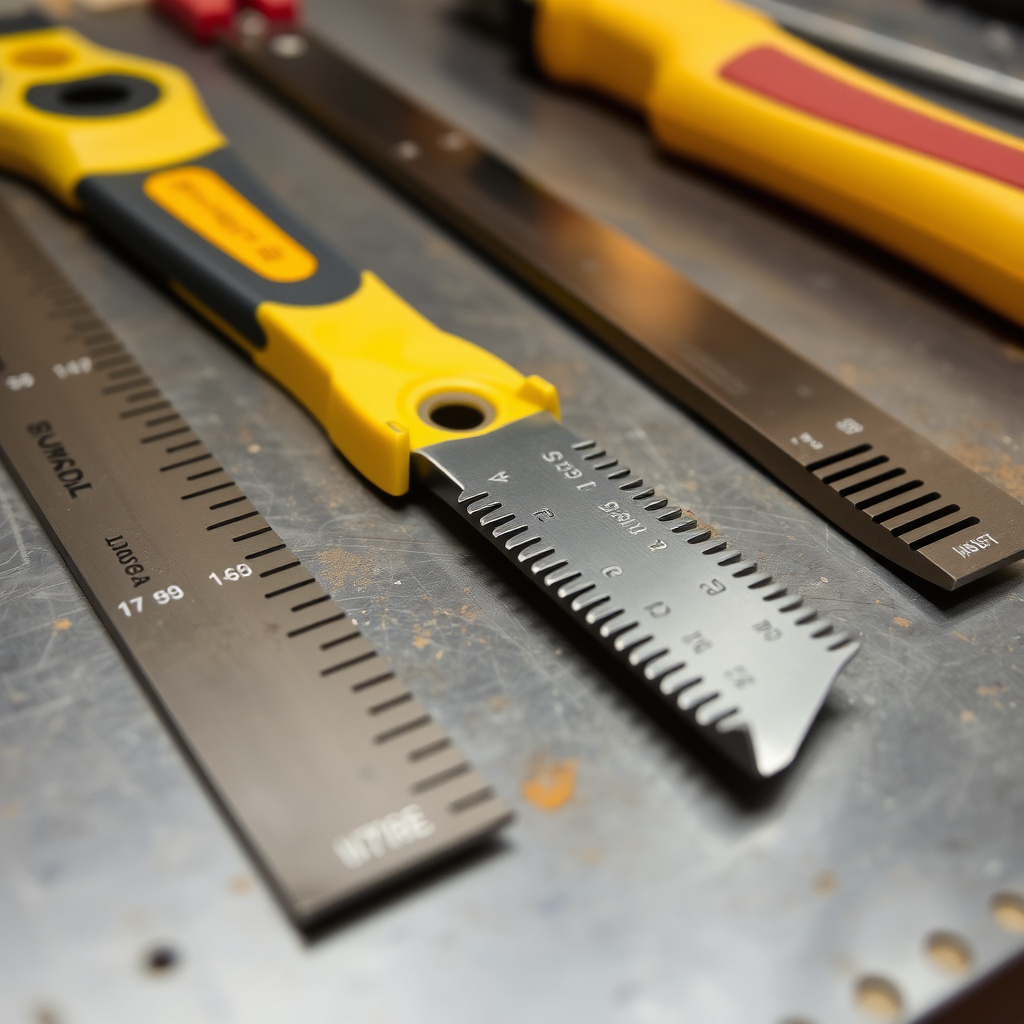
Types of Trimmer Blades
Trimmer blades come in various designs including single blade, double blade, and circular blade types. Each type suits different cutting tasks, from light lawn edging to thick brush clearing. Knowing your blade type helps determine the alignment process.
Blade material varies as well, commonly including hardened steel or stainless steel, affecting durability and sharpening frequency. Choosing the right blade ensures better performance and easier alignment.
Why Proper Blade Alignment Matters
Correct alignment ensures blades meet at the right angle and spacing, enabling clean cuts and preventing the blades from rubbing against one another excessively. Misalignment can cause uneven trimming, more vibration, and accelerated wear on the motor.
Proper blade alignment also enhances safety by reducing the likelihood of blades loosening or breaking apart during operation, which could lead to serious injury.
Tools and Preparation for Aligning Trimmer Blades

Essential Tools You’ll Need
To align your trimmer blades effectively, gather basic tools like a screwdriver, adjustable wrench, blade holder or clamp, and a pair of safety gloves. A blade alignment gauge can be helpful to check angles accurately, but a straight edge or ruler works as well.
Make sure your workspace is clean, well-lit, and secure the trimmer on a stable surface to prevent accidents while adjusting the blades.
Safety Precautions Before Starting
Disconnect the trimmer from its power source, whether removing the battery or unplugging the cord. Wearing protective gloves helps prevent cuts from sharp blades during handling and adjustment.
Inspect the blades and hardware for damage or excessive wear before alignment. Replace any broken or severely worn components to maintain safe operation.
Step-by-Step Guide to Align Trimmer Blades

Removing and Inspecting the Blades
Begin by loosening and carefully removing the blade screws or nuts using appropriate tools. Place the blades on a flat surface to inspect for cracks, chips, or uneven wear that could affect alignment.
Clean any dirt or debris from the blade mount and shaft. If the blades show damage beyond minor wear, replace them before realigning.
- Use blade holder to prevent rotation
- Mark blade position before removal
For more on this, see our related guide: How to Clean a Hair Trimmer for Peak Performance and Longevity.
Aligning and Reinstalling the Blades
Position the blades onto the trimmer shaft, aligning the mounting holes and ensuring the cutting edges face outward correctly. The blades should be parallel and have a consistent gap without contacting each other.
Tighten the mounting hardware evenly but avoid over-tightening, which can warp the blades. Spin the blades manually to verify smooth, even motion and make minor adjustments as required.
- Keep blade edges facing away from shaft
- Check for even spacing between blades
Adjusting Blade Tension and Checking Functionality

Setting the Correct Blade Tension
Blade tension affects cutting efficiency and motor strain. Consult your trimmer’s user manual for recommended tension levels or torque specifications for blade hardware.
Use a torque wrench if available or tighten bolts to a firm but not overly tight setting. Loose blades can vibrate excessively, while overly tight blades risk bending or damage.
- Use torque wrench for precise tightening
- Avoid overtightening which can warp blades
Testing the Trimmer After Alignment
Once blades are aligned and secured, power on the trimmer briefly to observe blade rotation. Check for unusual noises, vibrations, or wobbling that indicate misalignment.
Perform a test cut on a small area of grass or brush, observing cut quality and trimmer response. If issues persist, re-check alignment or consult a professional for repair.
- Listen for smooth, quiet operation
- Check for even, clean cutting surface
Maintenance Tips to Keep Your Trimmer Blades Aligned

Regular Cleaning and Lubrication
After each use, clean clippings and debris from blades, mount points, and shafts. Light lubrication on blade mounts and pivot points helps reduce wear and maintain smooth alignment.
Avoid using water directly on blades to prevent rust. Instead, use a dry cloth or mild lubricant designed for garden tools.
- Wipe blades after each use
- Apply light oil to blade mounts
For more on this, see our related guide: How to Use a Hair Trimmer: A Step-by-Step Guide for Clean Cuts.
Sharpening and Replacing Blades
Dull blades increase cutting resistance and motor load, which may affect blade alignment. Sharpen blades regularly according to manufacturer instructions to maintain optimal cutting edges.
When blades are cracked, bent, or excessively worn, replace them with compatible models promptly to preserve safe alignment and trimmer performance.
- Sharpen blades with a file or grinder
- Use manufacturer-approved replacement blades
Troubleshooting Common Alignment Issues

Identifying Symptoms of Misalignment
Common signs include uneven cuts, excessive vibration, smoke from friction, and unusual noises. These symptoms often mean blades are rubbing or loose due to improper alignment.
Visual inspection can reveal gaps, blade warping, or blade edge misdirection causing the problem.
- Uneven trimming pattern
- Increased motor noise
For more information on trimmers and blade maintenance, the garden trimmer maintenance guide offers in-depth details. garden trimmer maintenance guide.
How to Correct Persistent Problems
Double-check blade positioning and tension, ensuring bolts are tightened evenly. If issues continue, consult the user manual for adjustment specifications or contact a professional technician.
In cases of persistent vibration or blade damage, consider replacing blade mounts, shaft bushings, or blades themselves for improved alignment.
- Revisit blade tension
- Inspect mounting hardware for damage
Comparison of Common Trimmer Blade Types
This table summarizes typical features and ideal uses for different trimmer blade types to help choose the best fit for your needs.
| Blade Type | Cutting Efficiency | Durability | Best Use Case |
|---|---|---|---|
| Single Blade | Moderate | High | Light grass and edging |
| Double Blade | High | Moderate | Thick grass and brush |
| Circular Blade | Very High | High | Heavy brush and small saplings |
| Plastic Blade | Low | Low | Light trimming in sensitive areas |
Frequently Asked Questions
How often should I align my trimmer blades?
Blade alignment should be checked and adjusted at least once a season or whenever you notice uneven cuts, vibration, or unusual noises during operation.
Can I align trimmer blades myself without professional help?
Yes, with basic tools and safety precautions, most trimmer blade alignments can be done at home by following proper instructions.
What if my trimmer blades don’t stay aligned?
Persistent misalignment may indicate worn hardware, damaged blade mounts, or bent shafts that require part replacement or professional service.
Does blade alignment affect trimmer motor life?
Properly aligned blades reduce motor strain by minimizing resistance and vibration, helping extend motor lifespan.
Should I always replace blades instead of aligning dull ones?
Sharpening dull blades is usually preferable for cost and environmental reasons, but cracked or bent blades must be replaced for safety.
Key Takeaways
- Aligning trimmer blades improves cutting precision and tool safety.
- Use the right tools and safety gear when adjusting blades.
- Regular maintenance extends blade life and performance.
- Replace damaged blades promptly to maintain proper alignment.
Conclusion
Choosing to align trimmer blades effectively involves understanding blade types, securing proper tools, and following precise adjustment steps to maintain cutting quality and reduce wear. This hands-on approach saves costs and helps prevent damage to your equipment, offering better control over your trimming tasks.
For light garden chores, single blades with occasional alignment checks work well, while double blades suit moderate brush cutting needing more frequent attention. Users with heavy-duty trimming demands will benefit from circular blades aligned with care to meet rugged conditions. A routine schedule combining inspection, alignment, sharpening, and cleaning keeps your trimmer sharp and reliable.
If you encounter difficulties or persistent misalignment despite your efforts, consulting a professional technician can protect your investment and safety. Meanwhile, embracing best practices for blade alignment positions you to enjoy an efficient, long-lasting trimmer ready for diverse outdoor chores.


