How to Do Polygel Nails: Step-by-Step Guide for Stunning Results
Doing polygel nails involves preparing your natural nails, applying a base coat, sculpting the polygel mixture on nail forms or tips, curing it under a UV or LED lamp, and finishing with shaping and top coat. This method combines the strength of acrylics with the lightness of gels, making it popular for durable and natural-looking nails.
The appeal of polygel nails lies in their flexibility, reduced odor compared to acrylics, and ease of application compared to hard gels. This technique offers a seamless finish that is less damaging to your natural nails when done correctly, making it a preferred choice among DIY enthusiasts and professional nail technicians alike.
This article will guide you through the tools and materials needed, the preparation process, application techniques, curing tips, and aftercare advice so you can confidently achieve salon-quality polygel nails at home.
Essential Tools and Materials for Polygel Nails

Polygel and Related Products
Polygel comes in various colors and consistencies, packaged in small tubs. Alongside polygel, you'll need a base coat and a top coat, specifically formulated for gel nails, to create a strong bond and a glossy finish.
A slip solution or gel resin is essential to smooth and shape the polygel during application without sticking to the brush. Choose a slip solution compatible with your polygel brand to ensure ease during sculpting.
Tools and Equipment
A sturdy brush designed for polygel application allows precise shaping. Nail forms or dual forms provide the structure needed when building the nail extension, while a UV or LED lamp is required to cure the polygel layers.
Additional essentials include a nail file and buffer for shaping and smoothing the final nail surface, as well as lint-free wipes and alcohol for cleansing between steps to maintain nail hygiene.
Preparing Your Nails Before Polygel Application
Cleaning and Buffing the Nail Surface
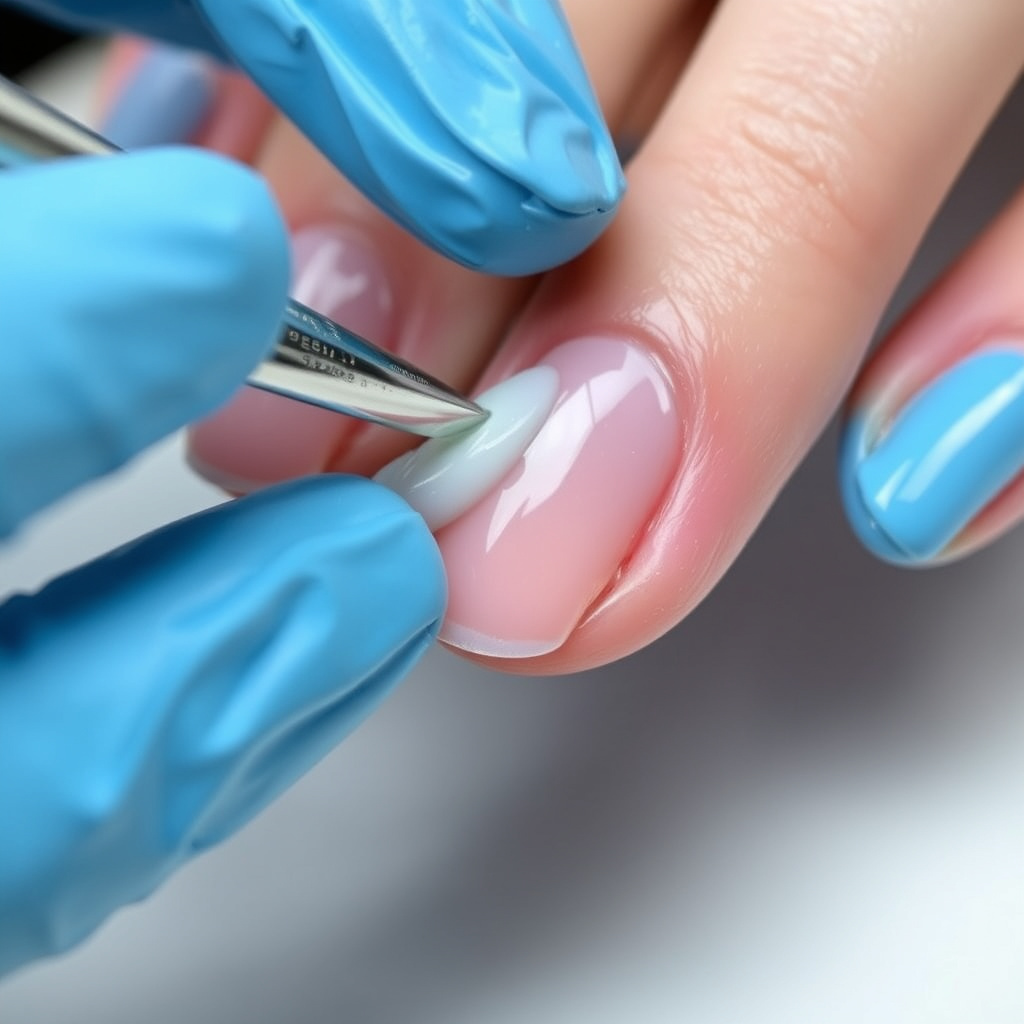
Begin by removing any existing polish and push back the cuticles gently to expose the nail plate. Clean nails thoroughly to remove oils and debris using a nail cleanser or rubbing alcohol.
Lightly buff the nail surface to create texture, which improves adhesion of the base coat and polygel. Avoid aggressive filing to prevent weakening your natural nails.
- Remove polish completely
- Push back cuticles gently
- Clean nails with alcohol
- Light buffing for adhesion
Applying Nail Forms or Tips
Select appropriately sized nail forms or tips to extend your natural nails if desired. Secure them firmly to ensure a proper foundation for building the polygel nail.
Check alignment and fit before proceeding to apply the base coat; a proper base ensures a smooth and even application of polygel.
Step-by-Step Application Process for Polygel Nails
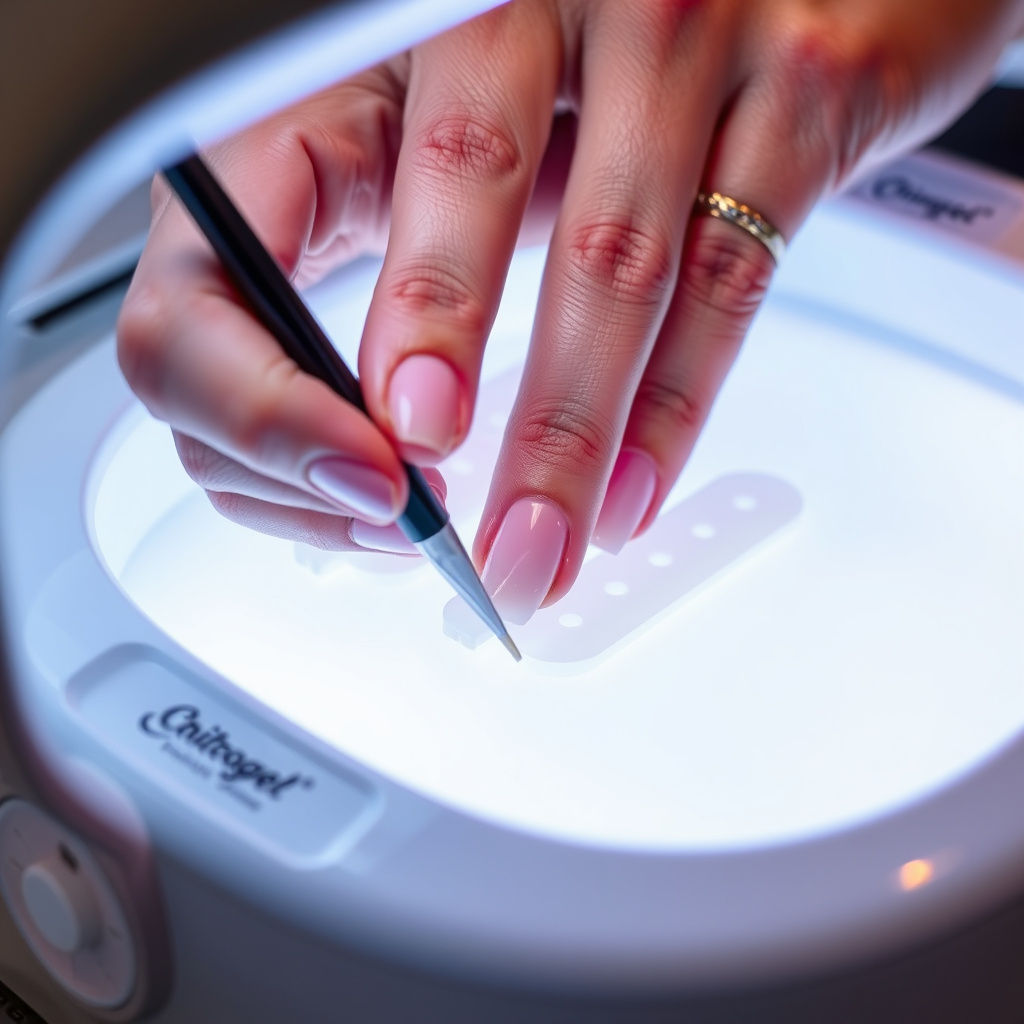
Applying Base Coat and First Polygel Layer
Apply a thin, even base coat to your natural nails or tips and cure under a UV or LED lamp according to product instructions. This creates a tack-free surface for the polygel to adhere to.
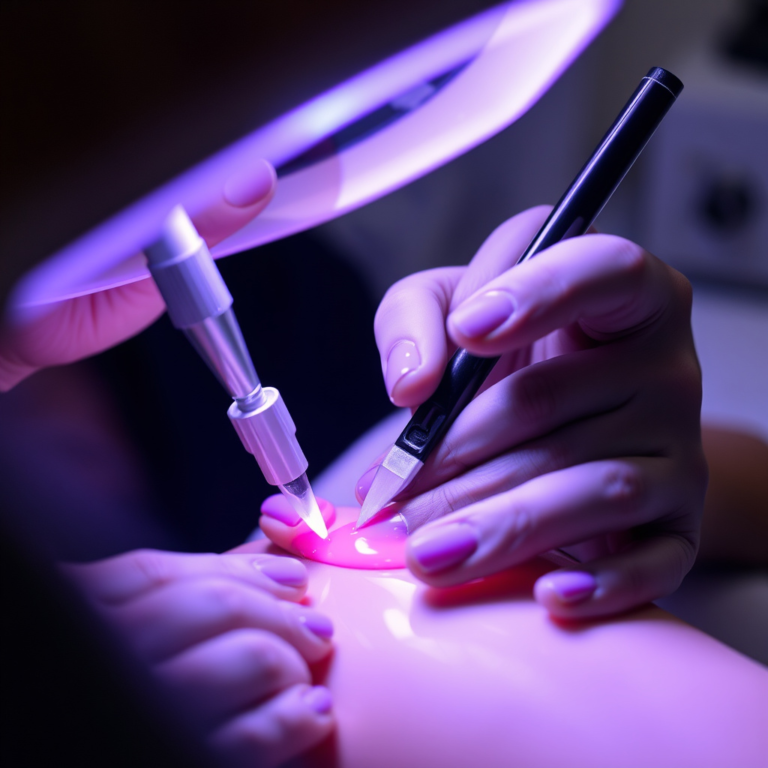
Squeeze out a small amount of polygel onto a palette or directly onto the brush, dip lightly into slip solution, and place the polygel on the nail. Use the brush with slip solution to sculpt and smooth the polygel over the nail form, starting from the cuticle towards the tip.
- Thin base coat layer
- Cure under lamp
- Use slip solution to shape polygel
Curing and Building the Nail Structure
Once sculpted, cure the polygel under the lamp for the time recommended by the manufacturer, usually about 30-60 seconds. After curing, add a second polygel layer if additional thickness or correction is needed, and cure again.
Proper curing ensures the polygel hardens without tackiness, creating a durable and resilient nail extension ready for shaping.
Finishing and Shaping Your Polygel Nails

Filing, Shaping, and Buffing
Use a coarse file to shape the nail edges and a finer file to smooth the surface. Maintain the natural curve of the nail while filing to avoid a flat or bulky look.
Buff the nail surface gently to remove any imperfections or roughness. This step prepares the nails for a flawless top coat application.
- Shape edges with coarse file
- Smooth surface with finer file
- Buff for even texture
Applying Top Coat and Final Curing
Apply a thin layer of gel top coat to seal and protect your polygel nails. Cure one last time under the lamp to secure a glossy, chip-resistant finish.
After curing, wipe nails with alcohol to remove any sticky residue and reveal a polished, durable set of nails.
Maintaining and Removing Polygel Nails Safely
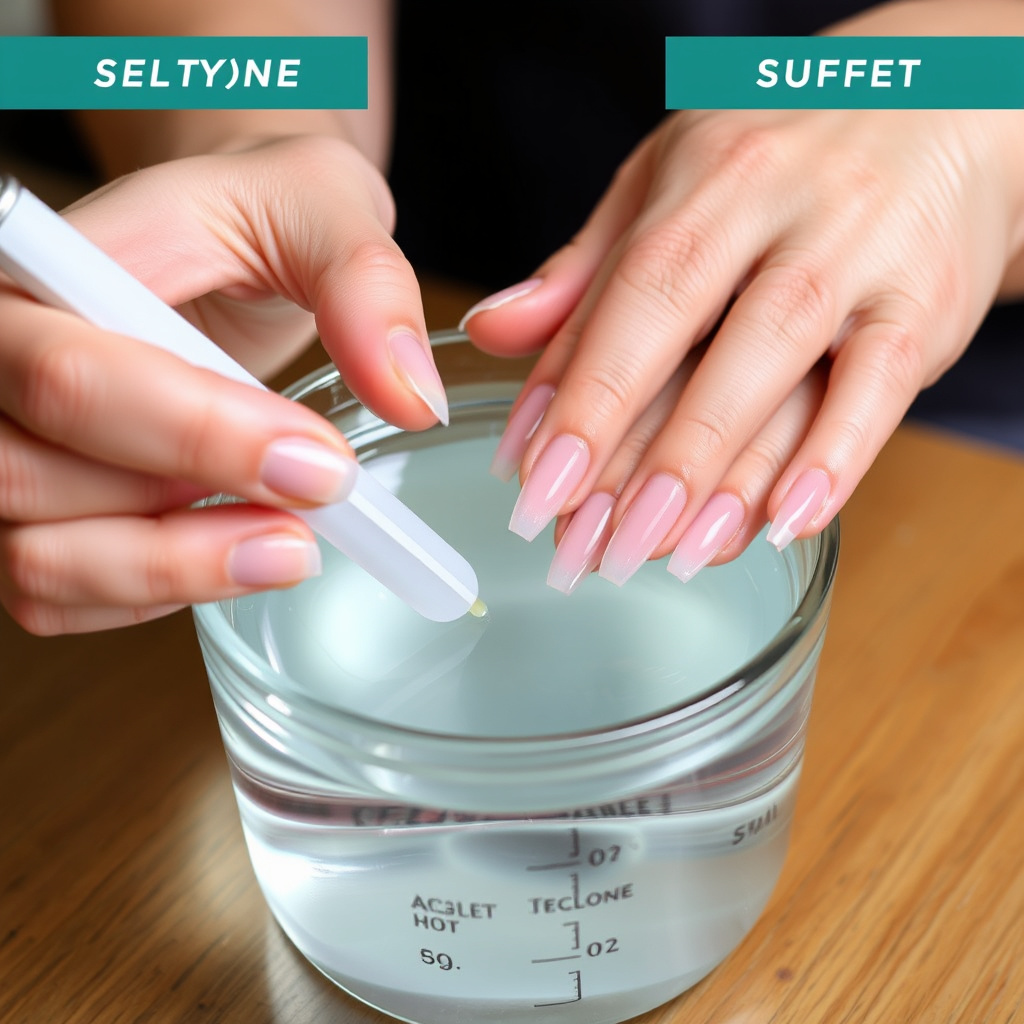
Proper Aftercare to Extend Nail Life
Keep your nails moisturized with cuticle oil to prevent dryness and cracking. Avoid harsh chemicals and use gloves when cleaning to maintain the integrity of the polygel nails.
Schedule infills or touch-ups every 2-3 weeks to address natural nail growth and maintain the nail structure.
- Use cuticle oil regularly
- Wear gloves during chores
- Get regular infills
Safe Removal Techniques
Avoid prying or peeling off polygel nails to prevent damage. Soak nails in acetone with foil wraps for 15-20 minutes to soften the polygel, then gently push off residue with a cuticle pusher.
File the surface lightly before soaking to speed removal, and follow up with nail nourishment after removal.
Choosing the Best Polygel Nail Kits for Beginners
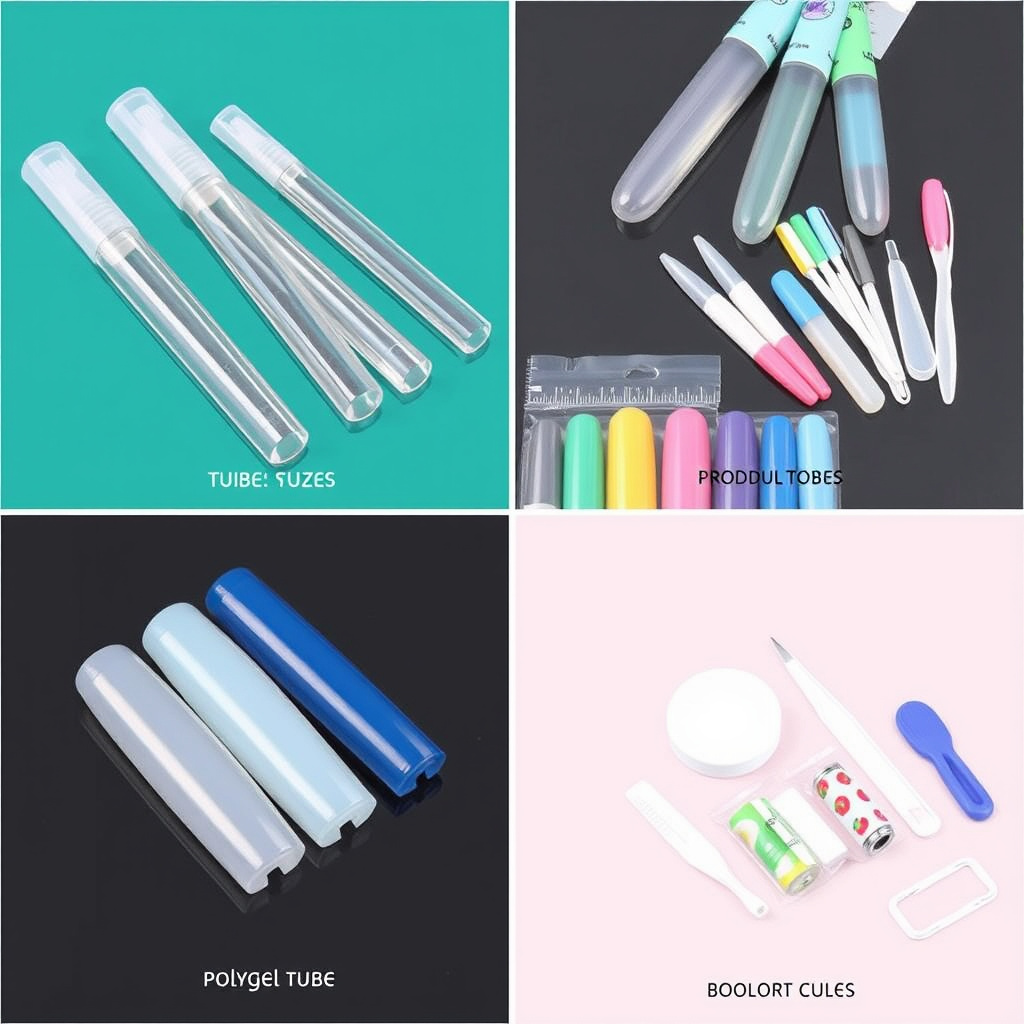
Features to Look For in Polygel Kits
Look for kits that include a good range of colors, a reliable UV/LED lamp, and a quality brush for sculpting. Starter kits best suited for beginners often have instructional guides and various tip sizes to practice with.
Durability of the polygel and the ease of shaping with included slip solutions are key factors to choose a kit that supports smooth application.
For more detailed information and history about polygel nails, refer to the comprehensive overview available on Wikipedia. Polygel nails information on Wikipedia.
Recommended Polygel Kits for Home Use
Popular options include kits from brands like Modelones, Makartt, and Sally Hansen. These kits come with everything needed to do full sets with step-by-step instructions tailored for beginners.
Consider the kit’s lamp wattage and brand reputation. Higher wattage lamps cure polygel faster, and well-reviewed brands often provide better product consistency.
- Modelones polygel starter kit
- Makartt poly nail kit
- Sally Hansen Gel Polish kit
Polygel Nail Kits Category Comparison
Here's a comparison of popular polygel nail kits to help you choose the right one based on contents, lamp wattage, and price.
| Kit | Included Items | Lamp Wattage | Price Range |
|---|---|---|---|
| Modelones Starter Kit | Polygel tubs, brush, slip solution, nail forms, UV/LED lamp | 36W | $40-$50 |
| Makartt Poly Nail Kit | Polygel colors, dual forms, gel brush, UV/LED lamp | 48W | $50-$60 |
| Sally Hansen Gel Polish Kit | Gel polish, base/top coat, LED lamp | 36W | $30-$40 |
| Gellen Polygel Kit | Polygel tubs, slip solution, nail forms, brush, LED lamp | 48W | $55-$65 |
Frequently Asked Questions
Can polygel nails damage natural nails?
When applied and removed correctly, polygel nails cause minimal damage. Proper preparation, gentle filing, and soaking off the product instead of peeling it reduce risk to your natural nails.
How long do polygel nails typically last?
Polygel nails typically last 2 to 3 weeks before needing infills or touch-ups due to natural nail growth and daily wear.
Is polygel better than acrylic nails?
Polygel offers a lighter, less odorous alternative to acrylics with easier application and removal, but acrylics might provide slightly stronger durability for heavy-duty use.
Do I need a UV or LED lamp for polygel nails?
Yes, curing polygel nails requires either a UV or LED lamp to harden each layer and secure a strong finish.
Can beginners do polygel nails at home?
Yes, with the right tools, practice, and quality polygel nail kits, beginners can achieve professional-quality polygel nails at home.
Key Takeaways
- Polygel nails combine the strength of acrylic and the flexibility of gel for durable manicures.
- Proper nail preparation and curing under UV/LED lamps are vital for lasting results.
- Maintaining nails with moisturizing and safe removals extends their lifespan and health.
- Beginner-friendly polygel kits include essential tools to simplify the learning process.
Conclusion
Mastering how to do polygel nails requires attention to detail throughout each step, from prepping your natural nails to the final top coat. This hands-on process benefits greatly from having the right tools, like a quality UV or LED lamp and nail forms, as well as understanding proper application and curing times. Taking time to sculpt the polygel accurately and cure it fully ensures strong, natural-looking nails that hold up well to everyday wear, providing a safer alternative to acrylics in many cases.
For those just starting out, investing in a reputable polygel nail kit such as those from Modelones or Makartt can make the learning curve less intimidating. These kits often feature various colors, detailed instructions, and efficient lamps that help cure polygel properly. Regular maintenance, including moisturizing cuticles and scheduled infills, keeps nails looking fresh. If you want lighter nails without sacrificing durability, polygel nails offer a compelling middle ground to traditional acrylic and gel nails.
To get started, choose a beginner-friendly kit and practice each step carefully, focusing on nail preparation and shaping techniques. Watching tutorials can supplement hands-on experience, helping improve your skill. Remember, patience and practice will help you achieve professional-quality polygel nails that enhance your look while protecting your natural nails.