How to Cut Your Own Hair with a Trimmer: A Step-by-Step Guide
Cutting your own hair with a trimmer is entirely doable once you understand the basic techniques and tools required. With a proper trimmer, a mirror setup, and some patience, you can achieve a clean, even haircut at home without professional help. This method is especially practical for simple styles like fades, buzz cuts, or trims.
Doing your own haircut saves time and money while allowing you to maintain your preferred hairstyle between salon visits. Precision in using a trimmer ensures an even cut, which helps maintain a neat appearance. Learning how to use a trimmer correctly can boost confidence and self-sufficiency in hair maintenance.
This article covers essential prep steps, techniques for different haircuts using a trimmer, tips on blade adjustments, mirror positioning, and cleaning your tool afterward. By the end, you'll know how to safely and effectively cut your own hair with a trimmer to get professional-looking results at home.
Preparing to Cut Your Own Hair with a Trimmer
Choosing the Right Trimmer and Attachments
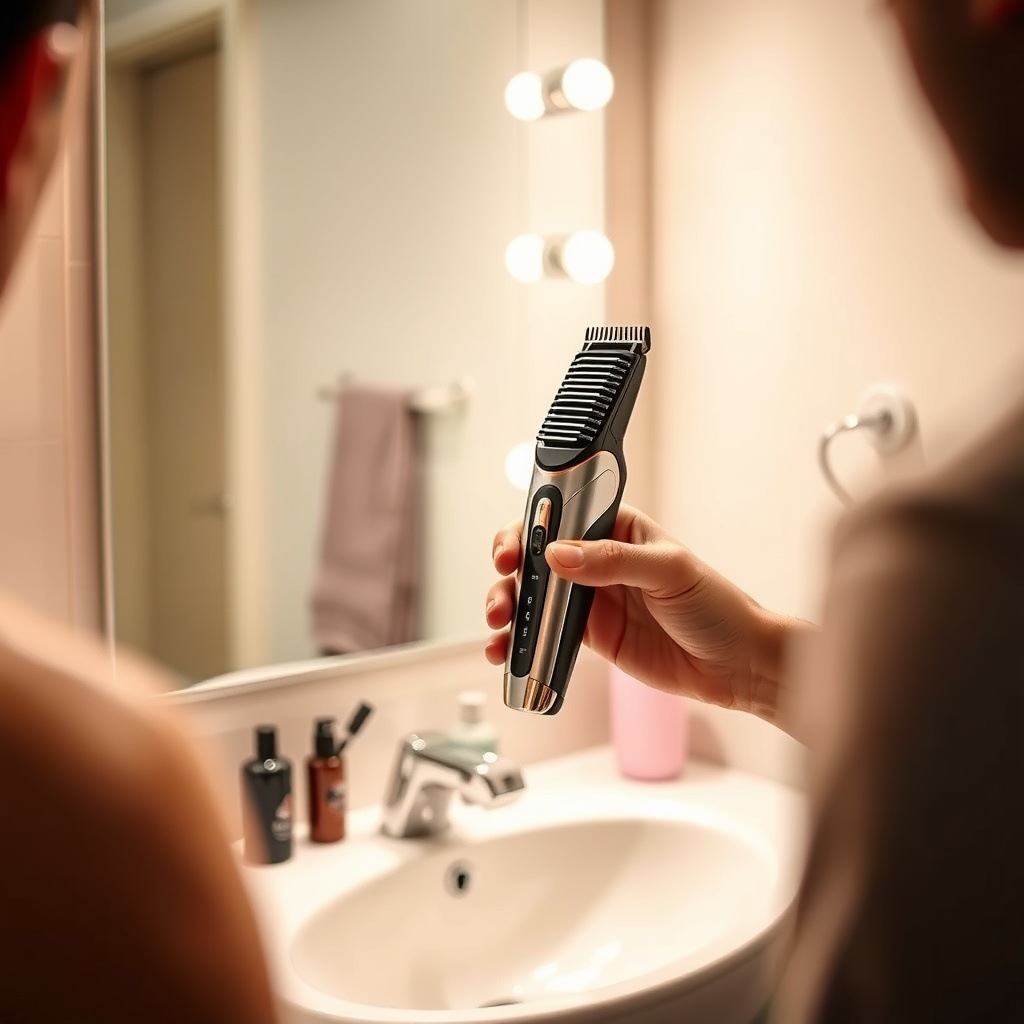
Selecting a quality trimmer designed for home use is critical for ease and precision. Look for one with adjustable guard lengths to tailor the cut's closeness. Many trimmers come with a variety of comb attachments ranging from 1/16 inch to 1 inch or more, which help achieve consistent lengths.
Also, consider battery life, grip comfort, and blade sharpness. Stainless steel blades tend to stay sharper longer and provide cleaner cuts. Investing in the best hair trimmer for home use ensures better control and a more uniform result.
- Adjustable length guards
- Comfortable grip design
- Long battery life
- Sharp stainless steel blades
Setting Up Your Workspace and Mirror
An even, bright light source is essential so you can clearly see each section of your hair during trimming. Set up a large mirror in front, supplemented by a hand mirror to view the back of your head. Positioning yourself near a sink or easy-to-clean area helps manage hair clippings.
Using two mirrors placed at angles allows you to observe your hair from various perspectives without awkward neck movements, enabling more precise trimming especially in hard-to-see spots.
- Bright, consistent lighting
- Front and hand mirrors
- Cleanable flooring or covering
Basic Techniques for Cutting Hair with a Trimmer
Starting with Dry, Clean Hair
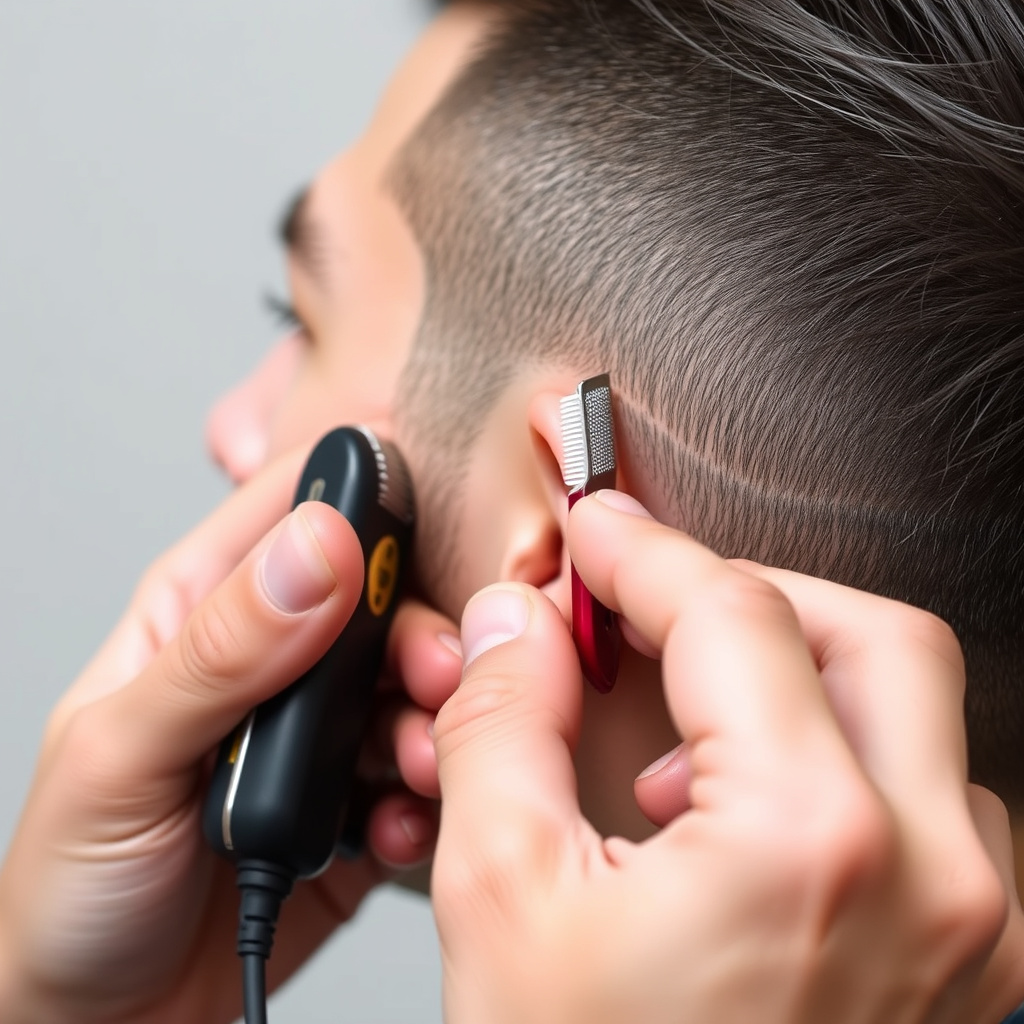
Cutting your own hair with a trimmer works best when your hair is completely dry. Wet hair can clump and cause uneven cutting. Make sure to wash and fully dry your hair before starting for easier clipping and better visibility of hair length.
Dry hair also helps the trimmer glide smoothly without tugging, minimizing discomfort and improving cutting accuracy.
Using Smooth, Controlled Movements
When trimming, it's important to move the trimmer steadily against the direction of hair growth. Avoid hurried or jerky motions which can cause patchy results or uneven edges. Slow, controlled passes let the blades cut hair evenly without missing spots.
Work methodically from the sides, then back, finishing on top. Double-check symmetry by frequently inspecting your progress in the mirrors.
- Move trimmer against hair growth
- Use slow, steady motions
- Check symmetry regularly
Techniques for Different Haircut Styles with a Trimmer
Achieving a Simple Buzz Cut
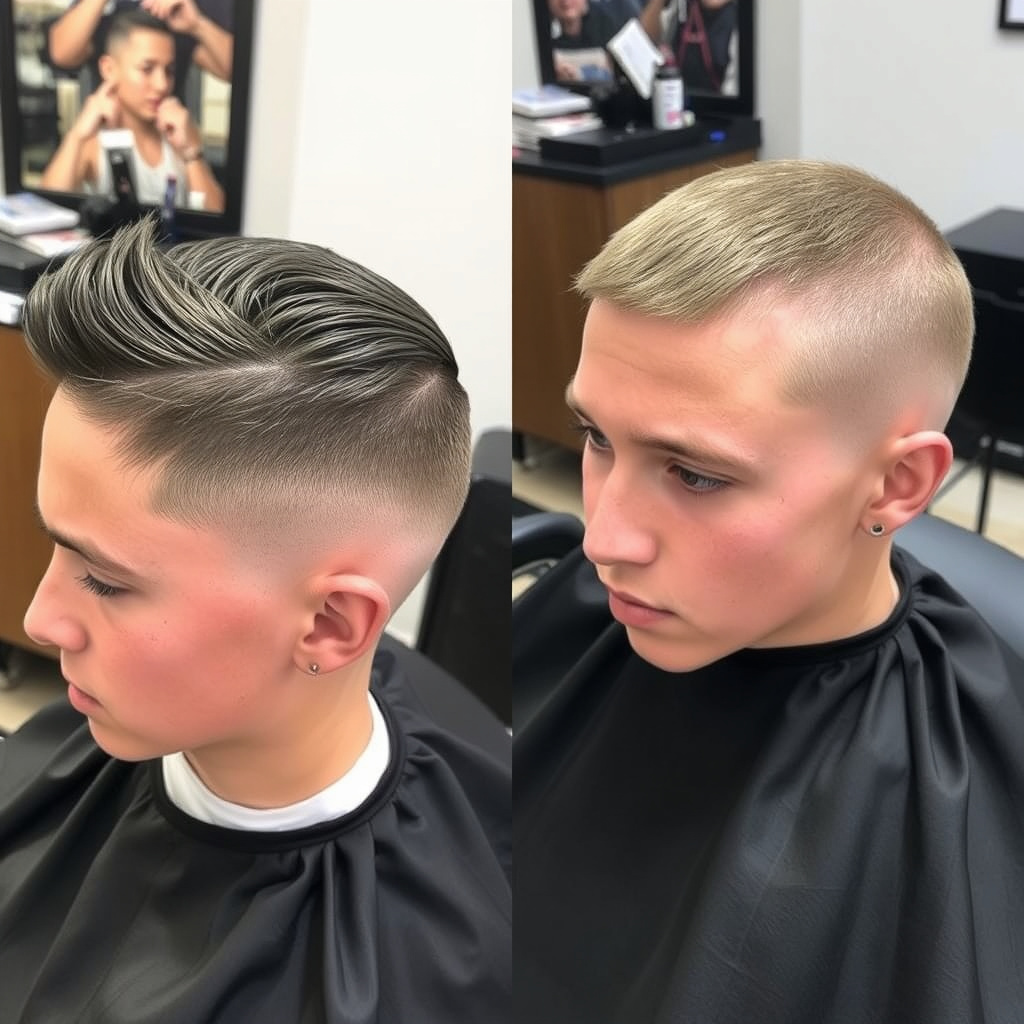
For a buzz cut, select a uniform guard length and run the trimmer across all areas of the head. Use overlapping strokes to avoid uneven patches. Trim upwards against hair growth and don’t rush to maintain an even-length look throughout the scalp.
To tidy edges around ears and neckline, remove the guard and carefully trim small sections. This creates a clean finish typical of buzz styles.
- Uniform guard length setting
- Overlap trimming strokes
- Edge trimming without guards
For more on this, see our related guide: How to Cut Your Own Hair with Clippers: A Step-by-Step Guide.
Creating a Fade Using Guard Gradation
The fade haircut requires changing guard lengths to blend hair from short to longer lengths gradually. Start with the shortest guard near the nape, then switch to medium and longer guards moving upward, gently blending each transition zone with light passes.
Precision and patience with guard swaps are key to a smooth fade effect. Use a hand mirror for the back to avoid visible lines or harsh edges.
- Start with shortest guard at bottom
- Gradually increase guard length upward
- Blend transitions with light passes
Maintaining Your Trimmer for Consistent Results
Cleaning and Oil Application
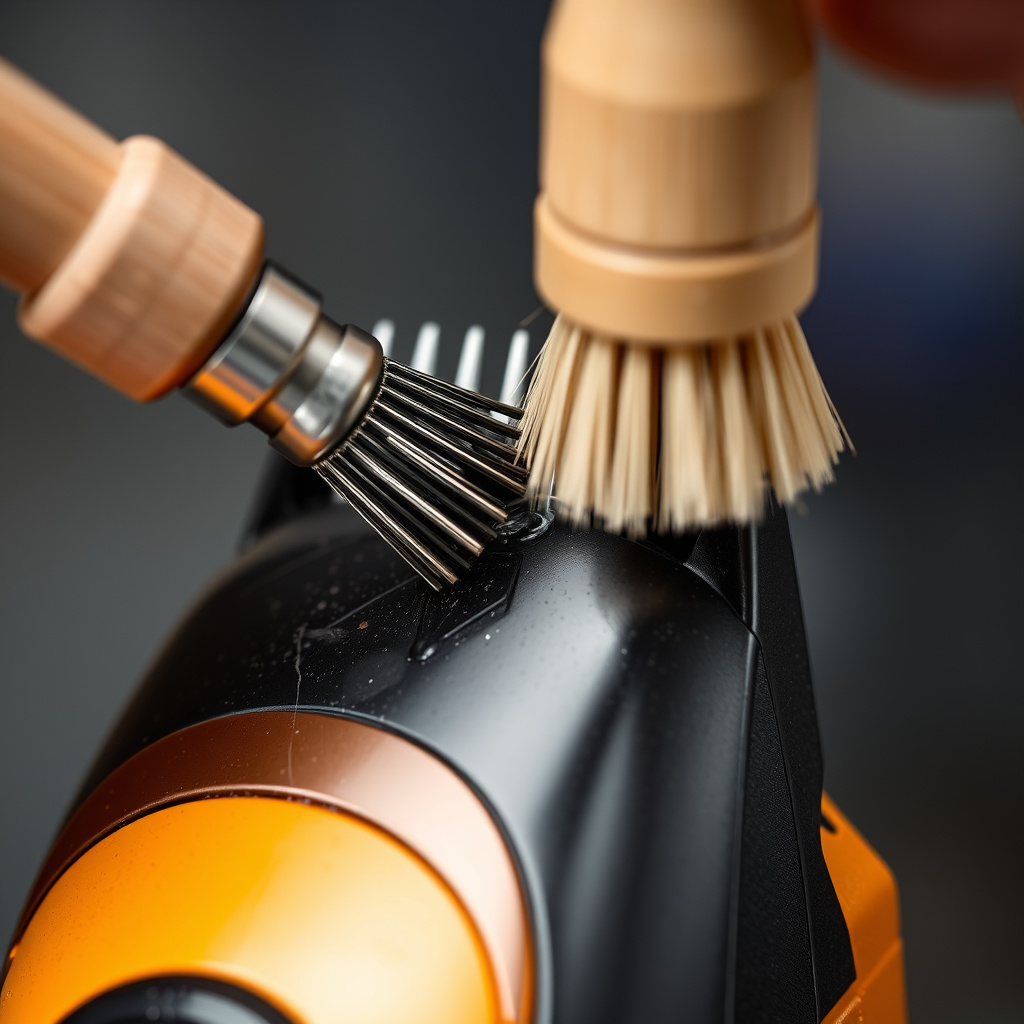
After each haircut, remove hair debris from blades using the supplied brush or compressed air. Regular cleaning prevents buildup that diminishes blade sharpness and motor efficiency. Applying a few drops of blade oil reduces friction and corrosion, extending the trimmer’s lifespan.
Ensure the trimmer is unplugged or powered off before cleaning. Lubricate blades only after cleaning and before storage for best maintenance.
- Brush off hair debris
- Use blade oil regularly
- Power off before maintenance
Blade Replacement and Storage
Blade dullness will impact cut quality. Most trimmer blades require replacement every few months depending on frequency of use. Follow manufacturer recommendations for compatible replacement parts.
Store your trimmer in a dry place to prevent rust and keep it in a protective case if available to avoid damaging the blades or unit.
- Replace blades as recommended
- Store in dry, protected area
Troubleshooting Common Issues When Cutting Hair with a Trimmer

Fixing Uneven Haircuts
If you notice uneven patches, return to those sections with a suitable guard and carefully trim to blend inconsistencies. Use a hand mirror to confirm symmetry. Cutting hair in natural light helps spot irregularities.
Patience and small adjustments prevent over-trimming. Regularly inspecting angles during the cut avoids surprises at the end.
- Use appropriate guard length
- Trim in good lighting
- Check with hand mirror frequently
For more on this, see our related guide: How to Use a Hair Trimmer on Your Neckline for a Clean, Sharp Finish.
Avoiding Skin Irritation and Cuts
Trimming too aggressively or pressing the blades too hard can cause irritation or small nicks. Hold the trimmer at a slight angle and glide gently over the skin. Use guards to create a buffer between blades and skin, especially near sensitive areas.
Moisturize your skin after a haircut to soothe any mild irritation and keep it healthy.
- Use guards near skin
- Hold trimmer at angle
- Apply moisturizer post-trim
Advanced Tips for Improving Your DIY Haircuts
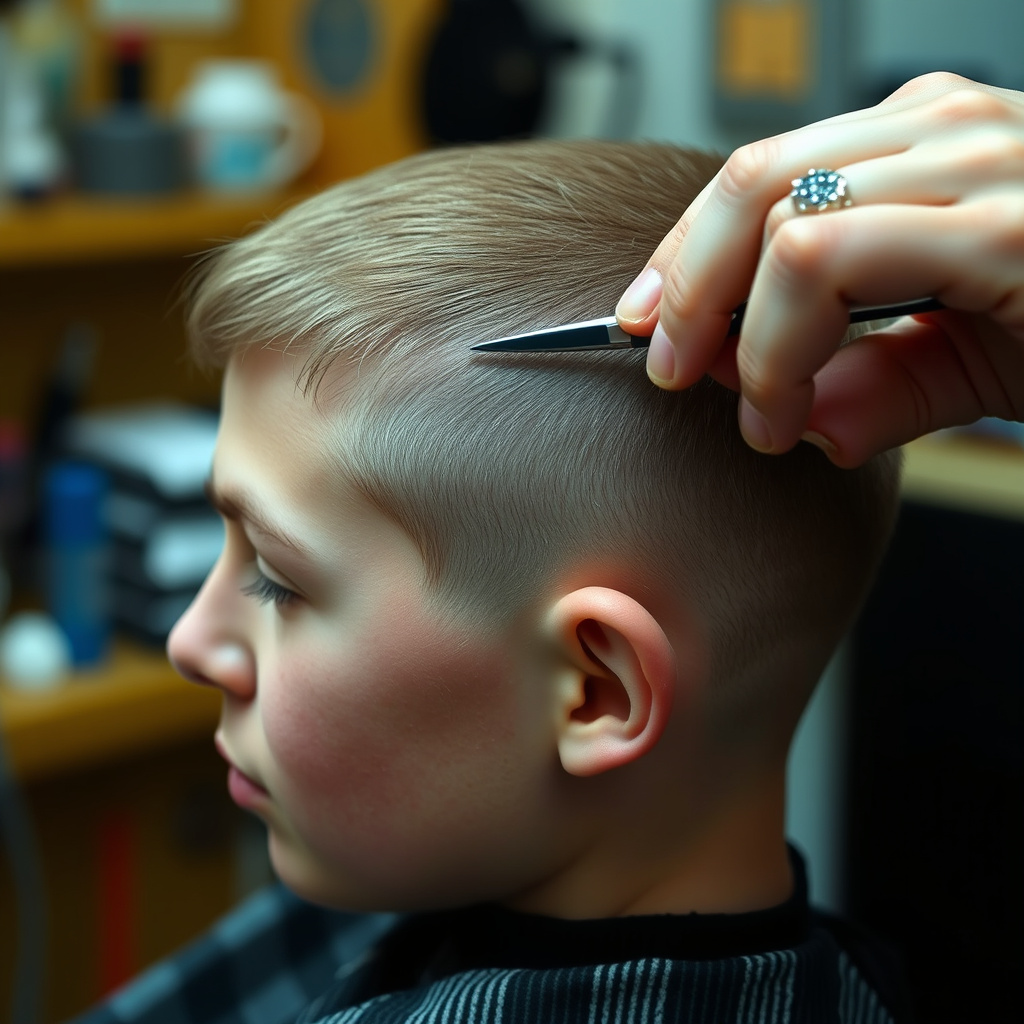
Mastering Hairline and Neckline Edges
Creating sharp, clean hairline and neckline edges requires removing the guard and carefully outlining with the trimmer tip. Begin gently to map the line, then slowly deepen for crisp definition. Practice steady hand movements for best results.
Use a hand-held mirror to check angles and balance on both sides for a professional finish.
- Remove guard for edges
- Start lightly, then define
- Check with hand mirror
For a broader understanding of haircutting methods and styles, you can explore this detailed overview of hair cutting techniques. hair cutting techniques.
Learning Progression by Watching Tutorials
Many experienced home cutters share video tutorials showcasing different haircut styles done with a trimmer. Watching these can provide visual cues on hand positioning, guard use, and blending techniques, supporting your learning curve.
Pause and replay specific techniques to practice at your own pace and gradually improve precision and confidence.
- Find trusted tutorial videos
- Observe hand and blade movements
- Practice slowly with patience
Hair Trimmer Types Comparison for Home Use
Below is a comparison of common trimmer types, their pros, cons, and ideal uses, helping you pick the best fit for DIY haircuts.
| Trimmer Type | Battery Life | Blade Quality | Best For | Price Range |
|---|---|---|---|---|
| Corded Electric | Unlimited | Sharp stainless steel | Continuous use, precise cuts | Low-Mid |
| Cordless Rechargeable | 60-120 min | High-quality titanium or steel | Portability, quick trims | Mid-High |
| Wet/Dry Trimmer | Up to 90 min | Rust-resistant stainless steel | Versatile use including wet hair | Mid |
| Budget Trimmer | 30-60 min | Basic steel blades | Beginner use, infrequent trimming | Low |
Frequently Asked Questions
Can I cut my own hair if I have curly or thick hair?
Yes, you can cut curly or thick hair with a trimmer, but using a longer guard and going slowly helps avoid uneven cutting. Comb through hair before trimming to detangle and better control the cut.
How often should I oil my hair trimmer blades?
Oiling your trimmer blades every 3-4 haircuts maintains blade sharpness and prevents rust. If you use your trimmer frequently, applying oil after every trim is recommended.
Is it better to cut hair wet or dry with a trimmer?
Cutting hair dry with a trimmer is better as wet hair can clump and lead to uneven lengths. For clipper-based cuts, always dry hair thoroughly before trimming.
Can I use scissors instead of a trimmer for home haircuts?
While scissors are useful for detailed cutting, using a trimmer provides even lengths and faster results, especially for short hairstyles. Combining both gives best control and precision.
How do I prevent a patchy haircut when trimming myself?
Use appropriate guard lengths, trim against hair growth, and make overlapping passes. Regularly check your work in mirrors to catch uneven areas early.
Key Takeaways
- Use the right trimmer and guards tailored to your hair length and style
- Set up mirrors and lighting to see all angles clearly
- Cut dry hair in slow, controlled strokes for even results
- Maintain your trimmer with regular cleaning and oiling
Conclusion
Cutting your own hair with a trimmer requires patience, a good setup, and understanding basic techniques. The key is to prepare your hair dry and clean, use appropriate guard lengths, and take slow, deliberate steps to ensure evenness. Checking your progress frequently in well-lit mirrors helps prevent mistakes and build confidence as you get comfortable with the process. Maintaining your equipment adds to the overall quality of the haircut and extends your trimmer’s lifespan.
If you prefer simple styles, uniform buzz cuts or trims using a single guard are a great place to start. For more detailed hairstyles like fades, learning guard gradation and blending will raise your results. Investing in the best hair trimmer for home use with adjustable lengths and sharp blades improves precision and control, making complex styles more achievable. Advanced tips like mastering edges and consulting tutorial videos accelerate skill development.
Starting with small trims and basic cuts gives a foundation before attempting intricate haircuts. As your technique improves, you can confidently maintain your hairstyle at home, saving money and scheduling time. Try to practice regularly and refine your method, and you’ll find cutting your own hair with a trimmer a practical and satisfying skill.




One Comment