How to Do a Lace Front Install: Step-by-Step Hair Application Guide
Doing a lace front install involves preparing your natural hair, securing the lace front wig properly, and blending it seamlessly to create a natural hairline. This process typically includes braiding your hair flat, cleaning your hairline, applying adhesive or tape, placing the lace wig carefully, and styling to finish.
A lace front install matters because it enhances the appearance of your hairstyle, making the wig look more like natural hair. Without proper application, the wig can lift, shift, or reveal the lace, which affects both comfort and appearance. Learning the right technique helps maintain your hair’s health while achieving a polished look.
This article will guide you through every essential step in the lace front install process. From selecting tools and products to stepwise application tips and troubleshooting common problems, you'll get a comprehensive understanding to confidently install your lace front wig.
Preparing Your Hair for a Lace Front Install
Cleaning and Braiding Your Hair
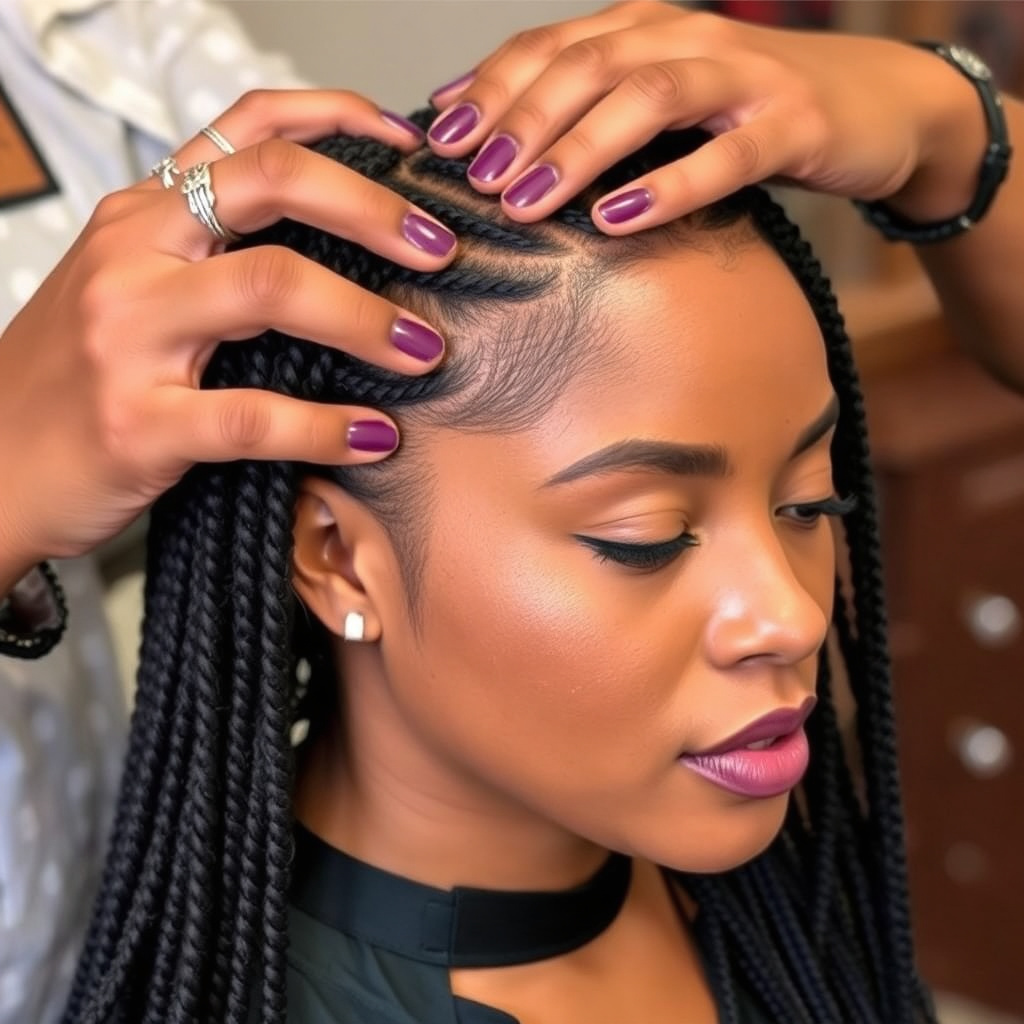
Start by thoroughly washing and conditioning your hair to remove oils and buildup, which can interfere with wig adhesion. After drying, braid your hair flat against your scalp to create a smooth, even base for the wig. Tight cornrows or flat twists work best for reducing bulk and ensuring a better fit.
Securing your hair in braids also helps protect your natural hair from friction and tangling underneath the wig. Use a satin scarf or wig cap over your braids to smooth the surface further and keep the install neat.
- Wash and condition hair
- Dry completely before braiding
- Braid hair flat
- Use a wig cap to smooth hair
Gathering Tools and Products
For a successful install, you need key products: a lace adhesive or wig tape, an edge control gel or wig glue, a rat-tail comb for parting, hair clips for sectioning, and a blow dryer to speed up drying. Choose adhesives that suit your skin sensitivity and offer strong hold without damage.
Having all your tools ready prevents disruptions during installation. Also, keep makeup remover or adhesive remover handy for clean-up after your wig removal.
- Lace adhesive or wig tape
- Edge control gel or wig glue
- Rat-tail comb
- Hair clips
- Blow dryer
- Adhesive remover
Applying the Lace Front Wig
Applying Adhesive and Positioning the Wig
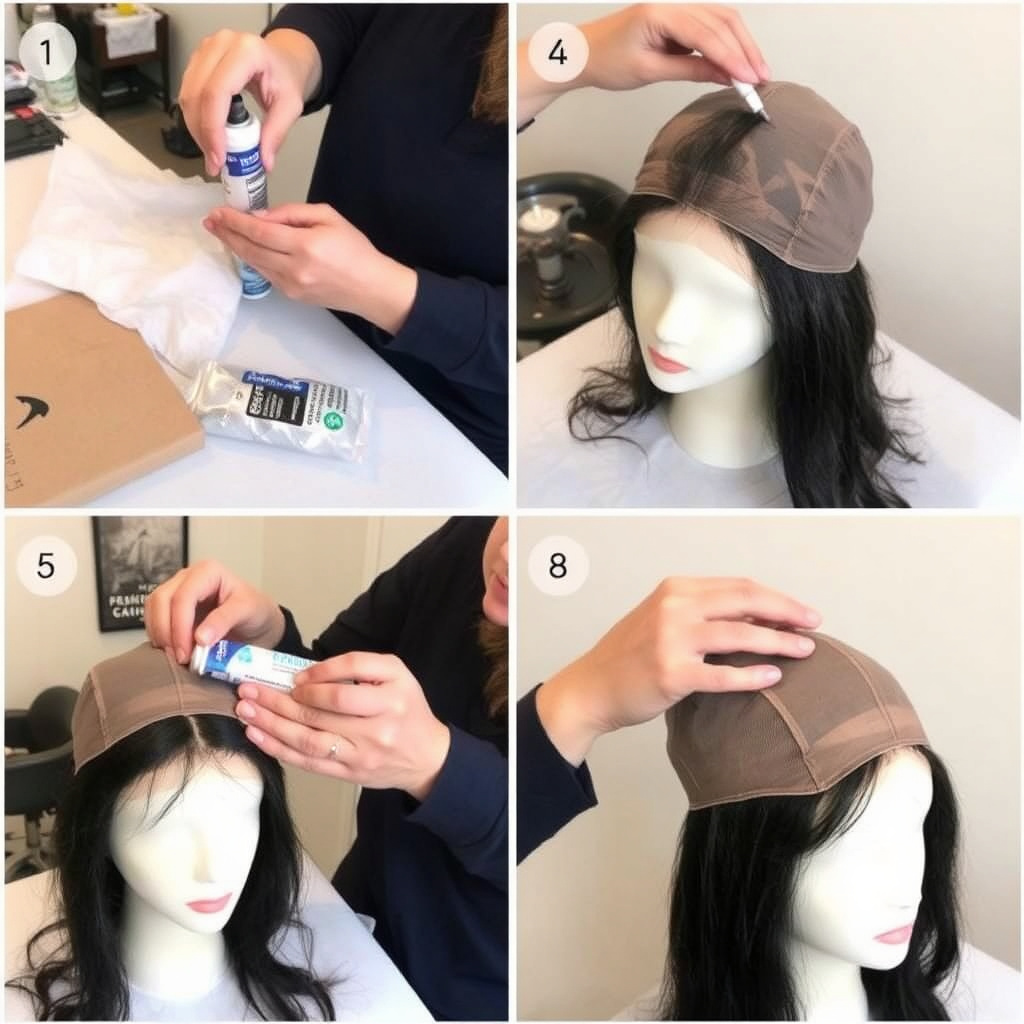
First, clean your hairline with alcohol to remove oils. Then apply a thin, even layer of lace adhesive or wig tape along your natural hairline. Let it become tacky by waiting a few minutes. Next, carefully place the lace front wig onto your head, aligning the lace with your natural hairline for a realistic appearance.
Press the lace gently into the adhesive using your fingers or a fine-tooth comb to secure it well. Take pains to smooth down any wrinkles or bubbles in the lace to ensure a seamless finish.
- Clean hairline with alcohol
- Apply adhesive evenly
- Wait for tackiness
- Align lace with hairline
- Press lace into adhesive
Trimming and Blending the Lace
After securing the lace, trim the excess lace carefully with small scissors, following the natural shape of your hairline. Avoid cutting too close to the adhesive to prevent lifting. Then, use makeup matching your skin tone to blend the lace edge into your forehead for an invisible transition.
Use edge control gel to lay down your baby hairs along the hairline to complete the natural look. Styling your wig at this stage ensures the lace front install looks flawless and personalized.
- Trim excess lace carefully
- Apply foundation or concealer
- Lay baby hairs with edge control
- Style wig as desired
Caring for Your Lace Front After Installation

Maintaining the Adhesive Hold
To keep your lace front secure for longer, avoid excess moisture around the hairline and use a scarf or wig cap at night to protect the install. Avoid scratching or pulling the lace, and if any lifting occurs, apply small amounts of adhesive to fix the areas.
Using light oils sparingly will help maintain your skin’s moisture without compromising the adhesive bond.
For more on this, see our related guide: How to Do a Lace Front Wig Install: A Step-by-Step Guide.
Cleaning and Reinstalling Your Lace Wig
Regularly wash your lace front wig with sulfate-free shampoo and conditioner to keep it soft and fresh. Be gentle when removing adhesive with approved removers to avoid damaging the lace or your natural hair.
When reinstalling, repeat the cleaning and braiding steps before applying fresh adhesive for a durable, natural-looking install every time.
Troubleshooting Common Issues with Lace Front Installs
Dealing with Lace Lifting and Irritation
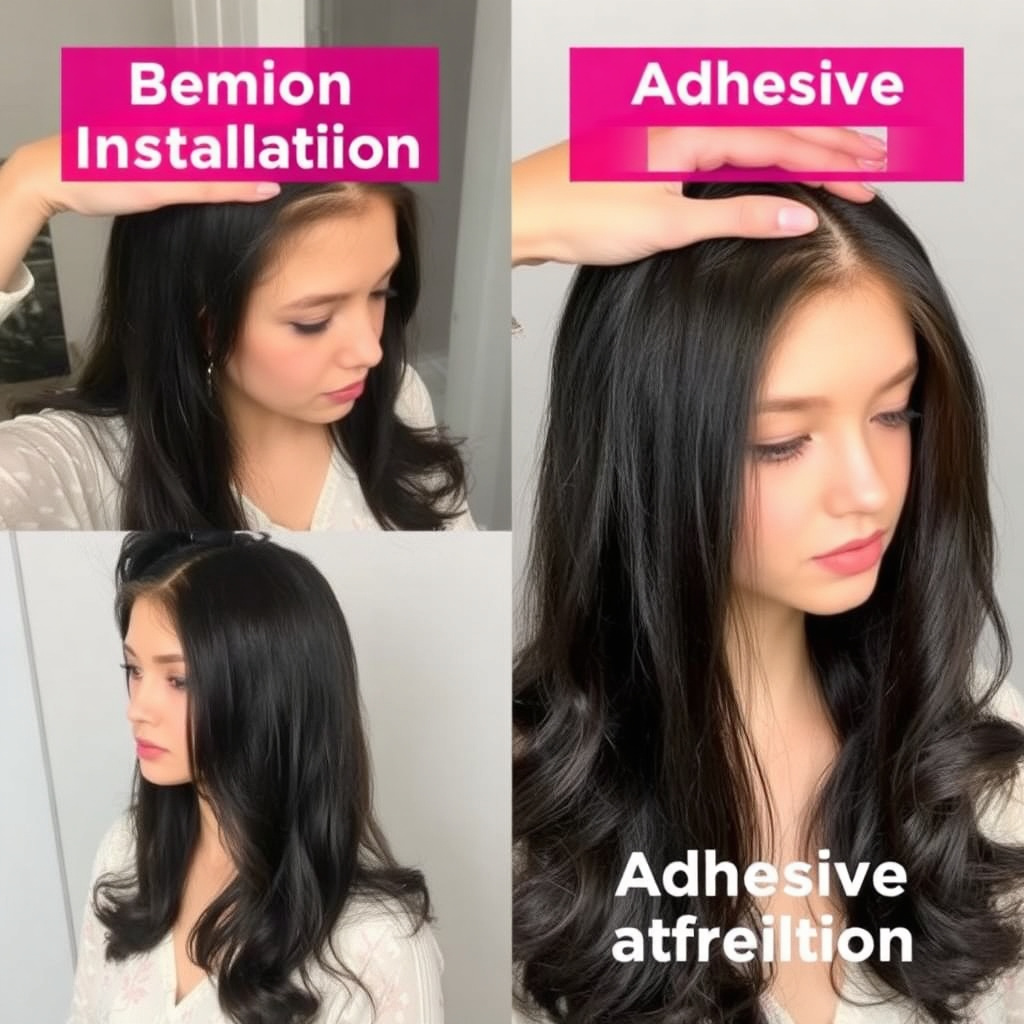
If you notice your lace lifting, check that the adhesive surface and hairline are clean and oily-free before application. Using less product or letting the adhesive fully dry can prevent premature lifting. For skin irritation, switch to hypoallergenic adhesives and avoid overlapping glue layers.
Perform a patch test before using new products and stop use if redness or discomfort appears.
Fixing Uneven Hairlines and Visible Lace
Uneven hairlines can be corrected by carefully trimming the lace in small sections. To conceal visible lace, use foundation, powder, or lace tint sprays matching your skin tone. Additionally, styling baby hairs helps obscure unnatural edges and lends an authentic hairline look.
Patience during trimming and blending is key to achieving a flawless finish.
Styling Tips to Enhance Your Lace Front Install
Customizing Baby Hairs
Creating baby hairs around the hairline softens the transition between the lace and your skin. Use edge control gel and a small brush to style short, wispy hairs strategically. This technique mimics natural hair growth and adds realism to your lace front install.
Avoid over-plucking baby hairs to maintain a natural density and avoid damage to the lace.
- Use edge control gel
- Shape baby hairs gently
- Avoid excessive plucking
For more on this, see our related guide: How to Do a Wig Install Without Glue: Simple and Secure Methods.
Heat Styling and Maintenance
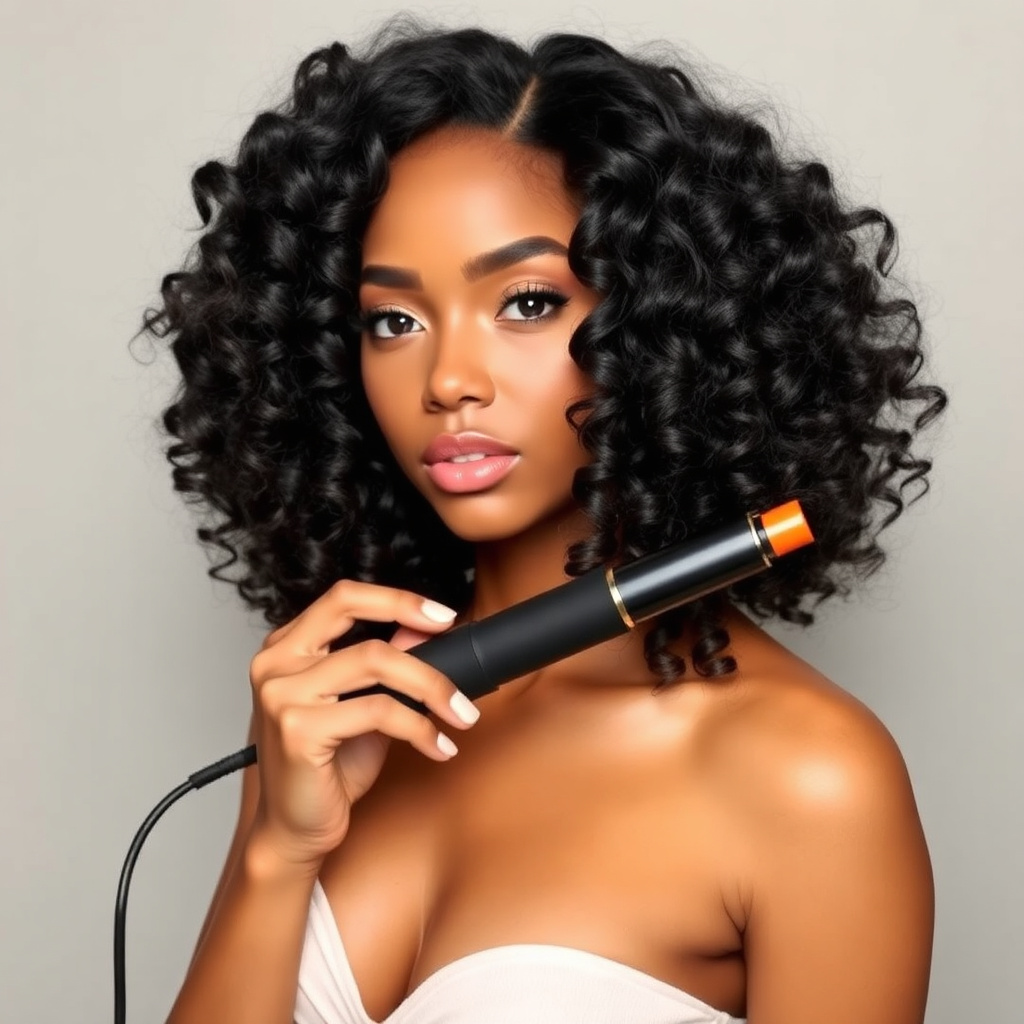
Most lace front wigs can be heat styled, but use caution with temperature settings to protect synthetic fibers or the lace. Always apply a heat protectant spray before using curling irons or straighteners. Regularly detangle the hair and store it properly to preserve longevity.
Heat styling techniques help you personalize your lace front install to match diverse looks while maintaining the wig’s integrity.
- Apply heat protectant
- Use low to medium heat
- Detangle gently
- Store wig on a stand
Choosing the Right Lace Front Wig for Your Install

Selecting Lace Type and Density
Wigs come with different types of lace such as Swiss lace and HD lace, which affect appearance and durability. HD lace offers the most natural look but is more delicate. Density varies from light to heavy, influencing volume and styling options; select according to your preferences and occasion.
Matching lace type and density to your usage routine can enhance comfort and ease of maintenance during your lace front install.
For further details about lace wigs and their construction, visit the lace wig basics on Wikipedia. Lace wig basics on Wikipedia.
Picking the Right Hair Material
Human hair lace front wigs offer versatility and a natural texture but are costlier. Synthetic wigs are more affordable and low-maintenance but have styling limitations. Choose quality human hair for long-term wear or synthetic for occasional use, balancing budget and styling needs.
Knowing your styling goals and frequency of wear will guide your choice of hair material for a satisfying lace front install experience.
Lace Front Install Methods Comparison
This table compares common installation techniques to help you find the best method for your needs.
| Method | Adhesive Type | Durability | Ease of Removal | Skin Sensitivity |
|---|---|---|---|---|
| Glue Method | Liquid adhesive | 7-14 days | Moderate – requires remover | Medium, potential irritation |
| Tape Method | Double-sided tape | 5-10 days | Easy – peel off | Low, less irritation |
| No Adhesive Method | Adjustable straps/Combs | Daily wear | Very easy | High, no chemicals |
| Combination Method | Glue + Tape | 10-14 days | Moderate | Medium, dependent on products |
| Elastic Band Method | Elastic strap | Up to a day | Very easy | High, no adhesives |
Frequently Asked Questions
Can I install a lace front wig without adhesive?
Yes, some wigs use adjustable straps, combs, or elastic bands for a secure fit without adhesive, but they may not provide as natural a look or long-lasting hold.
How do I remove lace adhesive safely?
Use an adhesive remover specifically designed for wigs to gently dissolve the glue. Avoid pulling the lace to prevent damage to your wig and natural hairline.
How often should I wash my lace front wig?
Washing depends on wear frequency, but generally every 7-14 days is recommended to keep the wig clean, soft, and manageable.
Is it necessary to trim the lace every time I install the wig?
Trimming is usually done only once to match your hairline, but minor adjustments can be made during each install for the best fit.
Can I swim or exercise while wearing a lace front wig?
Swimming and intense exercise can weaken adhesive bonds, so it's best to avoid these activities or use secure bonding methods designed for active wear.
Key Takeaways
- Prepare hair with clean braids and a wig cap for best results.
- Use the proper adhesive and let it become tacky before applying the lace.
- Trim excess lace carefully and blend the edges with makeup.
- Maintain your lace front by protecting adhesive and caring for the wig regularly.
Conclusion
Installing a lace front involves clear stages: prepping your natural hair, applying the wig carefully with the right adhesive, trimming and blending the lace, and maintaining the install for longevity. Each step impacts the look and comfort, so paying attention to detail is crucial for success. Understanding the various adhesives and lace types helps tailor the process to your needs and skin sensitivity.
For beginners or frequent users, the tape method provides ease with decent durability, while glue offers a stronger hold for longer wear. Selecting the right lace type, like HD lace for natural appearance or Swiss lace for durability, further customizes the install. Styling baby hairs and using edge control help perfect the hairline. These specific steps elevate both comfort and aesthetics in your lace front install.
To get started, gather quality tools and products, braid your hair smoothly, and follow the stepwise application to achieve a natural look. Practice will improve technique, so don’t hesitate to try small adjustments to find what works best. With patience and care, you’ll master the lace front install for a polished, confident style.