How to Do Acrylic Nails at Home: A Step-by-Step Guide for Beginners
Doing acrylic nails at home is achievable if you follow the proper steps and have the right materials. The process involves preparing your natural nails, applying nail forms or tips, using a liquid monomer and powdered acrylic to create the overlay, and finishing with filing and buffing for a polished look.
Many people want acrylic nails but prefer not to go to a salon due to cost, time, or convenience. Acrylic nails done at home offer the flexibility to create custom designs and keep your nails looking fresh without leaving your space.
This article will guide you through everything you need to do acrylic nails at home, including tools, preparation steps, application techniques, curing, and finishing touches. We’ll also cover common mistakes to avoid and recommend some of the best acrylic nail kits for home use.
Essential Tools and Materials for Acrylic Nails at Home

Necessary Acrylic Nail Supplies
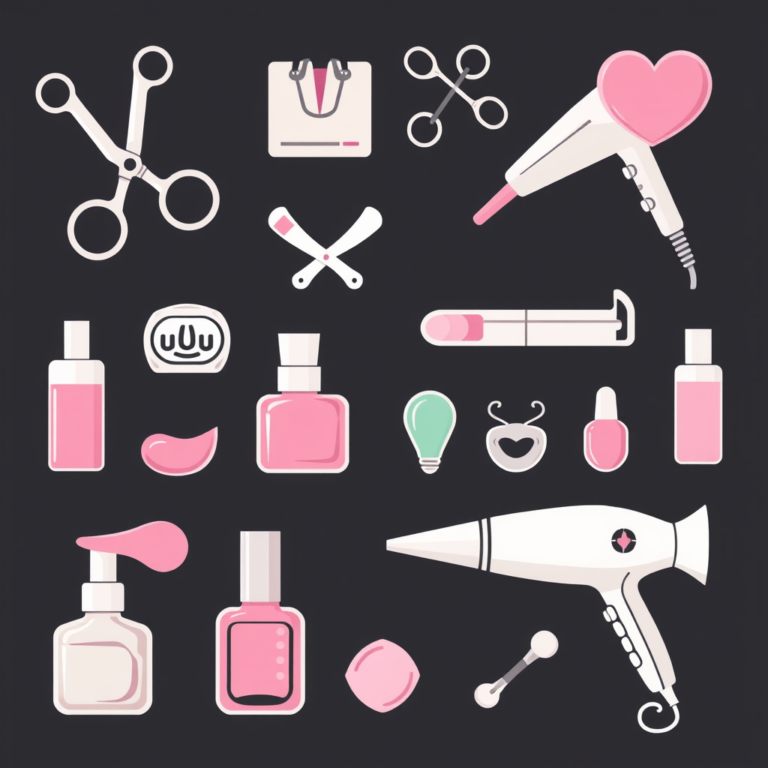
To start acrylic nails at home, gather the essential supplies: a good quality acrylic brush, liquid monomer, acrylic powder, nail primer, nail tips or forms, a nail file, buffer, and a clean workspace. The quality of these materials affects the durability and appearance of your nails.
A brush designed specifically for acrylic application usually has synthetic or sable bristles shaped for precise control. The monomer is a liquid that reacts with the acrylic powder to form the sculpting material. Invest in a reputable brand to avoid possible allergies or poor results.
- Acrylic brush (size 8 or 10)
- Liquid monomer
- Acrylic powder (clear, pink, or white)
- Nail primer
- Nail forms or nail tips
- Nail file and buffer
- Lint-free wipes and cleanser
Choosing the Best Acrylic Nail Kits for Home Use
For beginners, acrylic nail kits save time and money by including carefully selected items. These kits often contain powders in various shades, a quality brush, and liquid monomer, plus instructional guides. Choosing a kit with positive reviews will make your home nail project smoother.
Some kits cater specifically to beginners with easy-to-follow instructions and pre-shaped tips, while others offer a more professional selection of materials for experienced users. Consider your skill level and desired nail style before picking a kit.
Preparing Your Natural Nails for Acrylic Application

Cleaning and Shaping Nails
Start by removing any old polish using an acetone-based remover. Wash your hands to eliminate dust and oils. Next, clip and file your natural nails to the desired shape, generally slightly shorter than you want the final acrylic length for strength.
Pushing back cuticles gently with a cuticle pusher exposes more nail surface for better acrylic adhesion. Avoid cutting the cuticles excessively to prevent infections and damage.
- Remove polish
- File nails to shape
- Push back cuticles
- Wash and dry hands thoroughly
Buffing and Applying Primer
Buff the surface of each nail lightly to remove shine, ensuring better acrylic bonding. Avoid over-buffing, which can weaken your natural nails. Wipe nails with an alcohol cleanser or nail dehydrator to remove dust and natural oils.
Apply a thin coat of nail primer on each nail to improve adhesion and prevent lifting. Let it air dry for a minute. Using a primer designed for acrylic nails prevents premature peeling and prolongs wear.
Applying Acrylic Powder and Liquid Monomer

Mixing Acrylic Powder with Liquid Monomer
Dip your acrylic brush first into the liquid monomer so it saturates evenly, then into the acrylic powder to pick up a bead of product. The bead should form a glossy, manageable ball that isn’t too runny or dry.
Work efficiently as the mixture hardens quickly. Consistency is key to shaping your nails smoothly without lumps or cracks.
For more on this, see our related guide: How to Choose the Best Nails Service Salon Spa for Your Next Visit.
Sculpting and Applying the Acrylic
Start applying the acrylic bead at the nail’s cuticle area without touching skin. Press gently and sweep the brush toward the free edge to sculpt the desired shape and thickness. Blend well to avoid visible ridges.
Repeat the process, bead by bead, covering the entire nail. If you use nail tips or forms, ensure the acrylic bonds the natural nail and extension seamlessly. Allow the acrylic to dry completely before filing.
- Apply beads evenly
- Avoid touching skin
- Sculpt nails smoothly
- Let acrylic dry fully
Filing, Shaping, and Finishing Touches for Acrylic Nails

Filing and Shaping the Acrylic Nails
Once the acrylic hardens, file your nails to smooth out any uneven areas and perfect the shape. Use a coarse file to shape the edges then a finer grit to refine the surface, taking care not to file too aggressively to avoid damage.
Smooth the transition between natural nails and acrylic overlays carefully to maintain durability and a natural look.
- Use coarse file for shape
- Refine with fine grit file
- Smooth edges and surface
Buffing, Polishing, and Sealing
Buff nails with a soft buffer to create a smooth finish. Clean off residue with a lint-free wipe and alcohol. Apply a top coat or clear polish to seal and add shine. This step also protects the acrylic from chipping and extends wear.
Use cuticle oil on surrounding skin for hydration and to finish the look.
Common Mistakes to Avoid When Doing Acrylic Nails at Home

Skipping Proper Nail Preparation
Neglecting to clean, buff, and prime nails can cause acrylic lifting and premature chipping. Oils or debris on nails prevent strong adhesion, leading to less durable results.
Always prepare nails thoroughly before acrylic application to achieve a longer-lasting manicure.
For more on this, see our related guide: How to Choose the Best Salon Services at Home for a Perfect Spa Day.
Applying Too Thick or Too Thin Layers
Applying acrylic beads that are too thick results in bulky nails prone to cracking, while too thin layers may not provide enough strength and can peel off easily. Finding the right bead size takes practice.
Take your time molding the acrylic and avoid rushing to build even, balanced nails.
Removing Acrylic Nails Safely at Home

Using Acetone Soak-Off Method
The safest way to remove acrylic nails is by soaking them in pure acetone. File the surface of the nails to break the seal, then soak cotton balls in acetone and wrap around nails with foil. Keep nails immersed for about 20–30 minutes.
After soaking, acrylic will soften and can be gently pushed off with a cuticle pusher. Avoid forcing removal to prevent natural nail damage.
- File the top layer
- Soak nails in acetone with foil
- Remove softened acrylic carefully
For a broader understanding of the history and science behind acrylic nails, check out this detailed acrylic nails on Wikipedia. acrylic nails on Wikipedia.
Avoiding Harmful Removal Methods
Don’t peel or forcibly pry off acrylic nails, which can strip the natural nail and cause pain. Avoid using metal tools aggressively. Patience during removal is key.
If unsure, consider consulting a professional to prevent long-term damage to your nails.
Comparison of Acrylic Nail Kits for Home Use
Here’s a comparison of popular acrylic nail kits designed for home users, highlighting their features and suitability for beginners.
| Kit Name | Included Items | Skill Level | Price Range | Best Feature |
|---|---|---|---|---|
| Modelones Acrylic Nail Kit | Brush, monomer, powders, tips, file | Beginner to Intermediate | $25–35 | Comprehensive starter supplies |
| Makartt Acrylic Nail Kit | Brush, liquid, powders, dual forms | Intermediate | $30–45 | Durable powders with vibrant colors |
| Beetles Gel Acrylic Kit | Polish, monomer, powder, primer | Beginner | $20–30 | Includes nail polish shades |
| Ibd Professional Acrylic Kit | High-quality liquid & powder, brush | Advanced | $45–60 | Salon-grade materials |
| Kiss Acrylic Nails Kit | Brush, monomer, powders, tips, file | Beginner | $20–25 | Affordably priced for first-timers |
Frequently Asked Questions
How long does it take to do acrylic nails at home?
Typically, doing acrylic nails at home takes about 60 to 90 minutes, depending on your skill level and nail conditions.
Can I reuse acrylic nail brushes?
Yes, brushes can be reused if cleaned thoroughly with brush cleaner immediately after use and stored properly.
Is acrylic nail application safe for natural nails?
When done correctly, acrylic nails are safe; improper removal or poor hygiene, however, can damage natural nails.
How often should I fill or redo my acrylic nails?
Most people refill acrylic nails every 2 to 3 weeks to maintain appearance and nail health.
What is the difference between acrylic and gel nails?
Acrylic nails use a liquid and powder mixture that hardens at room temperature, while gel nails require curing under UV or LED light.
Key Takeaways
- Gather quality acrylic nail tools and materials before starting.
- Proper nail preparation improves acrylic adhesion and durability.
- Apply acrylic with balanced thickness to prevent cracking or lifting.
- Choose a suitable acrylic nail kit based on your skill level.
Conclusion
Creating acrylic nails at home requires patience, practice, and the right materials. The decision to do your own nails hinges largely on your willingness to learn the techniques of preparation, application, and finishing. Taking time to properly prep your natural nails and carefully sculpt the acrylic will lead to better results and longer wear. Avoiding shortcuts during any step protects both the acrylic and your natural nails from damage. Getting familiar with the process may take a few attempts, but with persistence, you can achieve salon-quality nails at your own convenience.
If you are new to acrylic nails, starting with a beginner-friendly acrylic nail kit that includes detailed instructions and essential tools is a sensible choice. Kits like Modelones and Kiss offer the best combination of price and comprehensive supplies for novices. For those with experience, intermediate to professional grade kits provide specialized powders and brushes to refine your technique and enable advanced designs. Consistent practice with proper preparation and care will also make the removal and maintenance processes smoother and protect your natural nail health.
To begin your acrylic nail journey confidently, gather the essential tools first and dedicate time to master each step without rushing. Focus on prepping your nails properly, practicing bead application to get the right consistency and thickness, and finishing with careful filing and buffing. Remember that maintenance with regular fills and gentle removal is key to enjoying longer-lasting acrylic nails. Trying home application empowers you to experiment creatively while saving money and skipping salon visits.