How to Do Nail Stamping: A Beginner’s Guide to Flawless Nail Art
Nail stamping is a creative and straightforward way to achieve intricate nail art designs without advanced painting skills. It involves transferring designs from a metal plate onto your nails using special nail polish and stamping tools.
This technique matters because it allows for professional-looking nail designs at home quickly and affordably. Nail stamping opens up endless possibilities for patterns and styles that would be difficult with freehand nail art.
In this guide, we’ll explain the essential tools you need, walk you through the clear steps of nail stamping, and offer tips on selecting the best nail stamping kits and maintaining your tools for lasting results.
Essential Tools for Nail Stamping

Choosing the Right Stamping Plates
Stamping plates come etched with various designs and are made from metal, typically stainless steel. Look for plates with deep, clean engravings for better polish pickup and crisp designs.
Consider themes and patterns that suit your style. Beginner-friendly plates usually have simpler patterns, while advanced plates feature intricate details for more elaborate nail art.
- Metal plates with clean etchings
- Themes: geometric, floral, abstract
- Durability and rust resistance
Stampers and Scrapers Explained
A stamper transfers the nail polish design from the plate to your nail. Soft silicone heads work best for flexible application and precise transfer.
The scraper removes excess polish from the plate. Use a straight-edged plastic or metal scraper and hold it at a 45-degree angle for even removal.
- Silicone stamper heads for smooth transfers
- Straight-edge scrapers for clean polish removal
- Choosing the right size for your nails
Step-by-Step Nail Stamping Process

Prepping Your Nails and Tools
Start with clean, dry nails free from oils or lotions to help stamping polish stick. Apply a base coat and let it dry fully before stamping.
Ensure your stamping plate and stamper are clean from dust or leftover polish to avoid smudges and uneven transfers.
- Use alcohol wipes on stamping tools
- Apply thin base coat
- Dry nails completely before stamping
Applying and Stamping the Design
Apply a generous but controlled layer of stamping polish over the desired design. Quickly scrape off excess polish with your scraper at a 45-degree angle.
Press the stamper onto the plate to pick up the polish design, then carefully roll or press the stamper onto your nail for precise transfer.
- Use stamping-specific nail polish
- Scrape quickly and firmly
- Stamp within 10 seconds of scraping
Choosing the Best Nail Stamping Kits

Features to Look for in Quality Kits
Look for kits that include multiple well-etched plates, a flexible silicone stamper with good bounce, and a durable scraper. Kits that offer stamping polishes with good pigmentation improve design visibility.
Extra accessories like lint rollers for cleaning the stamper and tutorials can be valuable additions for beginners.
- Multiple diverse plates
- High-quality silicone stamper
- Pigmented stamping polish
- Cleaning tools and instructions
For more on this, see our related guide: Types of Nail Salon Services: A Complete Guide to Pampering Options.
Popular Nail Stamping Kit Brands
Some trusted brands known for durable and well-designed nail stamping kits include MoYou London, Born Pretty, and Clear Jelly Stamper. Their starter kits cater to beginners and include comprehensive essentials.
When selecting a kit, consider customer reviews focusing on polish quality, stamper responsiveness, and plate design variety.
- MoYou London – detailed and themed plates
- Born Pretty – affordable all-in-one kits
- Clear Jelly Stamper – premium soft stampers
Maintaining Your Nail Stamping Tools

Cleaning the Stamper
After each stamping session, clean your stamper with a lint roller or dry wipe since alcohol can break down its surface. Avoid harsh chemicals that reduce its lifespan.
Store the stamper in a dust-free container to keep the silicone head tacky and ready for the next use.
- Use lint rollers for cleaning
- Avoid acetone or alcohol on stamper head
- Store covered to maintain tackiness
Preserving Metal Plates and Scrapers
Clean plates immediately after use with acetone or nail polish remover to prevent polish build-up in engravings, which causes poor transfers later.
Store plates flat or in protective sleeves to prevent scratches and rust, and replace scrapers if edges dull or warp.
- Remove polish promptly with acetone
- Store plates in protective cases
- Replace worn scrapers
Troubleshooting Common Nail Stamping Issues

Fixing Incomplete or Faint Designs
Incomplete transfers often stem from applying too little stamping polish or waiting too long between scraping and stamping. Use stamper polish for better opacity and stamp within seconds.
Ensure your stamping plate has clean, deep etchings and the stamper head isn’t too dry or worn out.
- Use thick, pigmented stamping polish
- Stamp immediately after scraping
- Check stamper head condition
Avoiding Smudges and Uneven Patterns
Smudging happens if you move the stamper or nail before the polish dries or apply too much pressure. Practice gentle, quick stamping and hold the stamper steady.
Also, allow a proper drying base coat to prevent designs from smearing.
- Keep stamper movement minimal
- Use fast-drying base coats
- Press stamper gently and quickly
Finishing and Sealing Stamped Nails
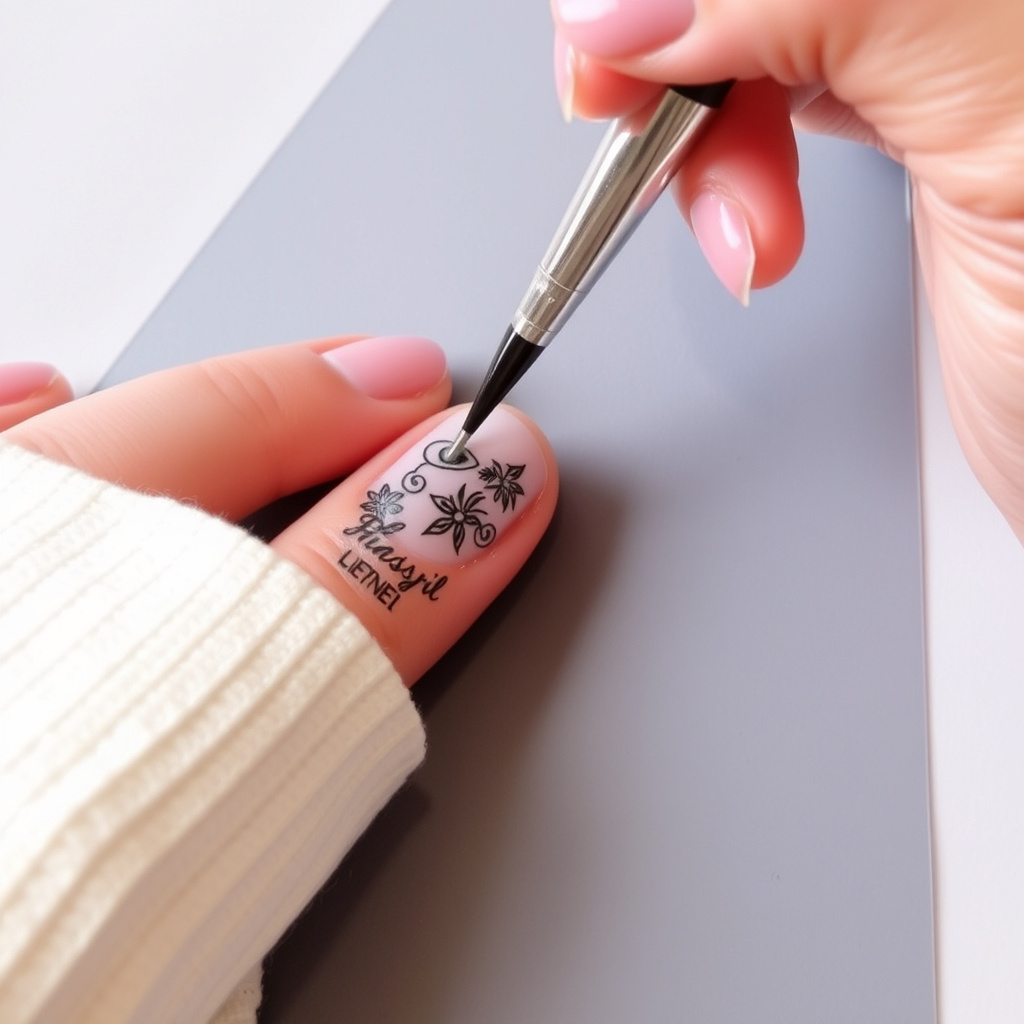
Selecting the Right Top Coat
Choose a fast-drying, non-smudging top coat designed for nail art to preserve delicate stamped designs. Matte or glossy finishes can vary depending on your style preference.
Avoid thick or quick-set gels initially because they may blur the stamping before curing fully.
- Fast-drying formula recommended
- Matte or glossy depending on desired look
- Test top coat compatibility with stamps
For a detailed background on nail stamping and its place in nail art history, you can visit the nail stamping technique overview on Wikipedia. nail stamping technique overview on Wikipedia.
Applying and Maintaining the Finish
Apply a thin layer of top coat after stamping, sealing edges to prevent chipping. Let it dry fully before doing activities to prolong wear.
Reapply top coat every few days to keep designs fresh and protect against wear.
- Seal design edges well
- Allow complete drying
- Reapply top coat periodically
Nail Stamping Kit Category Comparison
This table compares popular nail stamping kit categories highlighting their features, price range, and suitability for different users.
| Category | Price Range | Included Tools | Skill Level | Best For |
|---|---|---|---|---|
| Beginner Kits | $15-$30 | 3-5 plates, stamper, scraper, polish | Beginner | Casual users learning stamping |
| Intermediate Kits | $30-$50 | 6-10 plates, quality stamper, multiple polishes | Intermediate | Regular hobbyists |
| Professional Kits | $50-$100+ | 20+ plates, premium tools, varied polishes | Advanced | Professional nail artists |
| Compact Travel Kits | $20-$40 | 2-3 plates, small stamper, compact polish | All Levels | On-the-go styling |
Frequently Asked Questions
Can I use regular nail polish for nail stamping?
Regular nail polish is often too thin to pick up designs effectively. Stamping-specific polish is thicker and more opaque, providing clearer, more vibrant transfers.
How do I clean my stamper without damaging it?
Use a lint roller or a dry cloth to clean your stamper. Avoid acetone and alcohol as they can degrade the silicone surface, making it less sticky.
Why is my nail stamping design smudging?
Smudging typically occurs when the stamper moves during transfer or the polish hasn’t dried enough. Press the stamper quickly and firmly, then allow sufficient drying time before touching your nails.
How long does nail stamping typically last?
With a good base coat and quality top coat, nail stamping designs can last 5-7 days without chipping, depending on nail care routines.
Are there eco-friendly or non-toxic nail stamping polishes?
Yes, some brands offer non-toxic, vegan, and cruelty-free stamping polishes free of harmful chemicals, ideal for sensitive users and environmentally conscious buyers.
Key Takeaways
- Nail stamping uses specially designed plates and tools for professional nail art.
- Choosing quality stamping polish and tools improves design clarity and durability.
- Practice timely scraping and stamping to avoid smudges and incomplete transfers.
- Regular cleaning and proper storage keep stamping tools performing well.
Conclusion
Learning how to do nail stamping unlocks countless creative possibilities for nail art without requiring advanced skills. By understanding the essential equipment like plates, stampers, and polishing techniques, you can produce crisp, artistic nail designs efficiently. Paying attention to polish type and stamping timing ensures successful transfers with minimal flaws.
For beginners, affordable nail stamping kits with a balanced variety of plates and flexible stampers offer an accessible entry point. Intermediate users benefit from expanded plate collection sets and highly pigmented polish to explore more detailed looks, while professionals might prefer premium kits with advanced accessories. Choosing the right tools that match your skill level and style goals will streamline your stamping process and enhance your results.
Start by gathering a starter kit, practicing simple patterns, and maintaining your tools carefully. This approach leads to flawless stamping and extends tool life. Whether for casual wear or special occasions, nail stamping allows you to customize your nails with stunning, repeatable designs. Embrace this easy technique to elevate your nail art game today.