How to Do a Gray Blending: Step-by-Step Techniques for Smooth Transitions
To do a gray blending effectively, start by selecting a range of gray tones from light to dark and apply them gradually to your surface using smooth, overlapping strokes. Use tools like blending stumps or soft brushes to merge these gradients seamlessly, avoiding harsh lines.
Gray blending matters in both drawing and digital art because it adds depth and volume by creating smooth transitions between shadows and highlights. It helps objects or surfaces appear realistic and balanced without abrupt changes that break the illusion.
This article will walk you through different methods and tools used for gray blending, compare their advantages, and share tips for various mediums such as pencil, charcoal, and digital software. Whether you are shading faces or textures, you'll find clear guidance here.
Understanding Gray Blending Basics
What Is Gray Blending?
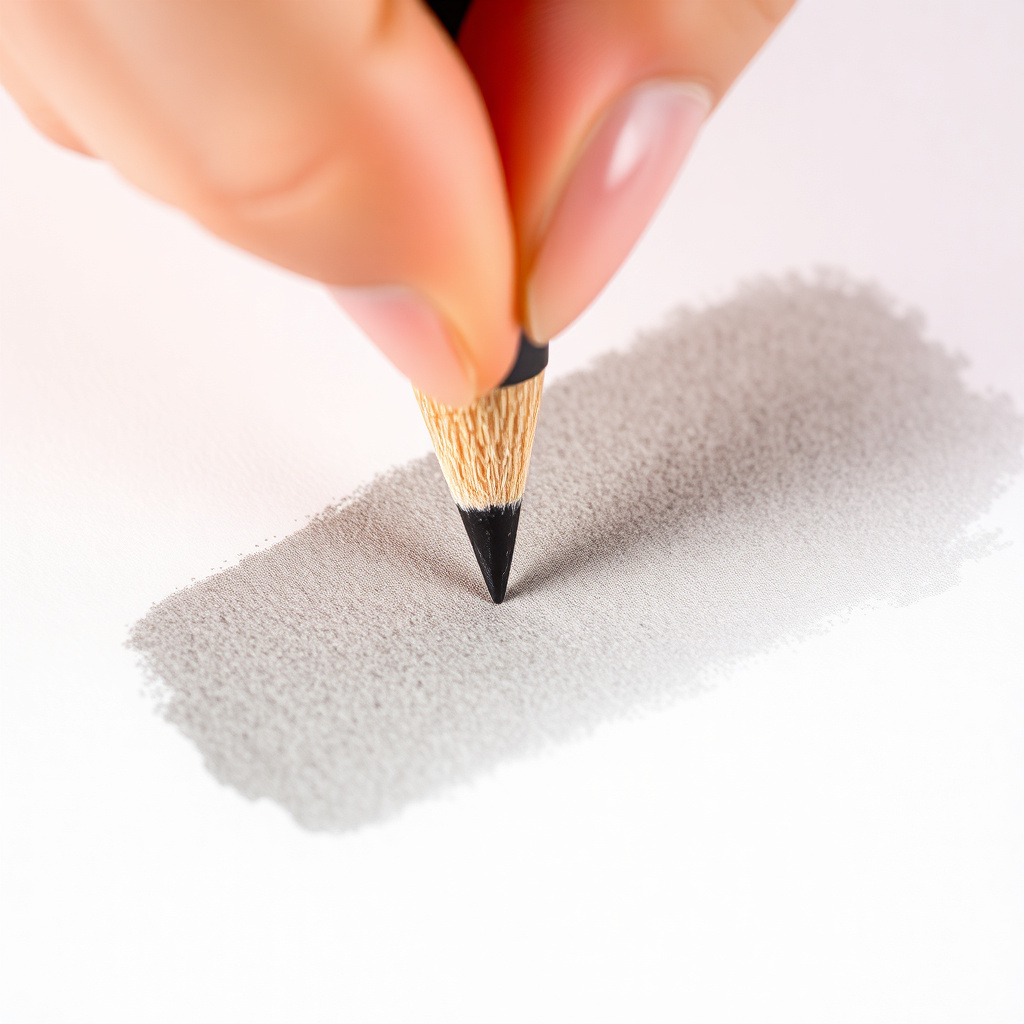
Gray blending involves smoothly transitioning between multiple gray tones to create a subtle gradient that appears continuous to the eye. This technique avoids visible lines or sudden tonal changes, which can disrupt the perception of volume and light.
Artists use gray blending to represent shadows, form gentle contours, and depict soft lighting effects in both monochrome sketches and mixed media artwork.
Tools Commonly Used for Gray Blending
Common tools for gray blending include blending stumps, tortillons, soft brushes, tissue paper, and fingers for physical media; digital artists rely on smudge tools or gradient brushes in software.
Each tool offers a different texture and control level. For instance, blending stumps provide precise smudging ideal for small areas, while tissue paper can cover larger zones with a soft effect.
- Blending stumps for precision
- Soft brushes for smooth gradients
- Tissue or cotton swabs for gentle smudging
- Digital smudge and gradient brushes
Techniques for Creating a Smooth Gray Blend

Layering Gradual Tones
Start by layering your grays lightly from the lightest to the darkest shade. Work in thin layers and build up the intensity slowly while maintaining control over values.
Apply adjacent shades tightly next to each other, and then use a blending tool to gently merge the edges, softening the boundary lines between tones.
Using Circular Motions and Cross-Hatching
Employ circular blending motions with a blending stump or brush to diffuse graphite or charcoal evenly. This avoids streaks or hard edges.
Cross-hatching combined with gradual pressure adjustments also helps achieve smooth gray shading transitions by layering multiple directional strokes that blend visually.
- Use light circular blending strokes
- Cross-hatch lightly for texture
- Gradually adjust pressure to deepen shadows
Gray Blending in Different Mediums

Pencil and Charcoal
Graphite pencils blend best when layered from light to dark, using blending stumps or tissue to smooth transitions. Charcoal requires gentle touches as it can smudge widely and darken entire areas quickly.
Fixative sprays help preserve charcoal blends without disturbing the delicate gradients.
- Layer light to dark pencil shading
- Use fixatives for charcoal
- Blend carefully with stumps or tissue
For more on this, see our related guide: Which Nail Color Is Best for Summer: A Guide to Bright and Stylish Shades.
Digital Gray Blending
Digital artists blend gray tones using smudge tools, brushes with varied opacity, and layer masks to control transitions with high precision.
Software like Photoshop or Procreate enables undoing mistakes and refining edges easily compared to traditional media.
- Use smudge and gradient brushes
- Leverage layer masks for control
- Adjust brush opacity for subtle blends
Common Challenges and How to Avoid Them

Avoiding Harsh Lines
Harsh lines usually result from abrupt tone changes or pressing too hard with pencils. To mitigate this, build tones incrementally and soften edges with blending tools continuously.
Also, ensure your pencil is well-sharpened but not excessively so, maintaining a blunt enough tip to avoid scratchy lines.
- Build tones gradually
- Blend edges repeatedly
- Maintain proper pencil sharpness
Preventing Uneven Textures
Uneven textures occur if blending is inconsistent or if the paper grain shows prominently. Use smooth paper designed for blending and overlap blending strokes to fill gaps.
Cleaning blending tools occasionally prevents buildup that can cause patchy shading.
- Use smooth paper surfaces
- Overlap blending motions
- Clean tools regularly
Enhancing Gray Blending for Realism

Incorporating Highlights and Reflections
To increase realism, leave certain areas lighter or use an eraser to lift graphite, replicating highlights where light hits the surface naturally.
Soft reflections or secondary light sources can be hinted by subtle mid-tone blends around these highlights.
- Lift graphite for highlights
- Blend mid-tones around highlights smoothly
For more on this, see our related guide: What Type of Hair Dye Is Permanent? Understanding Long-Lasting Hair Color Options.
Working with Textures and Surfaces
Adjust your blending technique depending on the object's surface. Rough textures might require less blending to allow grain visibility, while smooth objects benefit from near-perfect gray blending.
Use directional strokes that mimic the object's texture for more lifelike results.
- Match blending to surface texture
- Use directional strokes
Gray Blending and Color Theory Basics

Understanding Grayscale Values
Grayscale represents lightness values independent of hue. Mastering these values helps with gray shading techniques by clarifying where to place darks, midtones, and highlights.
Value contrast creates depth and draws the viewer’s eye, even in monochrome works.
For a deeper understanding of grayscale values and their applications, you can explore the detailed explanation of grayscale on Wikipedia. Grayscale on Wikipedia.
Using Gray Blending in Color Composition
Gray blending not only applies to black-and-white art but also aids digital artists and designers to blend desaturated areas, shadows, or overlays.
Understanding how gray interacts with colors can improve harmony in designs and paintings by controlling tonal variations.
Gray Blending Techniques Category Comparison
This table compares popular gray blending techniques by medium, tools, ease of use, and typical results.
| Technique | Medium | Tools Required | Ease of Use | Typical Application |
|---|---|---|---|---|
| Pencil Blending | Graphite | Blending stumps, tissue | Moderate | Sketch shading, portraits |
| Charcoal Smudging | Charcoal | Tissue, fingers, fixative | Challenging | Dynamic shadows, textures |
| Digital Blending | Digital | Smudge tool, gradient brushes | Easy to Moderate | Concept art, photo retouching |
| Cross-Hatching | Graphite & Ink | Pencils, pens | Moderate | Textured shading with form |
| Brush Blending | Paint (watercolor, acrylic) | Soft brushes | Moderate | Smooth tonal transitions in painting |
Frequently Asked Questions
What is the best tool for gray blending with pencils?
Blending stumps or tortillons work best for precision. They help merge pencil strokes smoothly without overly smudging the graphite.
Can I use my fingers for gray blending?
Yes, fingers can blend graphite or charcoal effectively but may transfer oils onto the paper, which could affect longevity and texture.
How do I prevent my gray blending from looking patchy?
Use smooth paper, blend with light overlapping strokes, and clean your blending tools regularly to maintain even tones.
Is gray blending different in digital art compared to traditional?
Digital gray blending offers more control with undo options, layer masks, and variable opacity brushes, making the process often easier and more forgiving.
Should I fix charcoal drawings after blending?
Yes, applying a fixative spray protects charcoal blends from smudging and preserves the tonal transitions.
Key Takeaways
- Gray blending creates smooth tonal transitions essential for realistic shading.
- Using appropriate tools and layering gradually improves blending quality.
- Techniques vary across mediums like pencil, charcoal, and digital art.
- Avoid harsh lines by softening edges and building values incrementally.
Conclusion
Mastering how to do a gray blending is about patience, control, and choosing the right tools for your medium. By focusing on gradual layering and careful merging of tones, artists can achieve smooth gradients that add volume and depth to their work. Understanding both traditional and digital approaches allows a broader creative expression and better results across various projects.
For pencil artists, it’s best to use precise implements like blending stumps combined with gradual shading from light to dark. Charcoal blending requires gentler touches and fixatives to maintain the smooth transitions. Digital creators enjoy versatile options such as smudge tools and custom brushes that facilitate flawless gray blending and easy corrections. Experimenting within your medium will help you find the most natural workflow and style.
If you want to practice immediately, try layering simple shapes with multiple gray tones and apply blending stumps or digital brushes to fuse the edges. Take pictures of your progress to track improvements and study how light interacts with curved surfaces. Over time, controlled gray blending can greatly enhance the realism and feel of your art pieces, making them visually compelling and professionally finished.